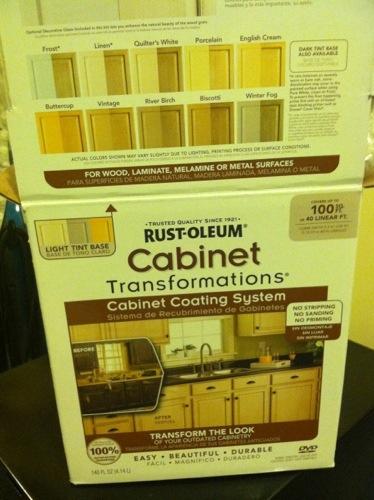
This week has been rather hectic. My kitchen was torn apart the entire week. I went out on Monday and bought the Cabinet Transformations by Rustoleum. Monday night I got to work! It took 2 nights plus 2 whole days (four days total) to get my cabinets done. Really, not that much time when you think about it. And not as much work compared to the sanding process!
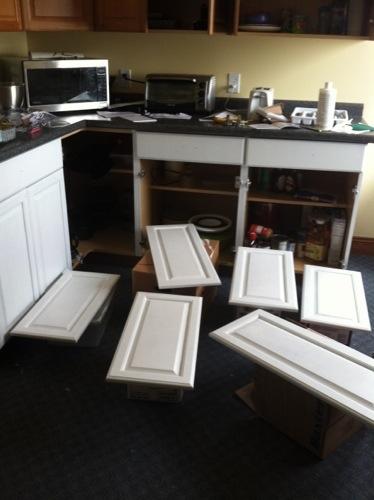
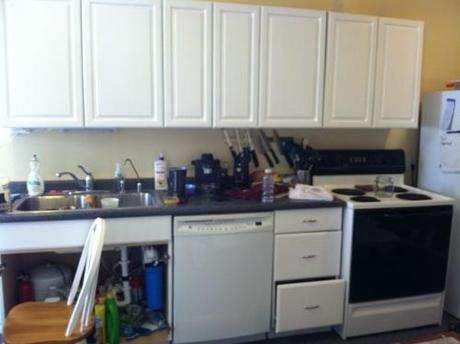
Here you can see the unpainted cabinets above, and the painted cabinets spread out across my kitchen. I originally planned to do a quarter of my kitchen per day, but that quickly went out the window! I got through the first quarter and decided that there was no way I was going to go through that entire process FOUR times. I’m rather happy I started that way though, because I got to know the different elements of the kit, and I discovered a very disappointing thing about the paint! It has really poor coverage! I got my fourth coat on and it was still spotty. I went out and bought a can of primer, put a coat of that on, and then did a fifth coat of the paint they provided. It was finally covered, hallelujah!
I learned my lesson though! I then went through my kitchen and did 1 step at a time. I deglossed all my cabinets, then did 2 coats of primer (we cheaped out and bought Glidden, and it had really poor coverage. I would have payed a few bucks more for more coverage and less time painting!). Then I went through and did 2-3 coats of the provided white paint, and then the top coat. Whew. It was a long process. I tackled this all on my own, at home, with both the kids running around. I have no idea what I was thinking. Maybe I was just really sick of looking at oak cabinets!
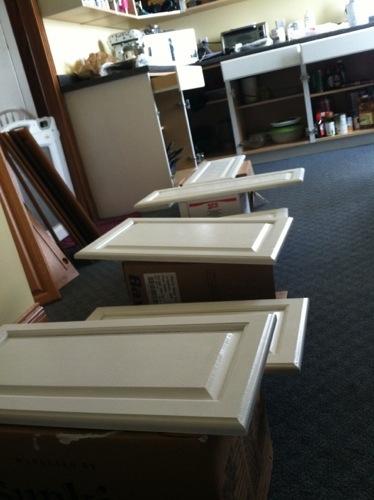
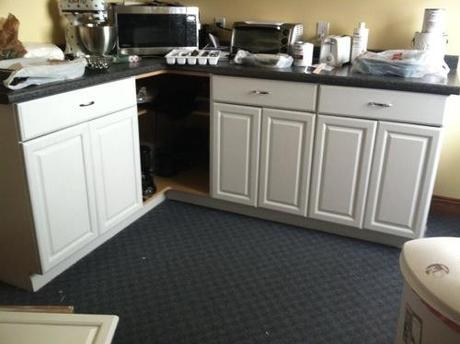
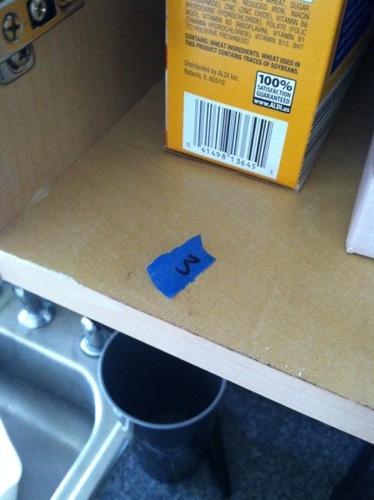
The kit has a little booklet in it which has some fancy little method for remembering where each cabinet door goes. I think they suggested sketching up a model of your kitchen and labeling each door or something. I figured up something a little simpler. I numbered each cabinet door and base. For the bases, I wrote the number on tape. Then I unscrewed the door and wrote the same number where the hinge would go (it’s okay to do it in sharpie, once you put the door back on it’s covered and you’ll never see it again!)
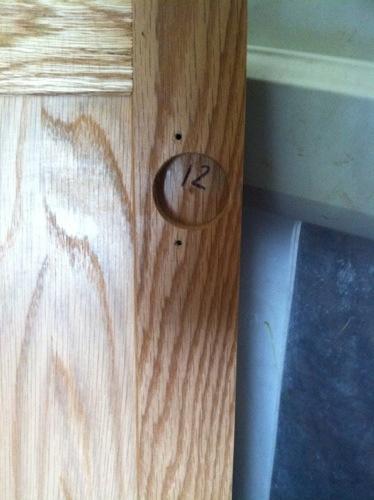
See the screw holes? That’s where you’re screwing the hinge right over your mark.
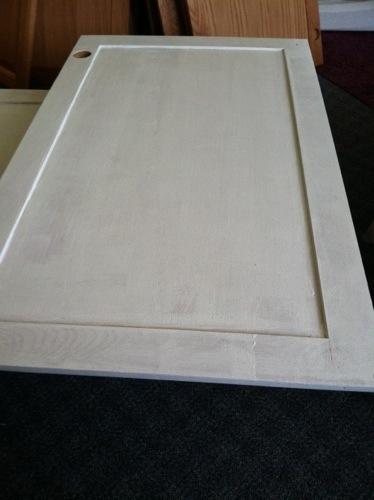
This is 2 coats of my cheap primer. Yeah. Invest in a good primer. I know the kit says NOTHING about needing a primer, nor do they provide one, but go see for yourself! I was actually looking around online for different Cabinet Transformations stories and found one blog that suggested using a primer. Her kitchen was tiny though, so she had no fear of running out of paint. My kitchen however, was 40 linear feet worth of cabinets, which is the max amount that the kit will cover. So if the kit can only handle 2 coats, and I’m doing 4-5, I’m going to run out of paint REAL fast. I highly suggest taking ONE door, doing the entire process on it (degloss, paint, dry, add a second coat, see what kind of coverage you get) to get an idea of how many coats you’ll need total.
I used a foam roller for the cabinets. I read on a few different blogs that if has a very smooth professional look, and they were right! I did a couple doors with a paint brush, but I wasn’t pleased with how the strokes showed up. The foam roller gives a really smooth finish.
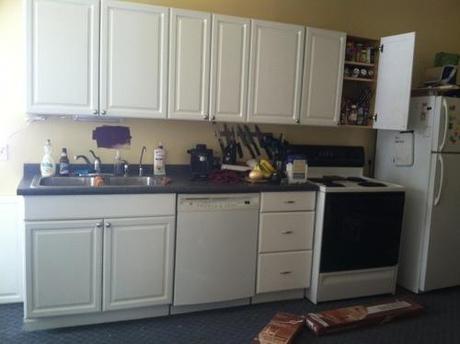
This whole process took a while. It was a lot of work. I hated the entire process while I was doing it, and I’m still slightly spiteful to my kitchen for it. But the kitchen is slowly coming together, and I think my bitterness is wearing off as I see the changes.
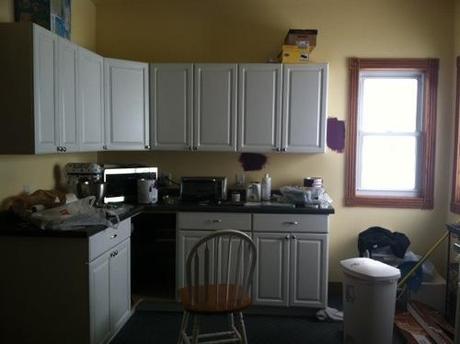
See my lovely purple color splotched by the window? I bought a sample of Martha Stewarts Plum Wine, put some on the walls, and immediately went back out and bought a large can of it. I LOVE it. I’m so happy I decided to go with purple for the kitchen!
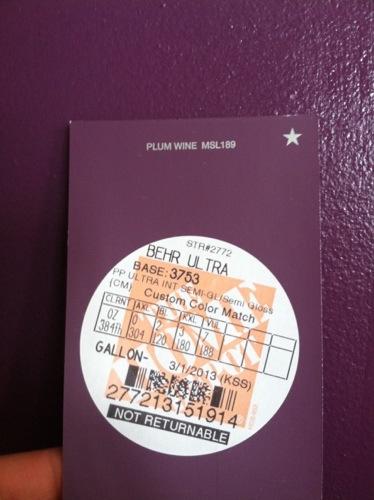
We chose to go with the Behr paint this time. Usually we pick whatever happens to be cheapest, but we were going with a dark color, and I know dark colors tend to take a lot of coats to get full coverage. This took 2 coats and it went on GREAT! It goes on SO thick! I’m really happy with the Behr paint, and in some cases, I think it’s worth the price! I think it cost us $37 for 1 gallon. For lighter colors, it might not be necessary to have such a full coverage paint (the cheap paint only took 2 coats for our bathroom and it had great coverage).
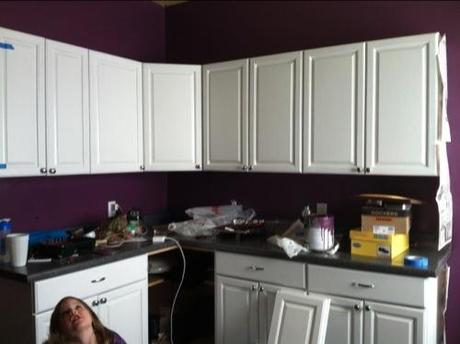
Here is my sneak peak of the kitchen (um, ignore that spirited little girl in the corner). The cabinets are white, my walls are purple, and that awesome flooring that we just put in 2 rooms in our house is going in the kitchen next weekend! I can’t wait to show the final product! Heck, I might even break out my Canon camera, clean my kitchen, and take some halfway decent pictures!
So overall, would I recommend the Cabinet Transformations? Maybe. If you’re the kind who is willing to do research, go out and find your own products! I love the fact that this kit takes out the sanding step. But I’m pretty sure if you wanted to, you could go out and find each of the products they provide and buy them separately. Chances are, it would be cheaper! If you’re the kind of person who just doesn’t want to think about it and just wants it done, then this kit is probably for you!

