Written By: Jacob Morris

Unwanted bleed in recordings can be a frustrating, multifaceted issue. Thankfully, metronomes are relatively simple to tame with a little preparation. In this article, I’ll be discussing several ways to treat the issue in various stages of production.
Playback Equipment
The simplest way to prevent a metronome coming in is to tackle the problem at the source by using appropriate playback equipment. Not all sound equipment is built equally nor does one size fit all, so take the time to audition equipment to suit your needs; in the case of playback equipment for recording, the priority is on minimal leakage, comfort, relatively flat response and, of course, value.
Typical speakers and monitors are out, the best choices for isolation are closed-back headphones or in-ear monitors (IEMs). IEMs need to be moulded specifically for the wearer to be most effective. Open-back headphones are not recommended due to the increased sound leakage.
Metronome Sounds
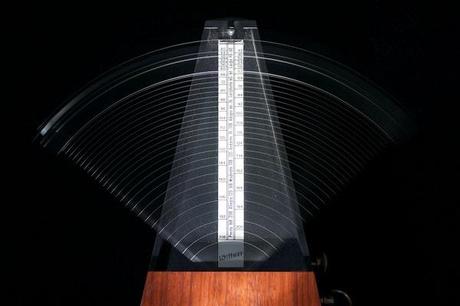
Mechanical metronomes have no real place in the recording world now; they often can’t keep perfect time and using them as a timekeeper would require micing them up and placing them in a separate room to keep them quiet.
As such, electronic metronomes are the standard, conveniently being available in guitar tuners, modern DAWs and even on iOS and Android via apps.
The most typical sounds you’ll hear from these are a traditional metronome ticking, a cowbell or perhaps a short electronic blip. They are all fairly high pitched because our ears are particularly sensitive to things in the upper mid frequency range, therefore allowing the sound to be heard above other noise easily without cluttering the sound.
Because of how distinct the sound is, this leads to them being easy to hear upon playback too, though this can be alleviated by choosing a sound that falls more into the midrange, thus masking the sound more.

“…our ears are particularly sensitive to things in the upper mid frequency range, therefore allowing the sound to be heard above other noise easily without cluttering the sound.”
An extension of this solution to this is to record percussion first using a typical metronome sound and then use the recorded drum track as a click for other parts. Any bleed from tracks using the drums as a reference will be masked by the drums themselves in the final recording, while the electronic metronome used for the drums alone will be much quieter than if all the tracks used it, normally rendering it inaudible in the mixdown. It can also allow for the drums to set a more dynamic foundation for the tempo of the track by foregoing the metronome altogether in the initial drum tracking.
Tips and Tricks in Recording
By using direct injection (DI or direct input) instead of a microphone for recording, you need not be concerned with ambient metronome bleed at all. A common technique for electric bass, but guitars often benefit from the sound of an amp, so direct injection is not always ideal.
Thankfully, bleed is an easily solved issue with recording amps since you can just move the performer as far away from the amp as their lead will allow them.
For quieter instruments without amplification, the choice of microphone polar pattern and placement can help eliminate bleed. By using directional patterns such as cardioid and hypercardioid, the sounds to the side and back of the microphone will be rejected. Not game-changing for recording things from the mouth like vocals or harmonica, but will definitely help control bleed in cases where the instrument is away from the ears.
Last Resorts to Reduce Metronome Bleed
Let’s say you’ve just recorded an outstanding performance and the metronome is just barely coming into the track due to carelessness in the above mentioned areas. It might still be worth salvaging rather than starting over.
Your primary options are either equalization or phase cancellation. The effectiveness of EQ will depend greatly on what you’ve recorded; If you’ve got a little bit of metronome bleed in a double bass track, you can probably safely cut it away with little detriment to the sound. For a guitar or vocal track, it may just cut into the timbre of the sound too much making for a dull sound, so it’s best not to rely on it.
“…avoid having to deal with these headaches by being conscientious and diligent in your recording setup…”
Phase cancellation can be a lifesaver if you are able to recreate the exact recording environment. It works by having two tracks perfectly in sync with each other, one containing just the unwanted element and the other containing the recording with the unwanted element. By reversing the polarity of one of the tracks, like magic, the unwanted element disappears. The downside of this technique is that it is extremely finicky. Any difference in the tracks will result in artifacts in the cancellation process, so you will need to be able to record a separate metronome track through the same recording chain with the same mic position and volume as the problem recording for it to work.
Fortunately, you can avoid having to deal with these headaches by being conscientious and diligent in your recording setup and adapting it to suit the circumstances. Finally, when all else fails, you may simply just have to turn down that click track.
Image Sources: ficklingj and shadiradio
