 This long Labor Day weekend turned into an impromptu paint session (no complaining here)! Heading home from breakfast on Saturday, we stopped into Home Depot and the next thing I knew, the same paint swatch I had taped to my wall for weeks turned into a weighty can of authentic Behr goodness. You see, it wasn’t exactly unplanned. For months, I’d been obsessing over grey – the perfect neutral shade for myself (and the hubby), a fresh update to our apartment’s outdated sage green and a brilliant accent color when paired with crisp, white frames and bold patterns. It was bound to happen! **warning: ugly old entry ahead.
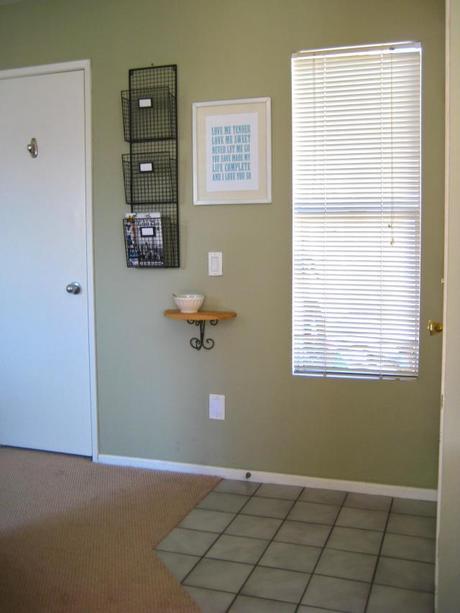
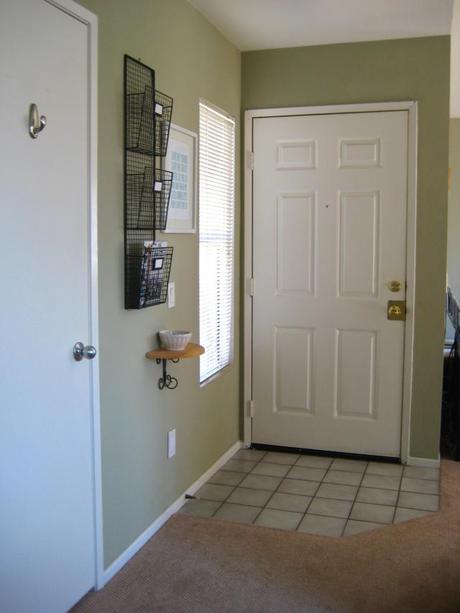
Prior to the makeover (above), I didn’t know what to do with our entry. Having lived in the unit for over a year, it remained ambiguous, unremarkable and an embarrassing waste of space. The mail sorter never got used (turns out we don’t like displaying our junk – who knew), the ledge was too small for bulkier items (like wallets or phones), and our shoes ended up all over the floor. Recently having had our carpet replaced (yippee!), the apartment became a shoe-free zone and we desperately needed a containing solution. Pair all this with a wall that was slightly scuffed and soiled from years of previous tenants, it was a sad situation. Of course, friends never said it looked bad (and no one ever noticed the old carpet, either) – until it changed.
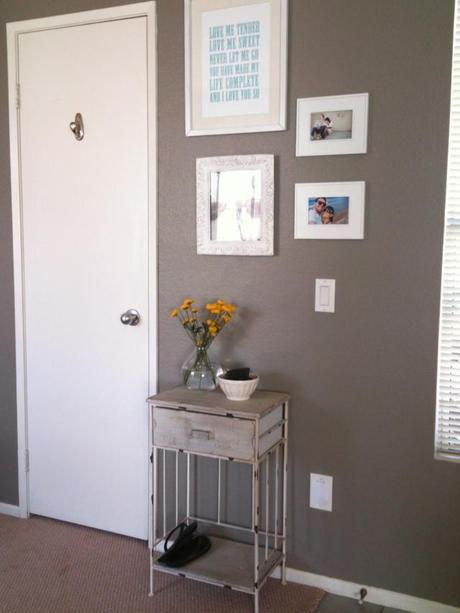
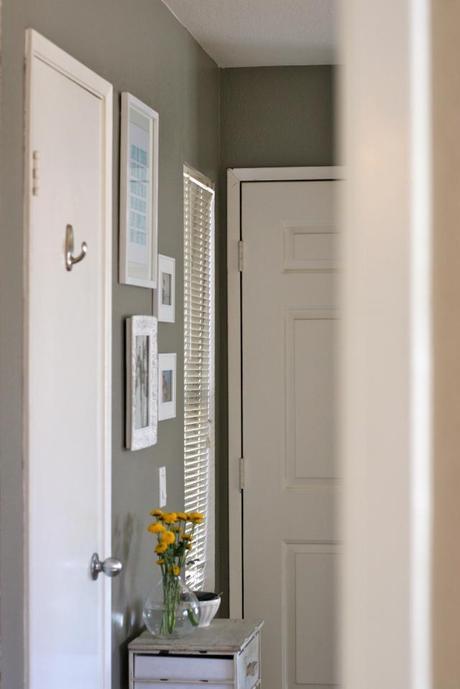
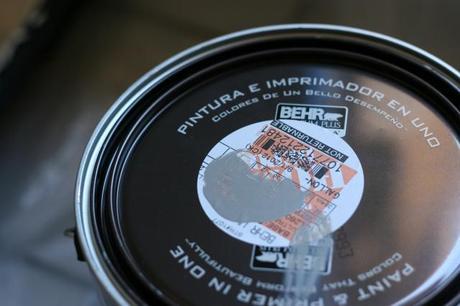
The color I chose was Behr’s Elephant Skin (UL260-5) in an eggshell finish and “paint-and-primer-in-one” formula. Painting’s always a lot of work – but at least with this mix, it takes only two coats instead of three.
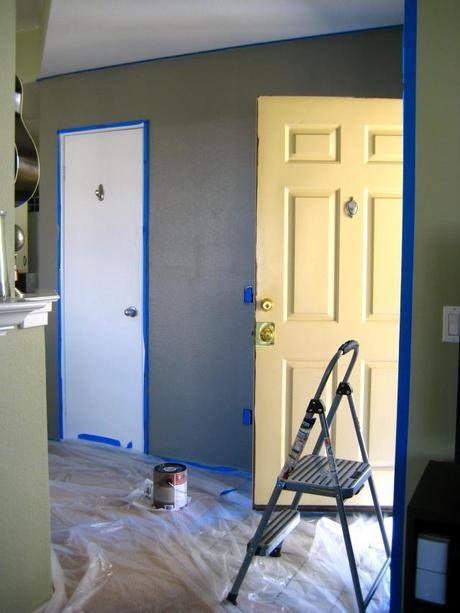
I started by taping off the surrounding walls, windows, doors, outlets, baseboards and ceiling; then secured the plastic drop cloth to protect the floor. If you’re thinking about painting yourself, don’t forget to unscrew any outlet covers and light switches, and be sure the blue painter’s tape is pressed firmly to avoid any paint from seeping under it while you’re working. Side note: I used a basic roller, but prefer Shur-Line’s Painter Pad instead. It’s much faster, fills in all the little specks in one clean sweep, and gives smooth, even coverage. They also have an Edge Like A Pro tool, which I used for going around the doors, under the ceiling and above baseboards.
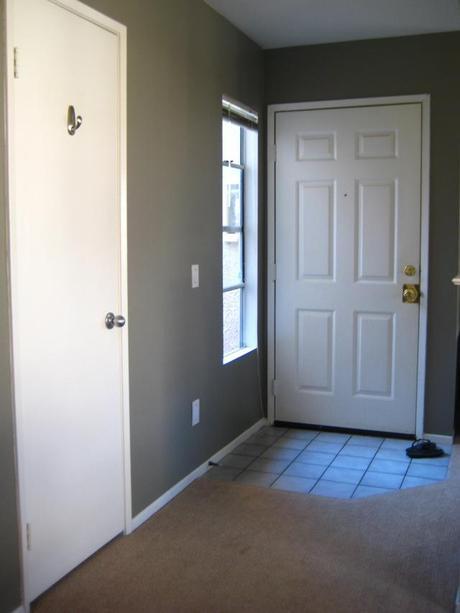
Once I finished two coats and it was dry to the touch, I slowly peeled off the tape. It was SO DREAMY!!
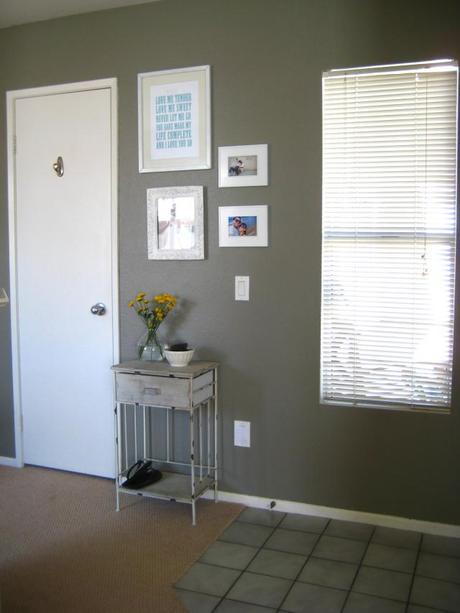
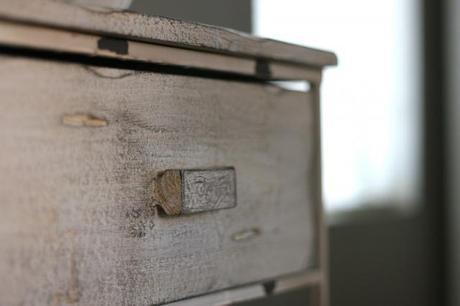
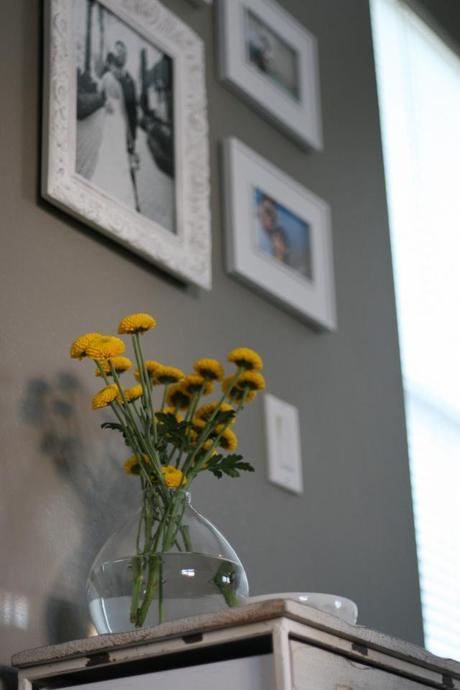
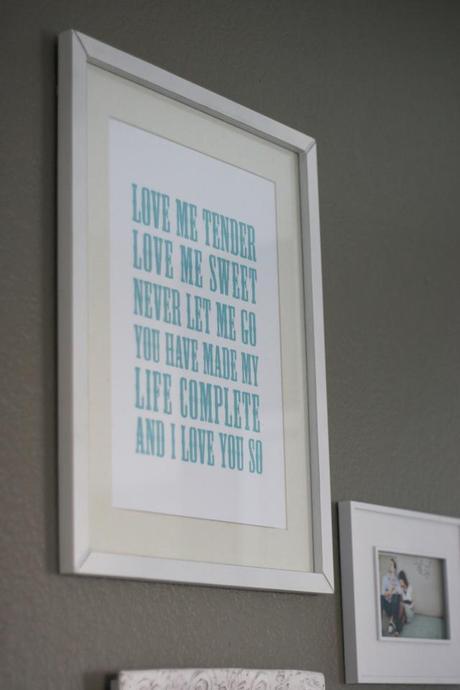
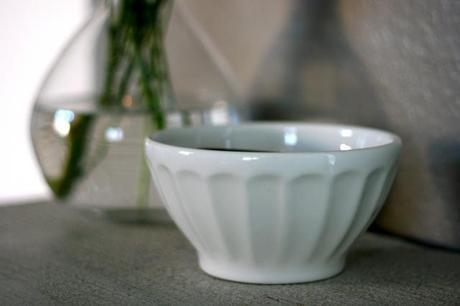
To create a more purposeful space, I brought in the side table from our bedroom. It has a larger surface and room at the bottom to stack shoes or purses. The drawer is the perfect hiding place for mail or any other tidbits you might need quickly when running out the door, and the white frames were re-purposed from around the house (yay baby gallery wall)! Finishing the arrangement with a simple round vase (Target $5.99), cheap blooms from Trader Joe’s ($3.99) and a simple bowl to catch our keys (Anthropologie) it was done!
What a difference a day makes. What do you think? Thanks for reading!
