-Contributed by Michelle Breckon
Today I’m going to guide you through one of my days working as a practicum student in the CHP’s Still Images Collection so you can see what it takes to research and digitize the collection. First, take a box off the shelf.
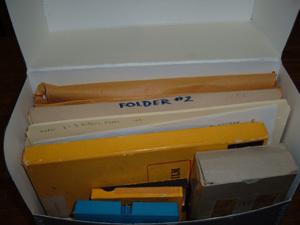
A box from the CHP Still Images Collection. Once processed, this box should contain nothing but photographs in folders.
Take everything out of it, and see what’s there. Anything that obviously does not belong in the Still Images Collection gets moved out first and is passed on to someone else so it can get placed in the appropriate collection. This includes microfilm, videos, plaques, papers, and more.
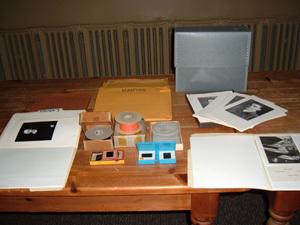
Processing begins with removal and sorting of all materials.
If there are slides or glass negatives in the box, they have to be removed and housed separately. The descriptions of these images, however, are added to the CHP Still Images database, just as is the case with regular photographs.
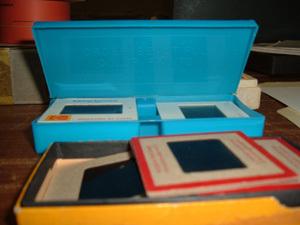
The Still Images Collection contains many slides, which are removed and housed in specially designed slide boxes.
Processing the images also means thinking about preservation. This includes assessing and addressing the condition of the folder, the box, and the image. I also place acid-free paper between each image. Once they have been preserved as best as you can, it’s time to digitize! Each image will have two files saved: a high resolution tif version and a lower resolution jpg version. Eventually the .jpg will go online for anyone to look at.
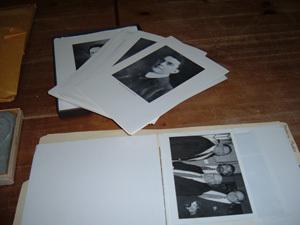
Acid-free paper interleaving extends the life of the images.
With the images scanned, I create metadata such as a title for the object, a description, the year the photograph was taken, any information on the photographer and more for each image. Anything that I find out about the photograph gets recorded and saved, and becomes the metadata for the image.
How do I research the images? In the best-case scenario, the back of the photograph will contain most of the information you’re looking for. It is common to record the date and who was in the photograph. The downside to this is trying to read handwriting – often the information is there but hard to read! Sometimes, a box of photographs has a content list in it. This is also a good place to look for information, because if someone else researched the photographs before me, there is no need for me to do it again. The folder that a photograph was in can contain information on where the photograph came from, such as the name of the person who donated it to the Center.
The Center also has large files of information on objects that have come into the Center. If I have just a small piece of information, like a name, I can take it and go hunting. I can use the finding aids to try and find out where it came from and when, possibly identifying people in photographs.
Despite my best efforts, frequently I can’t find anything out about an image. In that case, I label it as unidentified. For example, does anyone know who the heck this is?
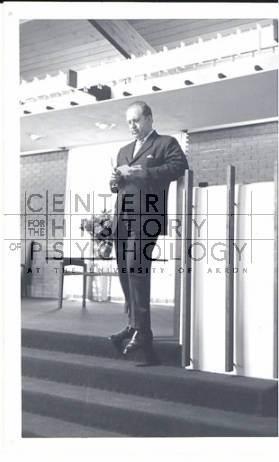
With the information saved for each image, I carefully box everything back up and return it to the shelf. Time to start on the next box!
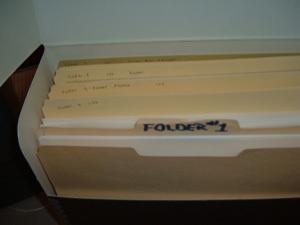
The completed product!
Michelle Breckon is a student in Kent State University’s School of Library and Information. She earned her undergraduate degree in English literature with a minor in writing from Grand Valley State University in 2009. She started at Kent State in 2010 and plans to graduate in December 2012. Michelle has proved to be a fabulous member of the CHP team and we’re glad to have her on board.
