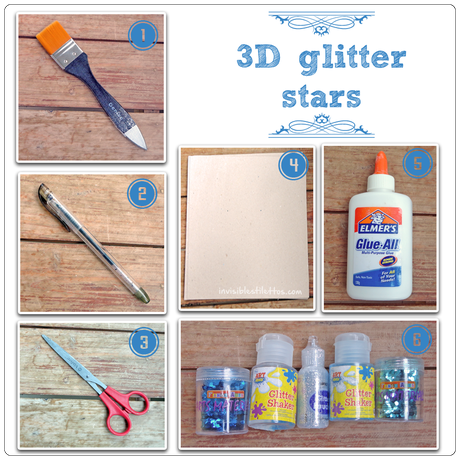
First, gather our materials. For this project, we will need the following:
1. Brush
2. Pen
3. Scissors
4. Cardboard or cereal box
5. Glue
6. Glitter of your choice
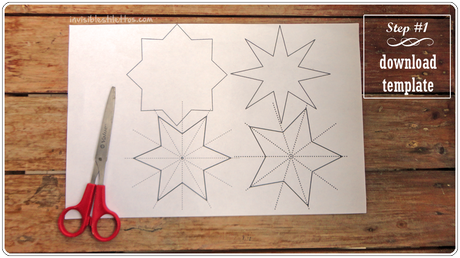
 To make this project, we need to download the template. I got these cool star shapes from this web site. Just print on plain paper according to the size you want. You can make larger or smaller stars on either Photoshop or Microsoft Word. For Microsoft Word users, copy and paste the image on a new document, then just right click the image, select format picture, then go to "size tab," and adjust size accordingly :)
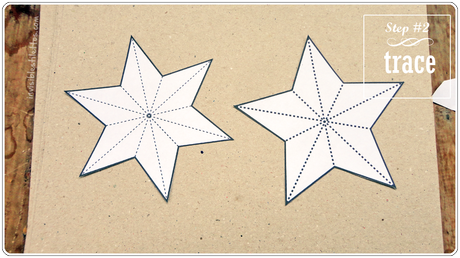
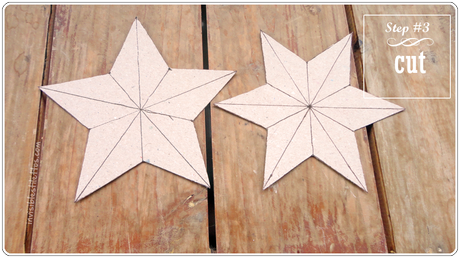
 Next, after printing the template, cut the stars and then trace each one on the cardboard. I used the six-pointed and five-pointed stars for this project.
 After tracing the stars, just cut then make identical markings like the ones I made below. These lines will serve as our guide for folding the stars to make it look like 3D.
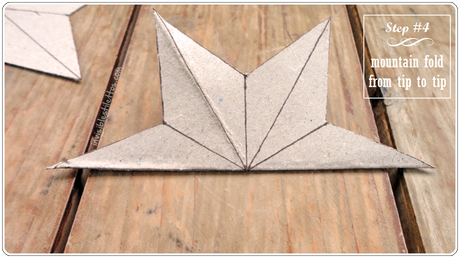
 Okay, first, we need to know what valley fold and mountain fold mean. You can make a valley fold by bringing two ends of the paper to each other, facing upward, thus making a trench at the center. While to do a mountain fold means you need to fold the paper away from each other, facing downward this time, thus making a peak or mountain :) For our six-pointed star, we need to make a total of three mountain folds from one tip of the star to the tip opposite it. See image below.
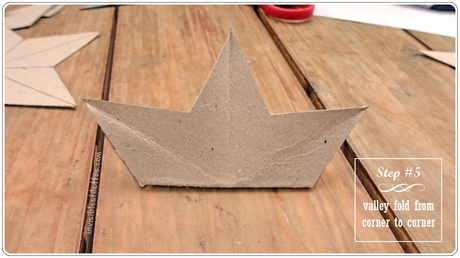
 Now, make valley folds from one corner to the corner opposite it. Do these for all six corners by making a total of three valley folds.
 Repeat the above steps until you are done will all of your six-pointed stars. The same method applies for other stars as long as the tips or points are even in number.
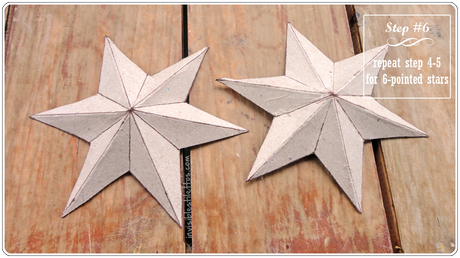 Now for the odd-numbered star like this five pointed one, we need to make alternate valley and mountain folds. For the tip, we need to make mountain folds. Then the lines beside the tip which are the corner lines, we need to make valley folds. Just make the folds halfway starting at the center point. Do this for all 10 lines.
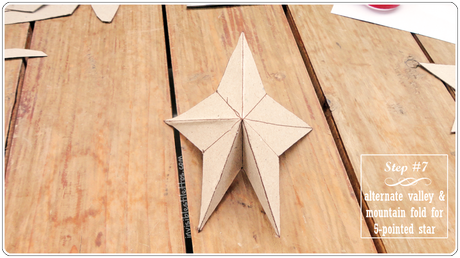 Repeat alternating the folds for all your five-pointed stars. Can you see the effect we made by just folding? The stars now look like they are 3D and have the beveled effect.
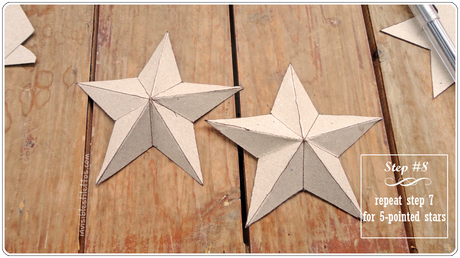 Now, the fun and messy part begins :) Take you glue, place a generous amount on your stars then use a brush to spread it evenly making a decent coat of glue on the face of the star.
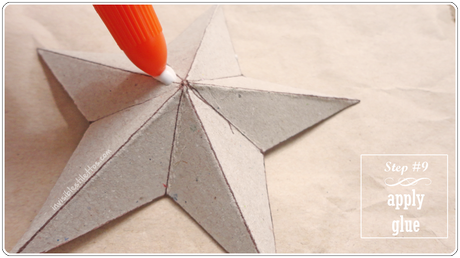 Next, sprinkle away! Sprinkle the glitters as evenly and generously as possible then tapping off the excess glitter. You can add extra glue if the star is not fully coated with glitter. Do these for all your stars. I chose silver and blue for this project to go with my blue Christmas theme.
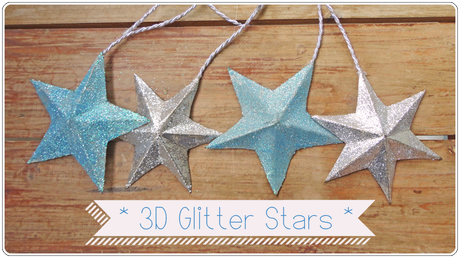
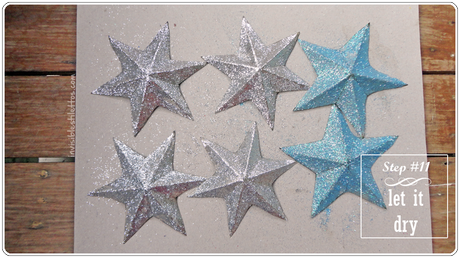
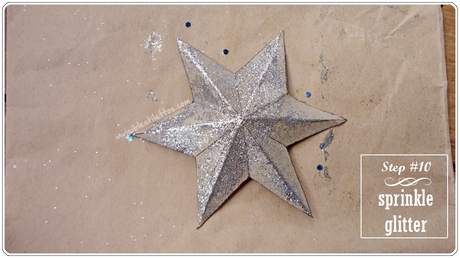 Just let the glue dry and you are done! Super easy, right? These are how my stars came out. I think gold and red or red and green would make a very nice and classic combo too.
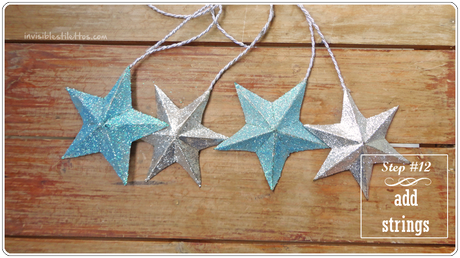
 I just added strings to by placing glue at the back then attaching the strings and letting it dry. If you were to make this project, were will you place it? I placed mine on our windows and they are super cute.
 Did you like today's DIY? If you recreated this project, I want to see your version. Add us on Facebook and tag the photos of your recreation :) I really would love to see them. Merry Christmas everyone! Until next time!
