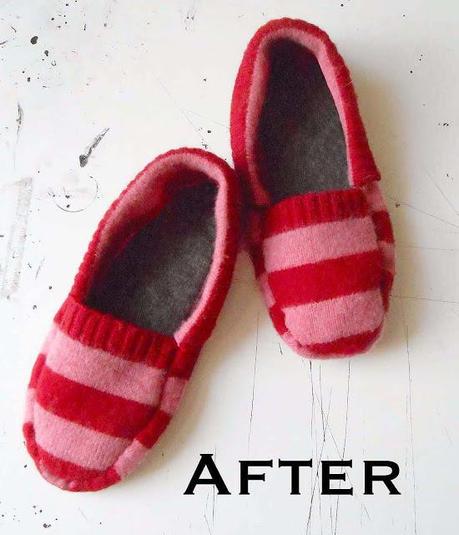
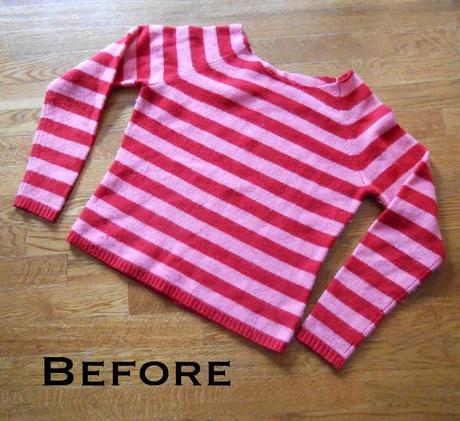
Materials:-old sweater-2 pieces of 12"X 8" felt (maybe larger if you have a really big foot)
 Creating The Footbed
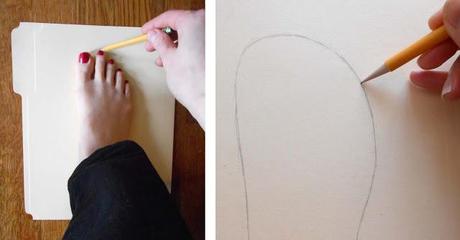
Step 1: Trace your foot onto a manilla folder. Clean up the shape till you like the way it looks.
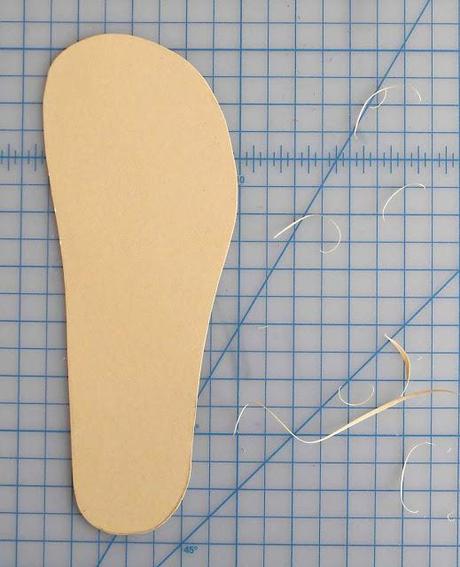
Step 2: Cleanly cut out.
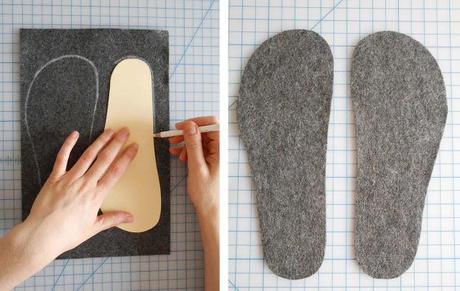
Step 3: Next trace the pattern onto your pieces of felt. Trace the pattern twice per piece of felt, as we'll need two piece per slipper- one for the sole and one for the midsole.
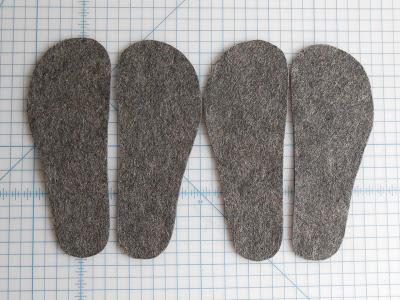
When you're done you'll have 4 foot shaped pieces of felt:
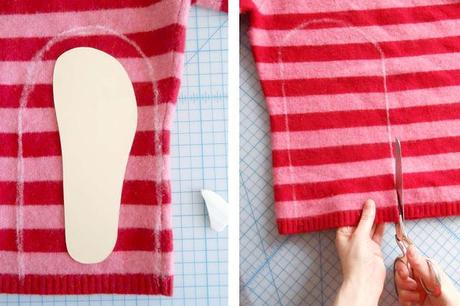
Step 4: Now place the foot pattern onto the sweater with the heel 1 1/4 - 1 1/2" away from the bottom edge of the sweater. Draw and arc around the pattern that is 1" above the toes and then extends straight down. (Don't worry that there is more allowance on the sides; it's supposed to be that way!)
Step 5: Cut out.
Flip the pattern over and repeat steps 4 and 5 for the other foot.
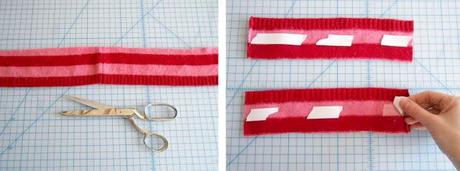
Step 6: Use double stick tape to stick to stick the felt piece onto the sweater.
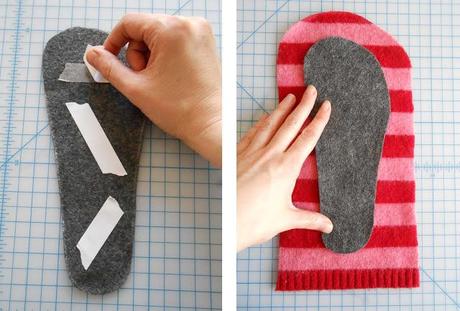
Step 7: Then repeat on the back side. Take your time to try to lineup the two pieces of felt as precisely as possible. (It will make the sewing look much prettier!)
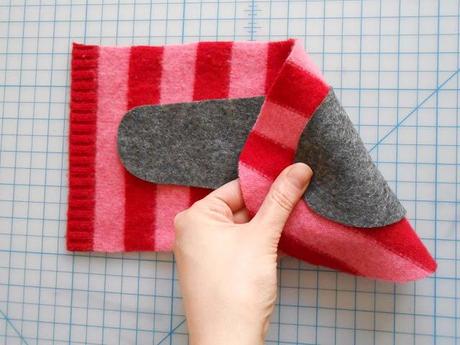
Step 8: Place on your sewing machine with good side facing up and stitch all around.
**This step can also be handstitched. I'd suggest using a contrast color embroidery thread, so that it will become part of the design.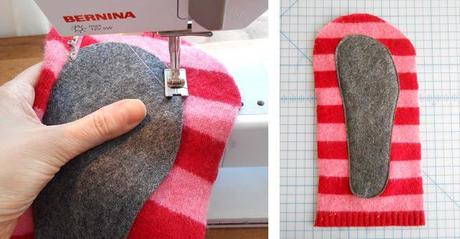
Now we'll make the plug. (This is the part of the slipper that will be on the top of our foot, with footbed sewn all around it.)
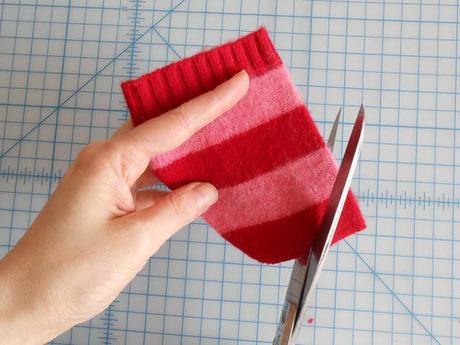
Step 1: Cut off each of the sleeves 5" from the bottom.
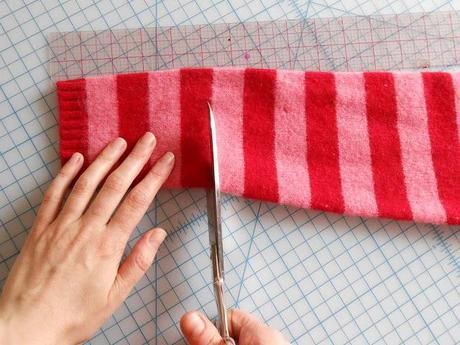
Step 2: Stitch the sleeve opening shut.
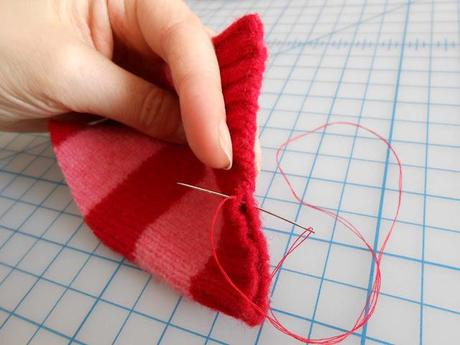
Step 3:Round the other end. When you've finished this, the plug will look like an egg with a flattened bottom.
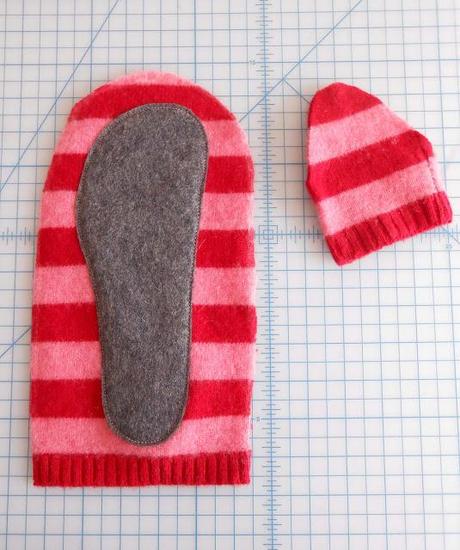
Now you have all the pieces and are ready to assemble the slipper!
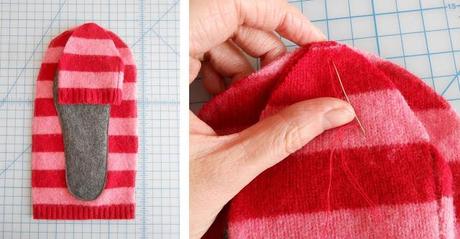
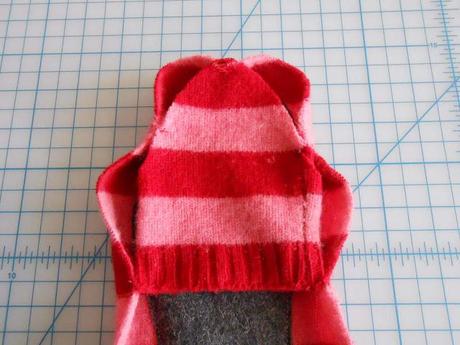
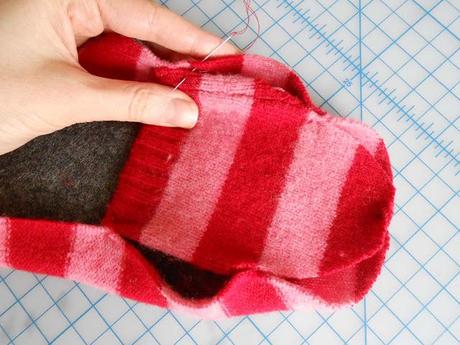
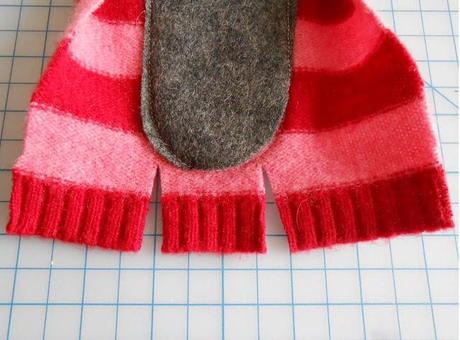
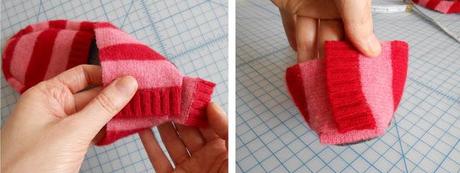
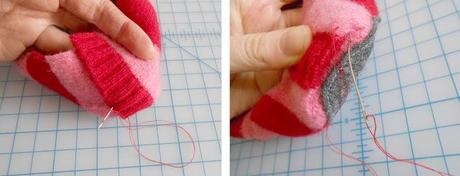
Step 2: Pull the plug back 1" from where it would rest naturally and tack stitch the left and right corners onto that place.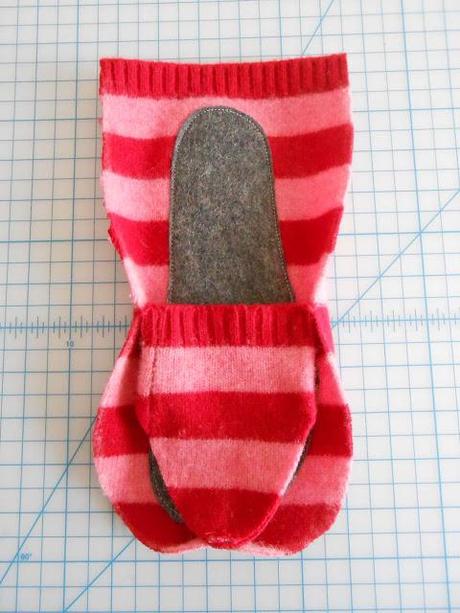
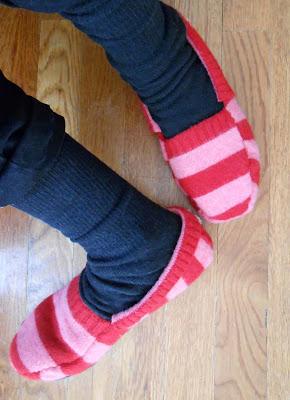
Think warm thoughts. The spring will be here before we know it:)
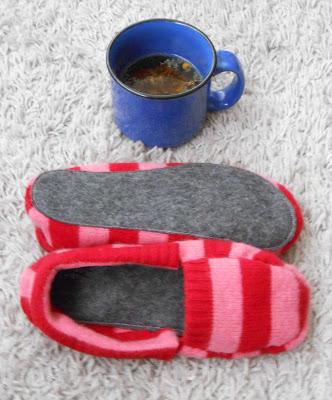
*manilla folder
*pencil
*scissors
*double stick tape
*needle and thread
*tailor's chalk
*sewing machine (optional)


posted on 07 February at 07:48
Very nice! I love this pattern and you describe the steps so clearly. :)