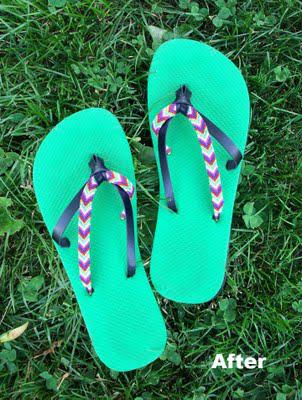
 If you happen to suck at making friendship bracelets, no worries you can still do this project! The super pretty bracelets used in the project? Totally did not make them! I bought these from L.A. Raised, one of many great shops on Etsy featuring friendship bracelets.There are also lots of excellent tutorials online. My favorite for the chevron design comes from the ladies of Honestly... WTF. You can find it here. The more string used in your bracelet the wider it becomes, so plan your bracelet making accordingly.
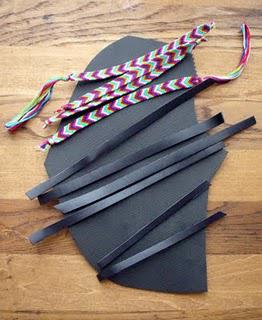
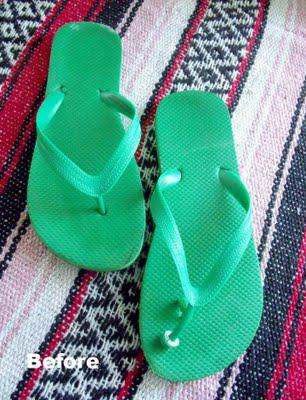 Materials: -flip flop soles -4 friendship bracelets-4 strips of leather, 8" long-2 strips of leather, 6" long-thin piece of soling rubber-shoe glue (important note about gluing at the bottom of this post!)
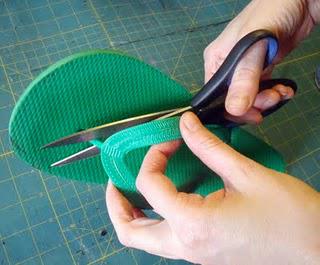
 Prepare The Soles:Step 1: Cut away the straps.
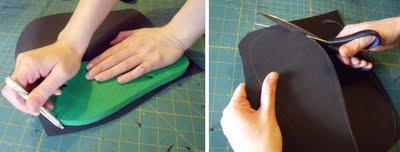
 Step 2: Lay each flip flop on the rubber soling. Trace around then carefully cut out the shape directly on the line.
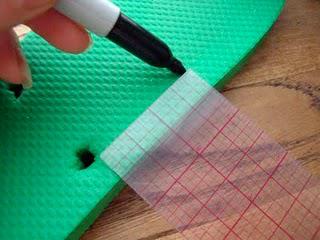
 Step 3: Make a mark with the sharpie 2" away from each of the two back holes, going toward the toe.
 Step 4: Using a punch and mallet make a hole directly over each sharpie mark.
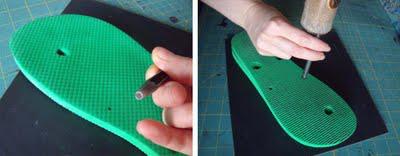 The finished sole should look like this:
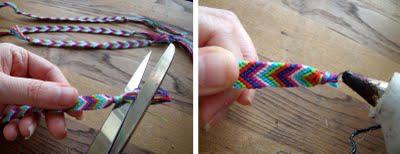
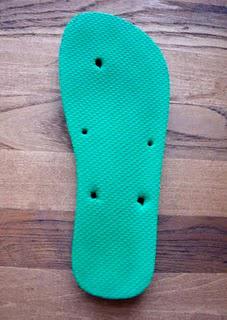 Preparing the StrapsStep 1: Start by cutting away any excess string above the knot and then putting a small drop of glue on the end to keep any of the ends from slipping through the knot.
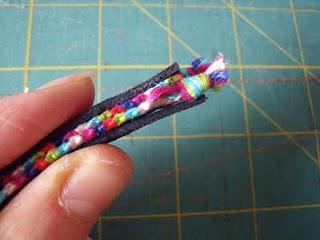
 Step 2: Sandwich the bracelets between the two longer pieces of leather, making sure the good sides of the leather are facing inward. Also, be sure the bracelet's design are facing in the direction you want them to.
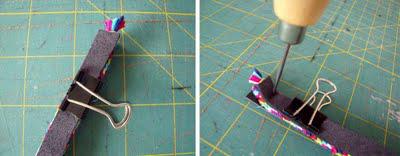
 Step 3: Use a small binder clip to clamp the all four pieces together, to prevent anything from slipping out of place. Follow by piercing four holes through the pieces with an awl.
 Step 4: Sew all together by sewing through the 4 holes. It's important that you use a strong thread for this part, such as #69 bonded nylon.
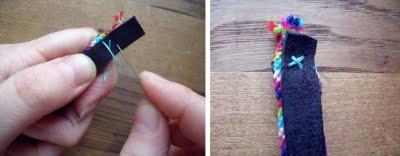 When you are finished sewing, open it up like this.
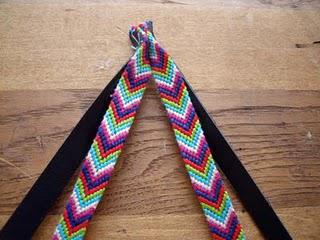 Step 5: Fold the slightly shorter piece of leather in half and lay your open strap on top of it with the loop created at the mid point sticking out.
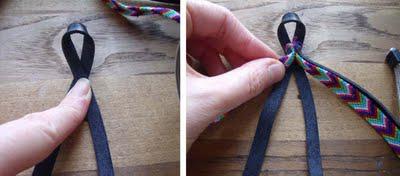 Step 6: Put the two ends of the short piece of leather through the loop and pull to tighten. You may need to work this area with your fingers to make sure that the tightened loop looks uniform.
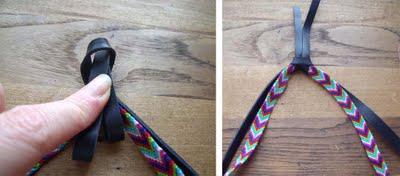 AssemblyStep 1: Now that the straps are finished you're ready to begin inserting the ends of the straps one by one through each of the holes. I found it was easier for me to do this with needle nose pliers, than with my fingers.
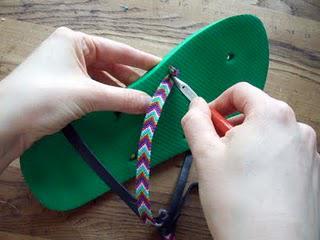 When you're finished it will look like this.
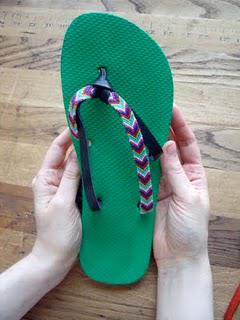 Step 2: Begin taping the pieces of strap onto the bottom of the flip flop. Having your foot in the shoe when you do this step is crucial to ensuring a great fit. Tighten or loosen the straps accordingly, before taping into position.
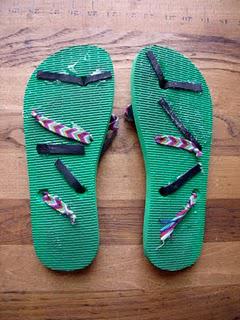
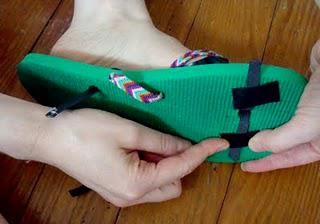 Step 3: If you have any strap pieces to close or going beyond the edge of the sole trim away with scissors. When you are finished with this step the bottom of your flip flops will look like this.
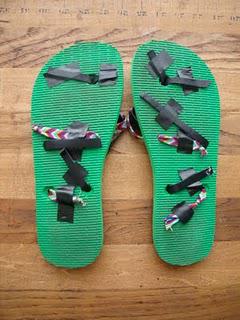 Step 4: Begin gluing each strap into place by carefully lifting each strap and putting glue onto the sole and firmly pressing the strap back down over it. If the glue you are using is a contact glue both pieces being glued with need glue on them and you won't press them together until both sides are dry.
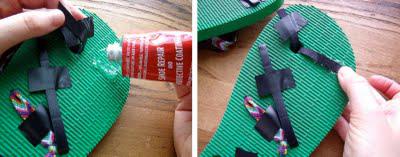 When you are finished your flip flops will look like this:
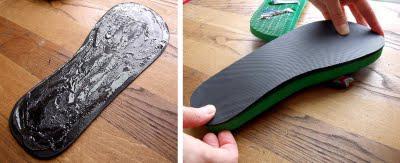
 Step 5: Completely cover the the side of the sole that will make contact with the flip flop in thin layer of your glue. Take your time to carefully lay the soling leather over top of the flip flop bottom.
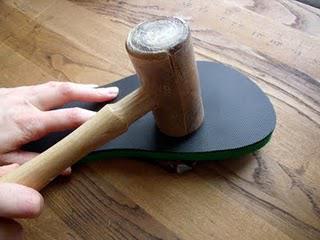
 Step 6: Pound with a mallet to ensure adhesion, giving extra attention to the edges.
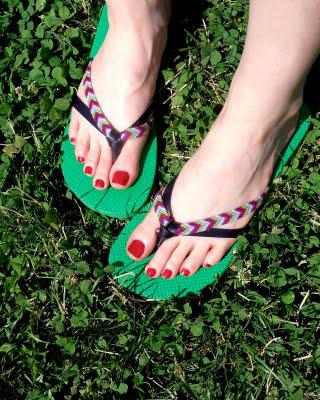
 Wait at least 24 before wearing so the glue has a chance to fully set, then you're ready to go!
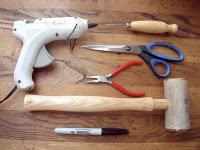
 TOOLS*scissors*awl*needle nose pliers*needle and thread*sharpie*glue gun*mallet
 **The glue I used for this project was the widely available, Shoe Goo, but if you can get your hands on some Barge permanent glue it's a more liquidy, making it a easier to spread around. No matter what glue you are using the nasty vapors are no joke! Make sure that you follow the glue's directions and definitely be in a well ventilated area.

