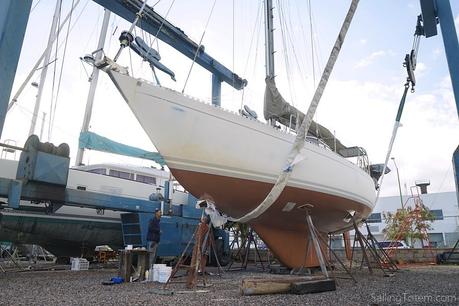
Coppercoating Totem’s hull was a thrilling prospect, but pressure to do the application correctly gave me more anxiety any boat project in memory. The product features are substantial: a strong environmental case (nothing toxic ends up in the water, as with conventional antifouling paints), and solid financial value (the epoxy bottom should last for many years, a significant savings). But long term success relies on nailing the application. We did NOT want to screw this up.
Totem started from bare fiberglass bottom (no gelcoat) because a prior owner peeled it, presumably to resolve a blister problem. A clean gelcoat surface is best, ahh… if only! Our process to prep the hull, detailed here, took 18 steps. It also took a lot of ibuprofen! Honestly? This was the hardest part of the entire transition, because Coppercoat cannot be applied over existing bottom paint (every last bit of old antifouling must be removed) and the surface must be smooth. To understand why a smooth bottom is important, you must first understand a little more about Coppercoat.
The British Navy first used copper sheathing in the 18th century to mitigate marine growth. It was a miracle. Skipping ahead from wooden warships to fiberglass recreational boats, copper is still an effective method of deterring marine growth. That sheet form nailed to the bottom is a little problematic, though, so clever people worked out you can mix it into paints instead. Unfortunately, still problematic – the paint sheds, by design, which adds all kinds of nastiness into the water while losing effectiveness. Enter Coppercoat: pure, fine copper powder suspended in water-based epoxy.
Once applied and cured, the final step is to sand the surface to expose copper from within the epoxy. When done applying, sand the surface to expose copper from within epoxy. If the surface wasn’t smooth before Coppercoat, the final sanding will yield inconsistent copper exposure. Totem’s bare fiberglass bottom took much more work than a Coppercoat-over-gelcoat application.
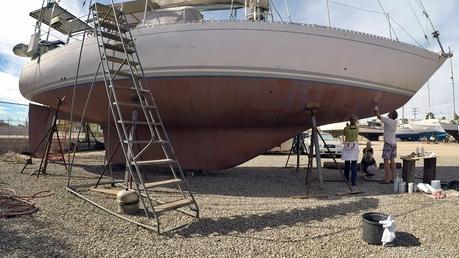
Starting the second coat: not pretty yet. Not at all.
Although applying Coppercoat isn’t complicated, each step needs attention. Getting the application right is key to product success, and we felt that mixed reviews we read online stemmed from improper applications. Coppercoat provides a lot of information to help you get it right, from the UK company’s directions to their US retailer’s six-page list of “do’s and don’ts” with additional tips and tricks. Phone support from the Coppercoat team in the UK helped us to get it right and mellowed my nerves.
Coppercoat epoxy kits consist of three parts: a container of resin, another of catalyst, and a bag of fine copper powder. Coppercoat UK directed us to also add isopropyl alcohol (must be 90% or greater) to add, thinning the mixture.
- Mix resin and hardener parts thoroughly
- Add isopropyl alcohol (four or five capfuls for the first two coats, five or six in later coats)
- Add the copper powder and stir until evenly blended
The mixing was easy: one kit at a time. It took three kits for coats one and two, four kits for coats three and four.
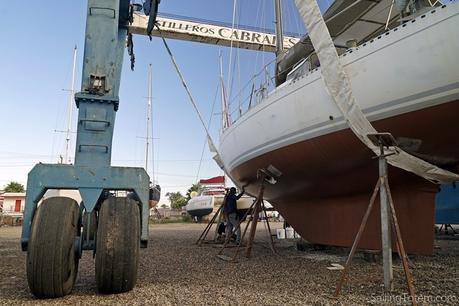
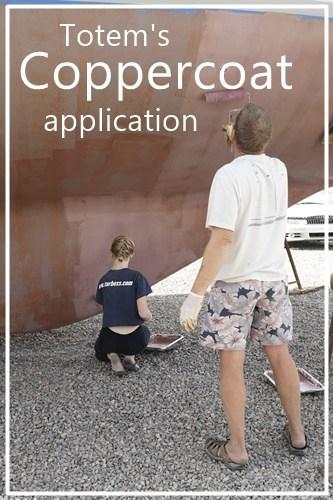
Application is a multi-person job for all but the smallest boats. On Totem, it required three: one person to mix and two people to roll it on. The mixer must monitor while rollers are busy applying, to ensure copper is not settling to the bottom of the container. With Mairen and Siobhan helping, we had four people; that gave one person a chance to rotate out for a spell, or freed someone to get drinks or sandwiches. We did the work in early December at Cabrales Boatyard in Puerto Peñasco, where Totem rested for months to dry out wet fiberglass.
Application morning
We’ve never done this, never seen it done, and really didn’t want to screw up. Cabrales Boatyard’s manager, Salvador, has been there / done that with Coppercoat. He provided great support, helping us get rolling (sorry…) on application day. In reality it’s quite simple, but his presence and advice took the pressure off us Coppercoat newbies.
Humidity is highest at sunrise, so even in arid Puerto Peñasco (hello, Sonora desert) we waited for the sun to lower overnight dampness, warm our bones and warm the boat. A perfect time to clean the hull in final prep, right? We initially planned to do a wipe-down with isopropyl alcohol. Jamie had just wet the first rag and was wiping it at the bow when I had a chat with the Coppercoat folks in the UK who said – stop! They directed us to just do the dry wipe instead, and said that ideally, we’d have washed the boat with plain water and allowed it time to dry. We were out of time for that, but a dry wipe was sufficient.
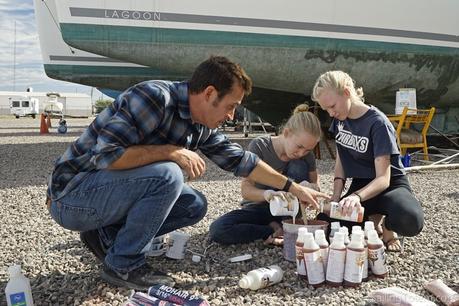
Salvador Cabrales helped us mix to ensure that we were doing it right.
Rolling proceeded steadily. Each subsequent coat was applied over the last before it dries, “hot coating” to provide a chemical bond. At that point, the surface is tacky: that is, it’s still sticky, but no material comes off when touched. If any material comes off, it’s still too wet! With two people rolling full time, we completed one coat on the hull at just the right time to start a second coat. That’s great, although a break might have been nice…
The product mixer’s role – Mairen owned this! – included topping up the trays used by those rolling it on, and watching their timing in working through the product. If we had to wait for the next kit to kick, we risked falling behind and having product on the hull dry too much for hot coating.
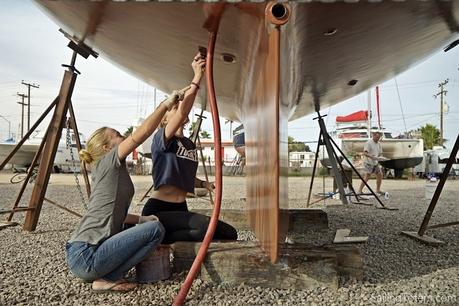
Sisters working together: touching up around exterior fixtures
We’re lucky it wasn’t hotter weather in Puerto Peñasco, as that could have caused the epoxy to kick faster and made our task more complicated if we couldn’t keep up. If a coat dries, you default to physical instead of chemical bonding on the next coat: the first must cure, then get roughed up, then the application process can resume.
Initial coats go in more thinly; later coats were thicker, as the tacky layers beneath softened the application layer and grabbed more paint. These later coats used substantially more paint than the first. It was exciting to see Totem go from looking like a boat with a bad rash to a glittering metallic hull.
Application complete! This was one very long day. It was hardest on Jamie, who rolled for the duration. Although all four coats were applied to Totem in a single day, the project took a week in total. Three days were needed to cure before Totem could be lifted to move keel supports and jackstands to coat previously uncoated areas. Then, those areas need to cure before final sanding and launch.
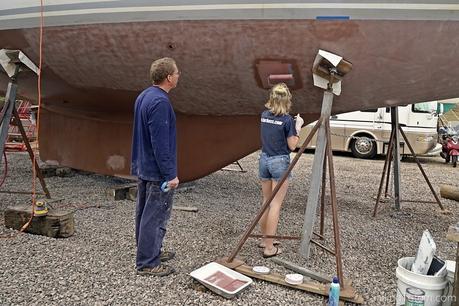
Jamie supervises while Siobhan applies coppercoat under areas covered by jackstands.
Nearly four months in, we’re really happy with the bottom. It’s performing as hoped, and I wish the water here was clear enough to show it off better.
Next: what it costs, why it’s a good value vs. antifouling paint, DIY vs. professional, and how the bottom looks after several months in a high-growth area.
