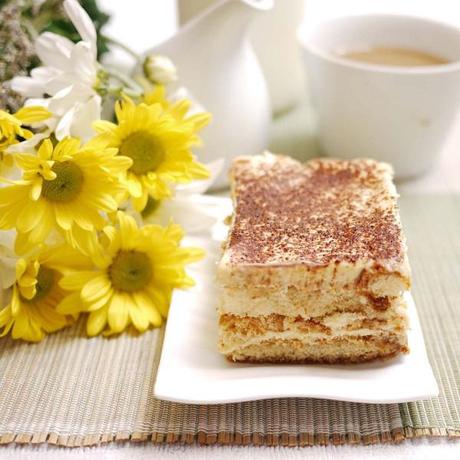
I’ve always seen the classic tiramisu as a very sophisticated dessert which requires mad baking skills and finesse in cake layering and decorating.
Boy, was i misinformed. This has got to be one of the easiest dessert i’ve ever whipped.
Here, let me show you my step by step
First, we start with the sponge fingers.

Store bought sponge fingers of course. I dont think i would be remarking how easy this dessert was if i had to bake my own sponge fingers. LOL.
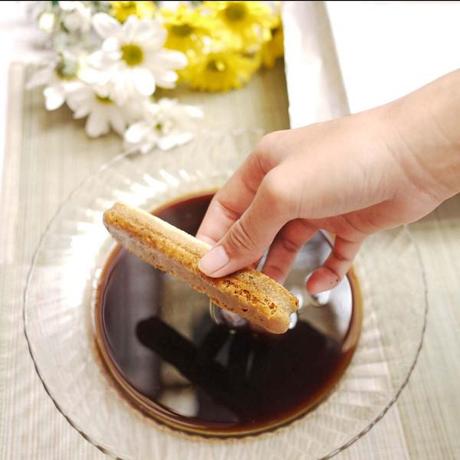
Dip them sponges in coffee. Not just regular coffee.
Rum spiked coffee.

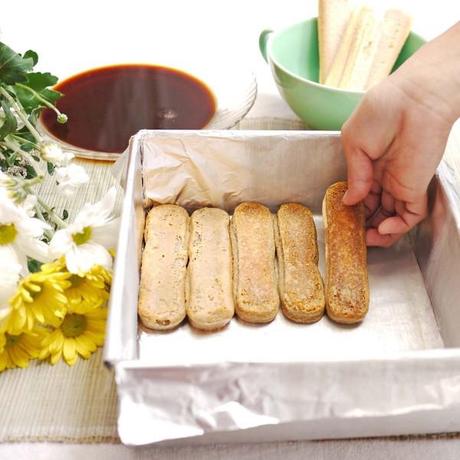
This band of boozed up sponges are then assembled to form a groupie.
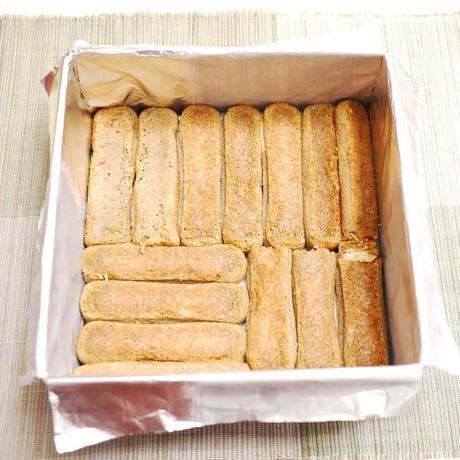
Of course, we cant be expecting the sponge fingers to fit exactly into whatever vessel you choose to house the tiramisu in. I’ve snipped the tails and heads of some unfortunate sponge fingers so that they could fit into my 8 x 8 square pan.
You might also realize that i have lined my baking tin with aluminium foil. This is for easy lifting (More on that later).
Let’s get on to the filling!
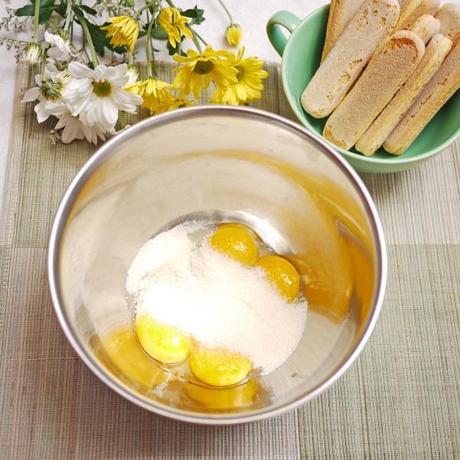
Couple of yolks beaten till they are pale and light.
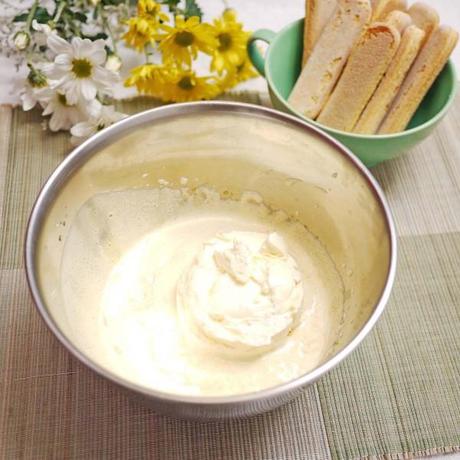
To which the mascarpone goes in.
Beat together till lump free,
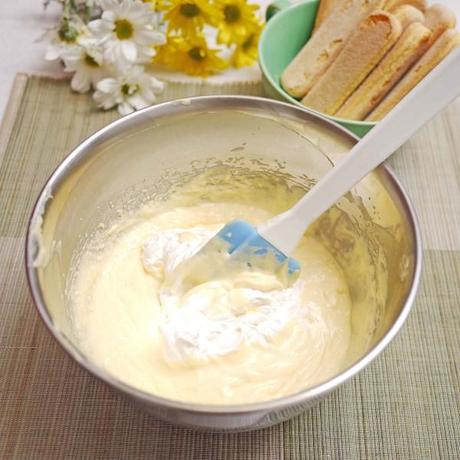
and fold in some softly whipped cream!
The filling goes over the dunked and the drunkened,
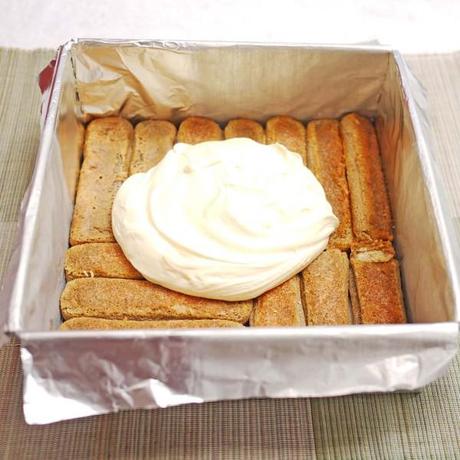
before another layer of tipsy happy sponges get on.
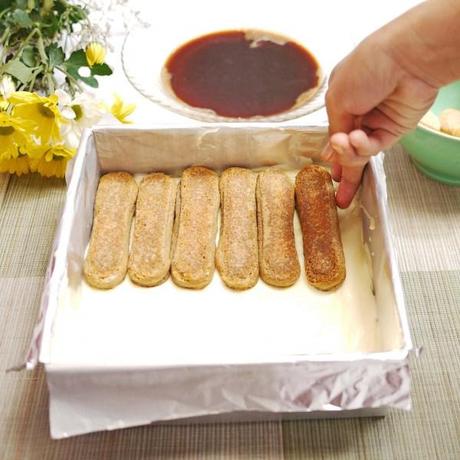
We repeat the same sequence with the cream over this second layer of sponge fingers, and dust it off with a little cocoa powder
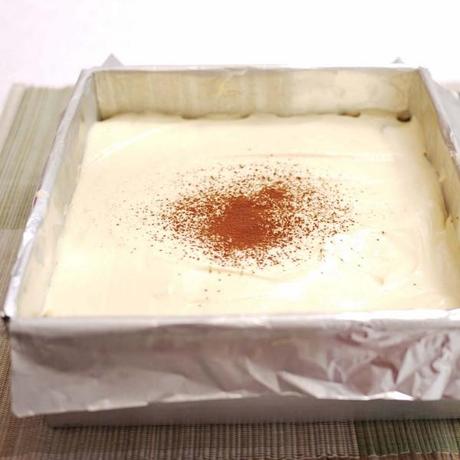
And voila!
Next comes the hardest part of the recipe.
Refrigeration. For at LEAST 4 hours.
I needed some major distraction to stop me from peeking into the fridge every 10 minutes.
I went shopping
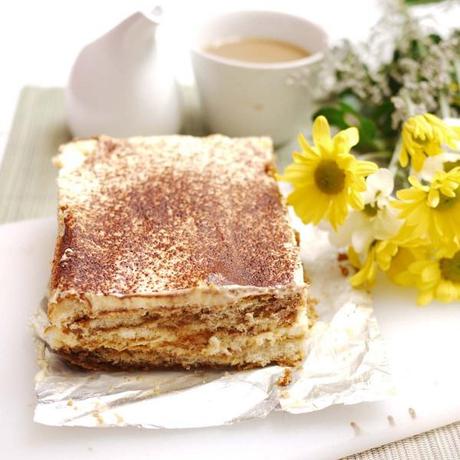
After an all too fruitful shopping trip, with me buying things on a shopping trip that was totally uncalled for, i came home to this.
A beautifully set tiramisu which i eased out effortlessly using the overhang from my aluminium foils.
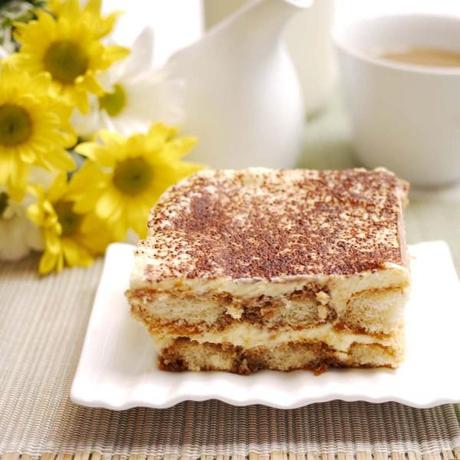
Enough talking, this post is getting too long
Let’s dig in!
Recipe:
Tiramisu from Brown Eyed Baker


