Remove all distractions from your life, and you find out what you’re made of. I never knew how physically and mentally capable I am until I thru-hiked the John Muir Trail. Though I struggled to sleep while battling cold nighttime temperatures, my body still got me to the top of Mt. Whitney. My best friend and I decided on a whim to hike the JMT; relying on walk-up permits and last-minute resupply drop offs. I had no idea what I was getting myself into, and thus began the most formative 17 days of my life.
Though it’s difficult to get permits and transportation is not straightforward, thru-hiking the John Muir Trail is a once in a lifetime opportunity. I truly think with the right itinerary, anyone can hike the trail. It’s perfect training for a longer thru-hike, or a wonderful goal for beginner to intermediate backpackers. Whether you do 10 or 20 mile days, completing the full trail is an amazing accomplishment and unforgettable experience.
Overview of the John Muir Trail
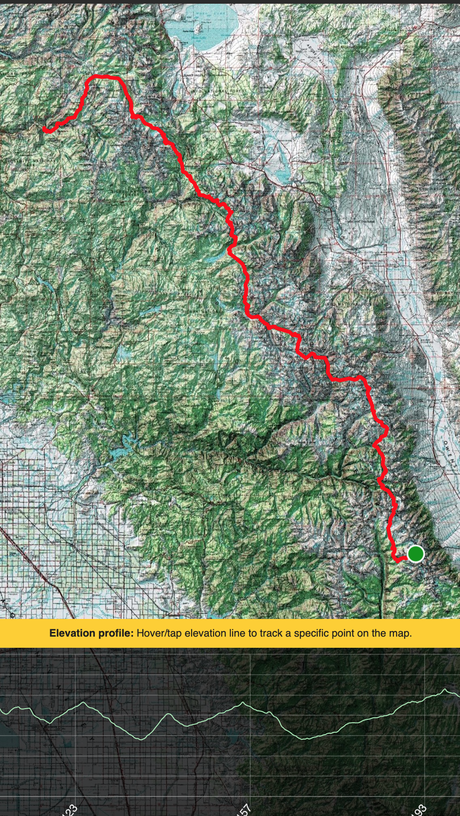
- Distance: 211 – 240 miles
- Elevation gain: 45,000 – 50,000 ft
- Difficulty: Hard
- Days to hike: 14-24
- Camping options: Everywhere, except few designated areas
- Permit required: Yes
- Water availability: Plentiful all season
- Best time of year: July – September
- Terrain: High alpine rocky trail, lower meadows on dirt and grass
Why Hike the John Muir Trail?
Logistics are tricky, the terrain is unforgiving, and weather conditions are unpredictable. But, I would go back in a heartbeat. Whether you’re a seasoned thru-hiker or this is your first multi-day trip, there’s a way to hike the JMT.
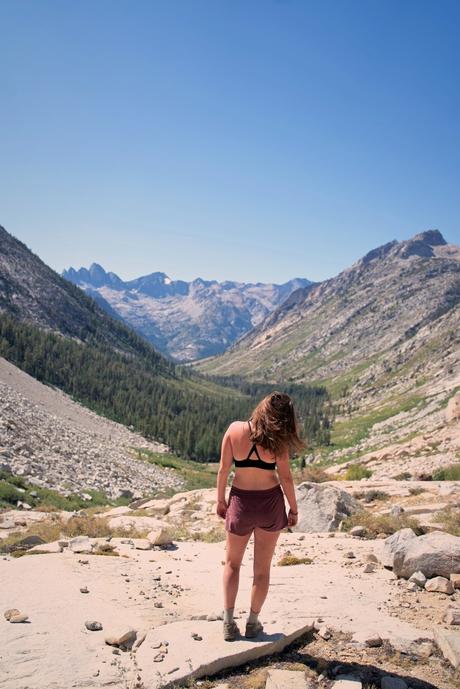
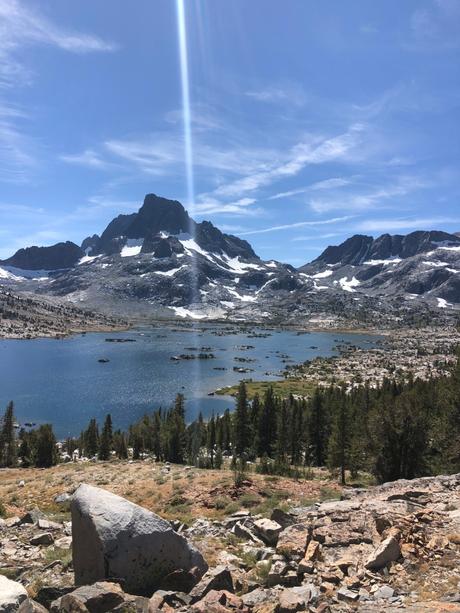
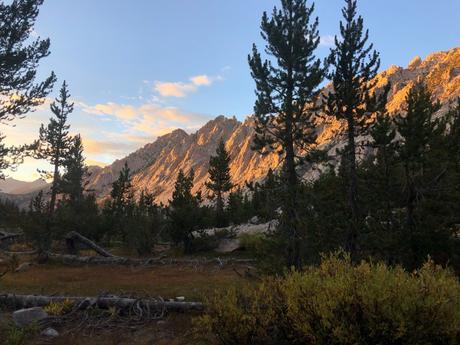
Difficulty aside, the Sierra Nevada wilderness is one of this world’s greatest gems. From the top of each alpine pass, layers of mountains expand in each direction as far as the eye can see. Between each range of mountains expansive green meadows, streams full of fish, and frigid alpine lakes make each step interesting. Though the JMT was physically and mentally challenging, the views and true solitude still frequent my day dreams.
Southbound or Northbound?
The JMT is a brutal butt-kicker either way. However, a Southbound trek offers hikers the opportunity to break in their trail legs before tackling any major passes. Southbound, from Yosemite to Mt. Whitney, is the classic route of the John Muir Trail. With a Half Dome permit, hikers can start by summiting one of this country’s most iconic rock features, and end by standing on top of the continental US. Additionally, the length and elevation of each pass increases as you head South. So, if your preference is to start off easy and work up to the major climbs then Southbound is the best option. However, permits are in much higher demand for the classic Yosemite Valley start.
On the other hand, a Northbound hike starts with high elevation passes and mountains, and gradually gets easier. If you’re intrigued in this route, it’s imperative to hit the trail already in killer shape. Additionally, you may be starting out with quite a long resupply, AKA heavy pack. However, there are a couple of benefits to this option. By walking right into Yosemite Valley at the end of your trek, any transportation or stashed cars you have will be right there without having to hitch or arrange a ride. Additionally, permits are much easier to secure and are allotted via a daily lottery, or by walk up.
When I hiked the JMT, we went Southbound and started with a Half Dome summit. I loved spending the first few days in Yosemite, gradually working up to the first climb up Donahue Pass. Additionally, our first few resupplies were five and four day carries, which gave us a chance to strengthen our cores before a full seven-day carry out of Muir Trail Ranch.
The Permit System
- Option one – southbound advance permit: Via recreation.gov, hopeful Southbound hikers now apply for their permits in the same lottery as all other Yosemite backcountry trips. A full explanation of how and when to submit your application is detailed here.
- Option two – northbound advance permit: For a Northbound hike, getting permits to start at Whitney Portal is extremely difficult. However, hikers can start from either Cottonwood Pass or Cottonwood Lakes trails, which both connect to the JMT. Go to the Inyo National Forest permit portal (link here), then enter either Cottonwood Pass or Cottonwood Lakes as your starting trailhead. From here you will enter your rough itinerary, group information, and whether or not you plan on summiting Whitney. These reservations can be made up to six months in advance.
- Option three – southbound walk up permit: One day before your hopeful trip, hikers are able to claim the 40% of allotted permits available for walk-up. The Yosemite wilderness permit station opens at 11 am and begins to allocate permits for hikes starting the next day. With flexibility, this is a great way to score a last-minute permit for a highly coveted hike.
- Option four – northbound “walk up” permit: Last minute permits become available two weeks in advance via the same process as an advanced permit. More spots open up at this time on Recreation.gov.
We planned our JMT thru-hike about 10 days before our hopeful start date. With all our eggs in the walk-up permit basket, we were incredibly lucky. We camped out at the permit office starting at 6 am to be one of the first in line, and scored a permit starting from Happy Isles (Yosemite Valley) complete with a Half Dome add-on.
Transportation and Shuttles Between the Termini
The logistics of this trail are quite tricky. Personally, I think the best option is to drive to your starting point and then catch a shuttle or a ride back there at the end. Alternatively, you can stash a car at your ending trailhead and catch a ride to the start. Either way, the drives in between are long and the closest major cities are 3-4 hours away. When parking at Mt. Whitney Portal or Yosemite Valley for multiple weeks, be sure to clear your car of all scented items. Additionally, I like to leave a note on the dash with my return date so people don’t think I’ve died out there.
East Side Sierra Shuttle Service
YARTS Public Transit (Mammoth to Yosemite)
Resupply Options
The sign from Red’s Meadow – our first resupplyResupplying on the John Muir Trail is a lot more difficult and expensive than other thru-hikes. It requires pre-planning and shipping boxes, unless you have a ton of extra time to catch long bus rides or hitches into nearby towns. Here are the most popular resupply spots:
- Tuolumne Meadows: At about mile 30 southbound. In addition to a post office, there is also a restaurant and small convenience store.
- Reds Meadow: At about mile 60 southbound, this is a great day 4 or 5 stopping point. There is a small store where you can mail your package, as well as pick up a couple of extra items. You can also eat at their restaurant and book a lodge for the night, or camp.
- Muir Trail Ranch: Right in the middle of the JMT, this is a popular resupply spot. They’ll hold your package, and have a couple of spots to charge electronics and buy extra goodies. However, if you are not paying to stay at their ranch you cannot eat at the lodge.
- Vermillion Valley Resort: Though this is a further trek than MTR, including a ferry, this is probably the more popular spot for thru-hikers. VVR holds your package, gives you a beer, and offers you showers or food if you’re a thru-hiker.
- Onion Valley Campground: Not many hikers take advantage of this last resupply option, and opt instead to carry 8-10+ days of food out of MTR or VVR. To get to onion valley, you need an extra day to cover the 15-mile detour out to their stash boxes. You can either drop off a package yourself or mail it to Independence, CA and pay to have it shuttled up for you.
Camping, Water Sources, and Navigation
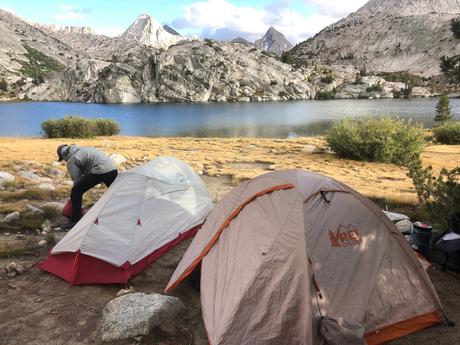
Camping is plentiful and absolutely breathtaking along the John Muir Trail. Besides a few designated “no camping” areas (well marked on any JMT map), backpackers can camp wherever. Just be sure to follow LNT guidelines – staying far enough away from water sources and the trail.
The longest stretch without water that we encountered was five miles, and this was mid-September (the drier season). Also, this area was well-marked on our map so we knew to fill up beforehand. We never once camped without a water source, and often only had to carry one liter at a time.
I highly recommend having both a paper map and GPS navigation for the JMT. We used an app which allowed us to download the entire trail route and see mileage, elevation, our location, etc. Additionally, we had this paper map. Every night we pored over the map to see what the next day held, and decided whether or not we could push further than expected. It’s also very important to carry a lightweight emergency GPS device, like a Garmin InReach mini or Spot Device in case of an emergency.
A Few Pro Tips
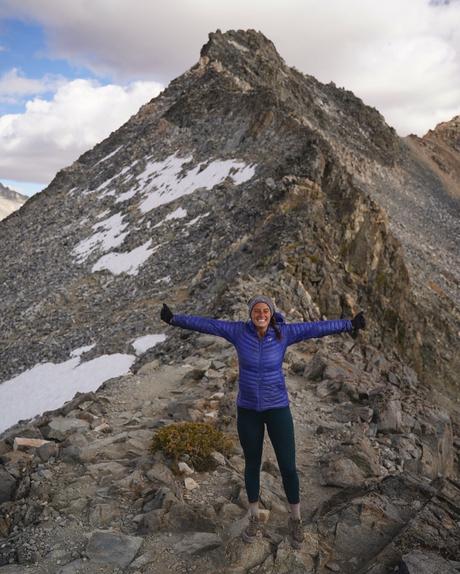
- Prepare for isolation. I wasn’t fully prepared for 7+ day stretches with zero cell reception. Though this trail is popular, it is extremely isolated. There were a couple days where we only saw a handful of other hikers in passing.
- Don’t wait to get in shape. Even if your itinerary is leisurely, you simply will not have a good time if you’re out of shape. Plan for long climbs with a heavy pack. Workouts like the stair climber with a weighted pack are great training. One hiker friend shared this advice with us: “You’ll be able to finish the trail no matter what. But, the better shape you’re in, the more fun you’ll have.”
- Plan a shakeout trip. You need to make sure that you like your gear. Research can only get you so far, you have to test your sleep and cooking systems to make sure they’ll work for you. Trying to camp overnight in a similar climate and elevation as the JMT, if possible.
- Think about your sleep strategy. Personally, sleep was my biggest struggle on the JMT. The cold nights at high altitudes were extremely difficult. In hindsight, items I could’ve brought to help me include nasal strips, melatonin, CBD oil, or a downloaded guided meditation.
- Always go swimming. The days that we took extra time at lunch to dip in a frigid alpine lake were always the best. There’s nothing like a fresh dose of cold water to recharge your mind and body.
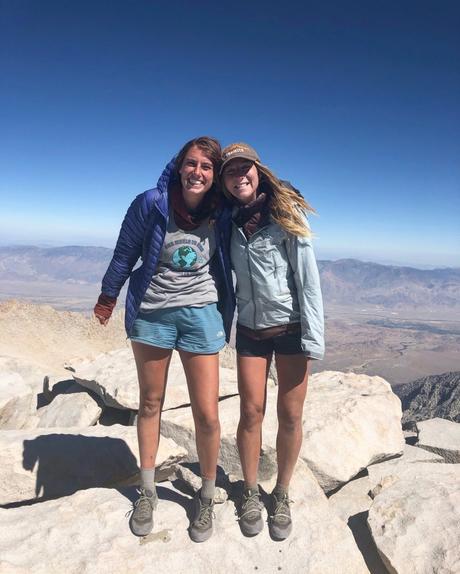
The 17 days that I spent hiking through California’s Sierra Nevada Mountain Range were some of the most formative days of my life. I can vividly remember each individual day in painstaking detail, though it’s been over two years since I reached Mt. Whitney. The JMT can break you down physically and mentally, in order to show you what you can do. As soon as I saw the hut on top of Mt. Whitney and I knew I had completed it, all the pain in my body disappeared and I floated the last quarter mile to the top of the US. No matter how many days you spend on trail, completing the full JMT is a once in a lifetime experience that I cannot recommend highly enough.
