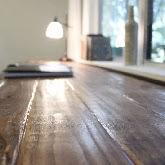
 As we all know, January is Build Your Wife A Desk Month. At least, that's what Leslie told me. She's a weekend writer. She has notebooks filled with stories and notes, her research of historical events, binders bursting with characters that only exist because of her imagination, and one of her favorite things to do on a lazy afternoon is take her laptop and binders down to the library quiet room and write the day away. Why the library? Well, we don't exactly have a writing desk--until now.
Ever since we moved into our new house about six months ago, Leslie has been on the look out for desks. They've all been too expensive, too big, too small, or not expensive enough. We knew we wanted a desk for our bedroom, a quiet place that we have managed to keep the chaos of the rest of our house from pervading. The trick was in matching it to our existing bedroom furniture and decor, and getting it the right height and width to match our big bedroom window, because we wanted to take advantage of the view that our yard will, one day, offer.
The only solution seemed to be to make a desk, and so we did. Leslie fell in love with a picture of a desk in House Beautiful magazine:

So, having never done anything like this before, I got to work. I found a pile of scrap lumber at Home Depot and picked up 16 1x4's for something like $1.50 each.
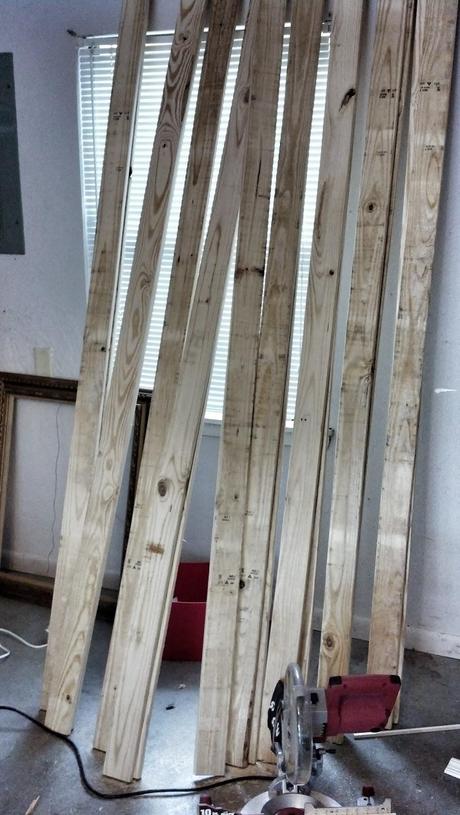
Wood
Cool. I set aside the best six for the top and cut leg pieces from the rest. I joined each leg with a cross arm using two machine screws.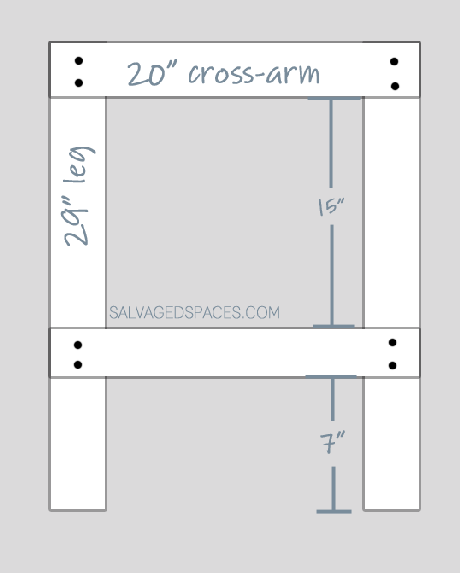
After the legs came the desk top. This was probably the hardest part, since most desktops are made by joining cleanly cut planks, but all I had was a bunch of splintery scrap wood. I glued them and clamped them and after about three days and two bottles of wood glue, I had a something to set on the legs:
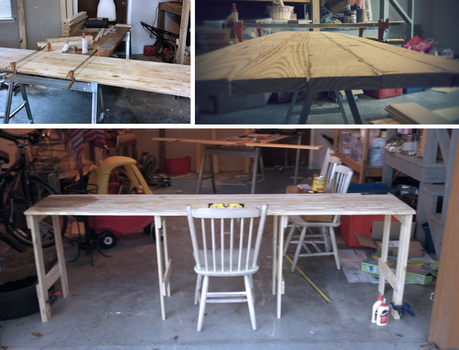
I still had gaps between the planks, so I tried a wood fill experiment, and it didn't turn out so great. Wood fill is advertised as "stainable," but it's stainable the same way a toilet is stainable: it can be done, but it's going to turn out looking like crap. In the end, I used another bottle of glue to fill the gaps, and it turned out relatively smooth and is a better match to the stain than the wood fill proved to be. I added a shelf with two planks and a cross-arm the width of the back of the desk to further stabilize it, then attached the top with trim nails and glue.
I've never had a ton of success with staining wood, so I tried a new approach: following the directions. I patiently waited for the stain to dry, then used a spray lacquer. I finished it with a coat of Howard Feed-N-Wax, which gave it an amazing shine.
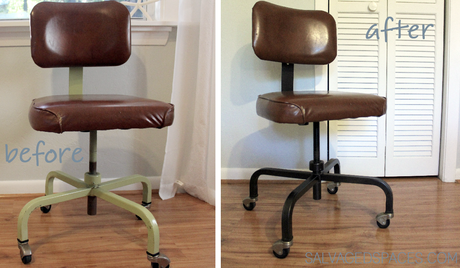
While I was at it, I spray-painted an old office chair that Leslie picked up a few years ago, so it'd go better with our furniture. I used Rustoleum Paint and Primer in Oil Rubbed Bronze for the chair, so it'd match some of the hardware finishes we have in our bedroom. Here's a quick before-and-after of the chair:
And here's the desk, two weekends and under $50 later:
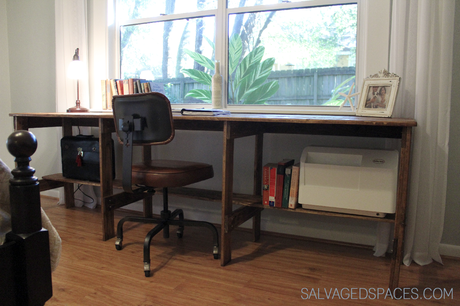
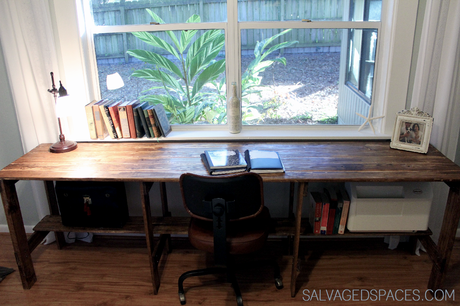
It fits perfectly along the window, and most importantly, Leslie is happy with how it turned out. She finally has a quiet place to write, sew, or do other projects, all without leaving the comfort of our bedroom. It's nice to make your wife happy.

