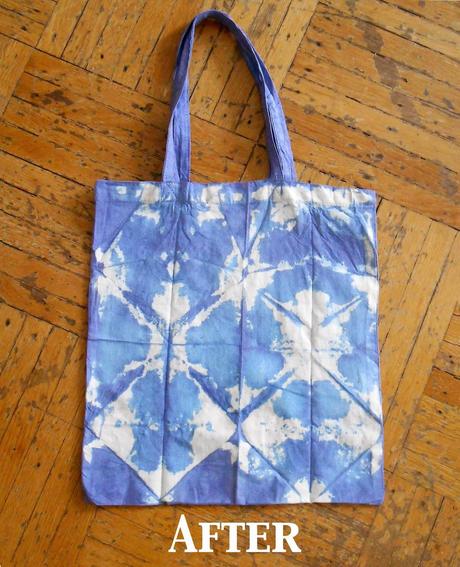
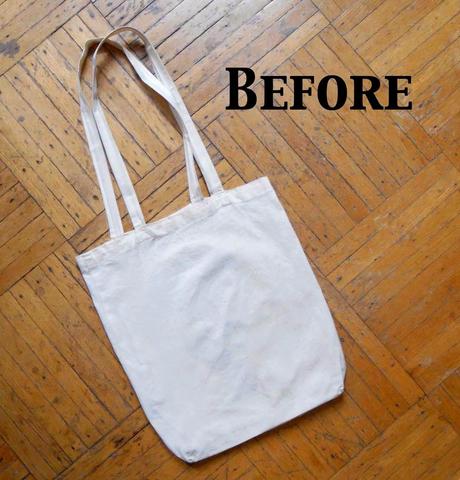
 Supplies:
*tote bag
*blue dye
*3 rubber bands
*small tub (to hold the dye)
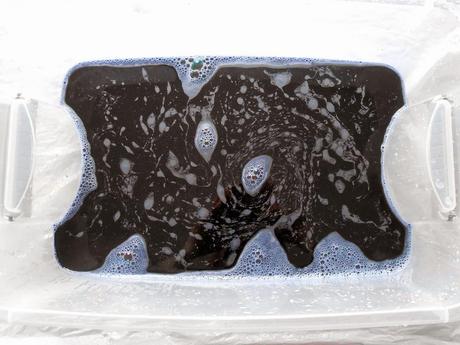
Step 1:Prepare a small tub of the dye in advance according to the directions.
Step 2: Fold the right and left sides so that the meet in the center.
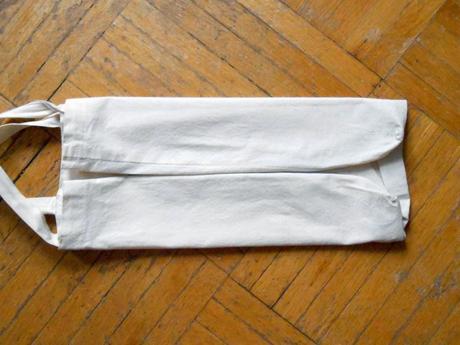
Step 3: Now fold the right and left sides back so they are touching.
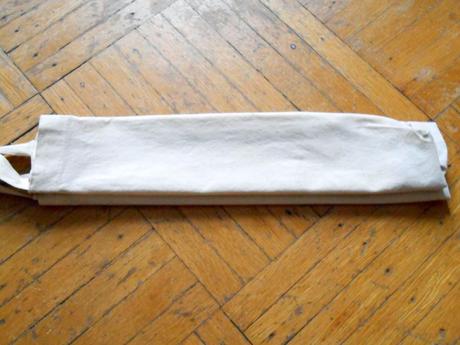
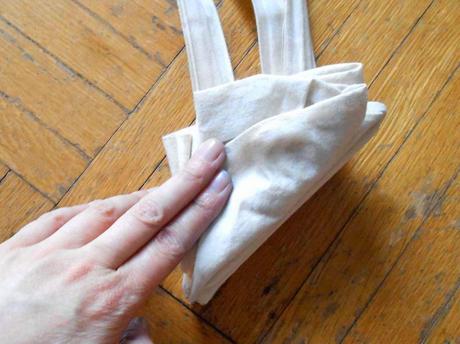
Step 4: Beginning on the end away from the handles, fold the corner in so that it forms a triangle.
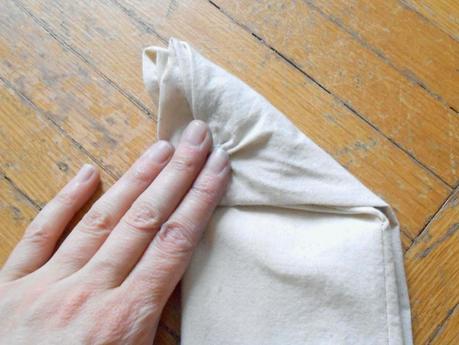
Step 5: Continue folding triangles all the way down the bag...
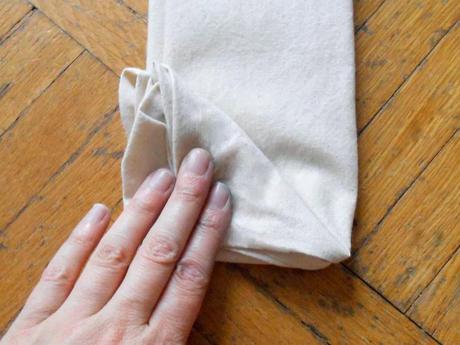
...until you have reached the the top of the bag.
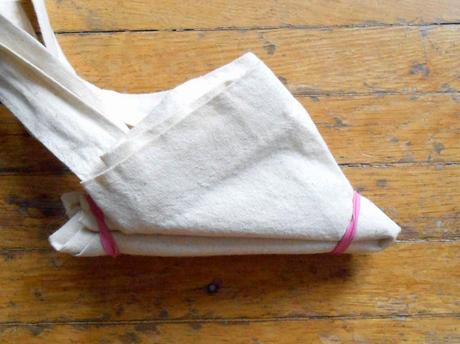
Step 6: Secure the 2 corners with rubber bands so that the bag will remain in a triangular shape.
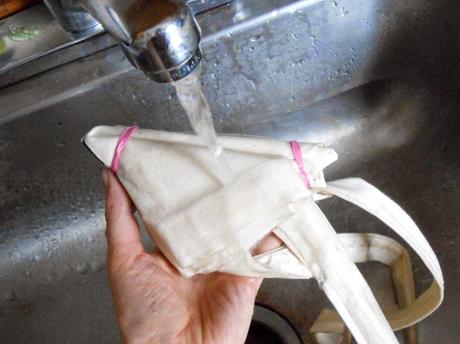
Step 7: Thouroghly saturate the tote.
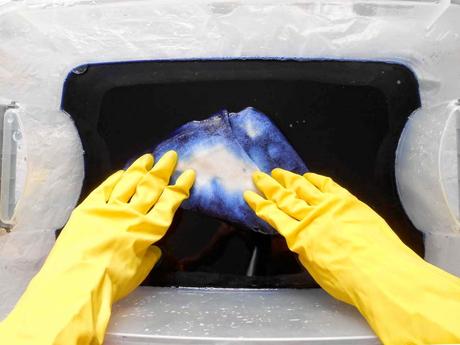
Step 8: Now you're ready to dye it! Submerge the tote in the dye. You may want to do an experiment with your fabric ahead of time, as results vary from fabric to fabric, but I found that about 4 minutes was all I needed to get the results I wanted on an unbleached cotton tote.
Step 9: Squeeze off excess dye and then hang to dry. Once the tote is almost completely dry, rinse until the extra dye is gone and the water is running clear.
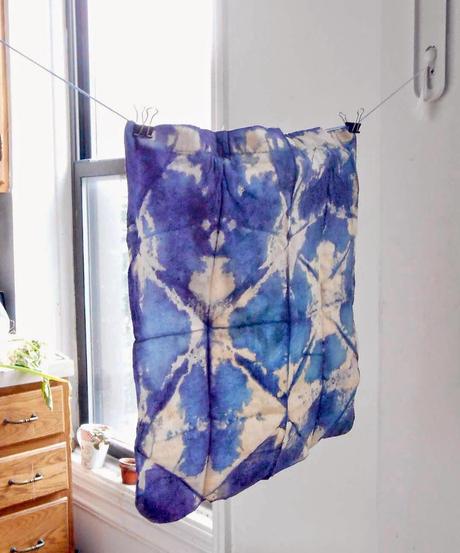 (*Note: To be on the safe side, you should wash it separately from the rest of you laundry in the future to make sure that no color runs off onto the other clothes.)
 So that's it... but like any good tie dye session our original plan to dye just a few things turned into my daughter and I making a mad dash around the house to find anything and everything we could possible submerge in the dye! As per usual, this was the best part:)
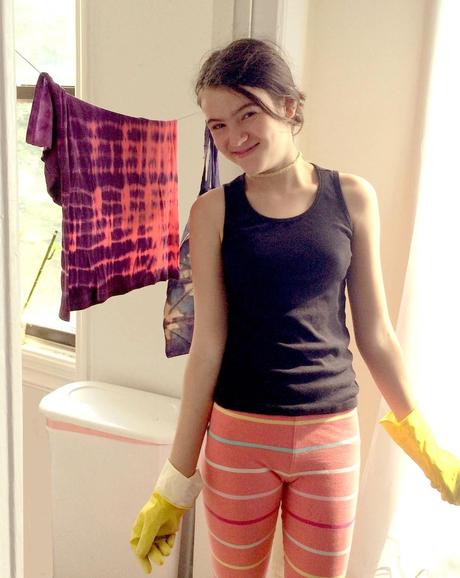
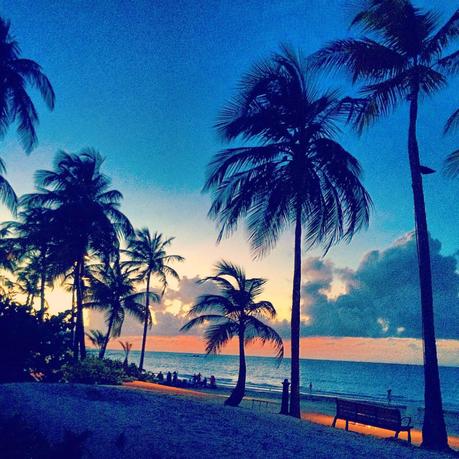
I was so happy with the breezy and relaxed results I ended up using on my vacation to San Juan, Puerto Rico last weekend! Couldn't have summed up my trip any better unless I had glued a bunch of tiny drink umbrellas to it.
