Truth be told, i was more intrigued with making the “skin” of this curry puff rather than the whole snack itself.
These flaky, layered skin is built with the same concept of the puff pastry. But with lesser threats.
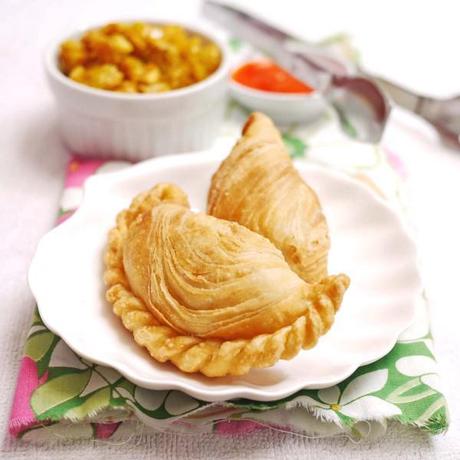
Two types of dough went into these pastries. An oil dough, and a water dough.
So what’s an oil and water dough?
The oil dough is a dough made of only flour and fats. It is supposed to replicate the butter in puff pastries to create the layerings. This oil dough is much more easier to work with as compared to working with naked butter as you have the flour to help you hold the fats together. You won’t run the risk of butter melting and oozing out of everywhere with this. And you will be less likely to pull your hair out in frustration should that happen.
As for the water dough, there is of course water included in the dough. The water and the flour allows gluten to be formed. The dough is then kneaded till it gets pliable enough to wrap the oil dough. This step is pretty much identical to enclosing that slab of butter in your dough to create the puff pastries. With much less frustration, as mentioned.
Okay, not to bore you with anymore skin details, i shall now move on to the fillings.
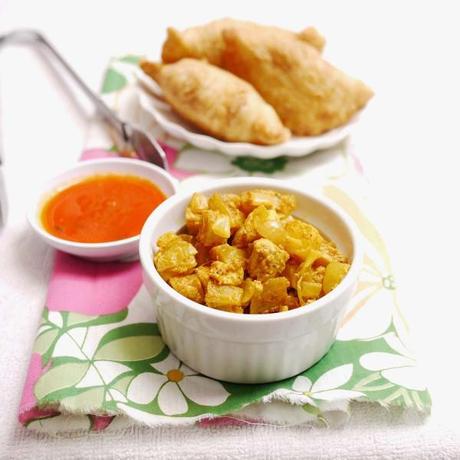
Much as i wanted to say how I made this from scratch on my own, i think it’s better to be truthful and be blatantly honest.
#1. I used a premix for the curry flavouring
#2. I had someone else cook the filling for me
I am sorry. I really can’t cook to save the day.
Nevertheless, i stuck around enough to know that there are potatoes in it. and chicken. and big onions.
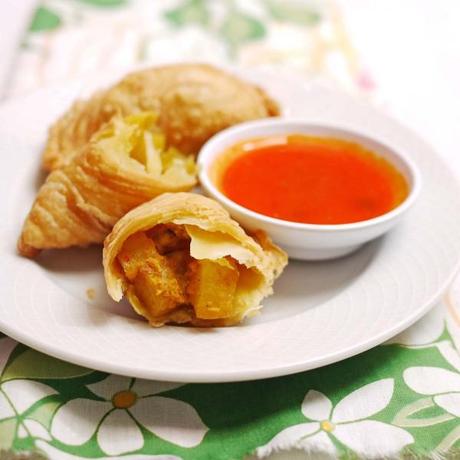
Needless to say, the filling gets wrapped into the skin, before the whole thing goes slidding down a deep fryer.
Hmmm. Deep Frying…
#3. I had someone frying for me.
Oops.
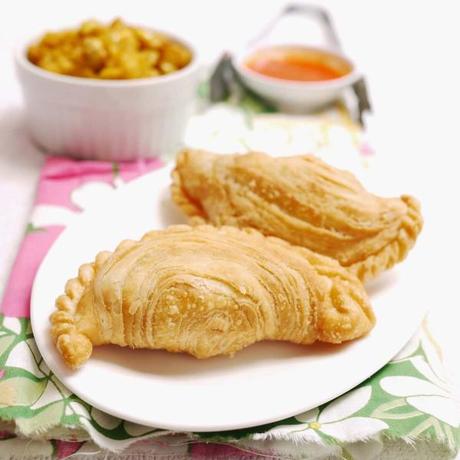
Nevertheless, there i we had it. Curry puffs!
Of course, if you didn’t have retarded pleating skills like i did, your curry puffs probably wouldn’t turn out so oddly shaped
But nevertheless, they are still tasty snacks!
Taken from Do what I like ( Pls visit her site, she has the most amazing step by step pictorial on the rolling)

