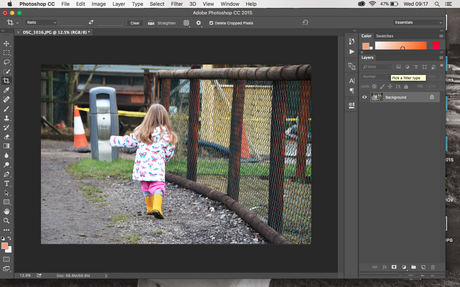
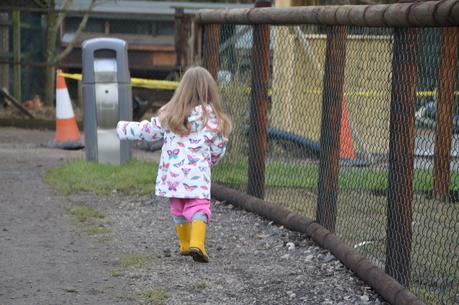
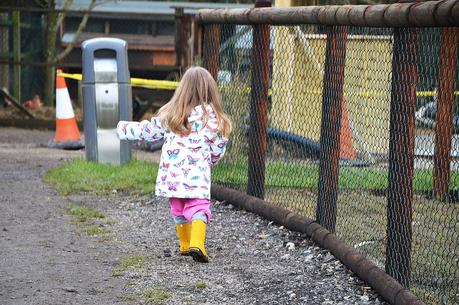
It usually takes me a few days to edit photos from a day out, sometimes more, i'm such a perfectionist and really nit pick my own photos! I love how editing can really give your photos that extra edge and to make them stand out from the rest!
Anyway, i'm blabbering...here is the next tutorial..
First things first, pick the photo you would like to edit....
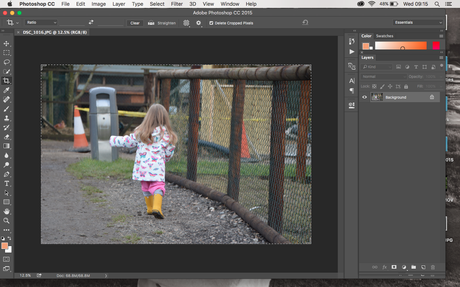
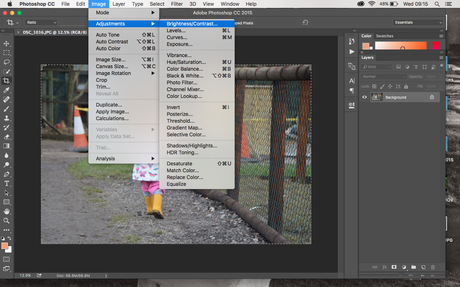
Go to Image > Adjustments > Brightness & Contrast
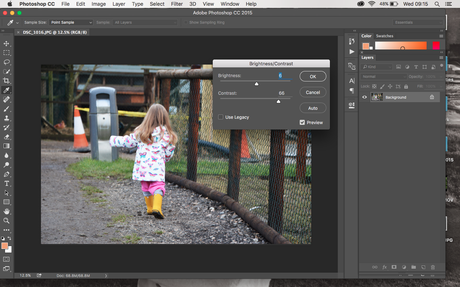
Up the brightness just a tad and the contrast to over 50, you might need to adjust them to suit your photo!
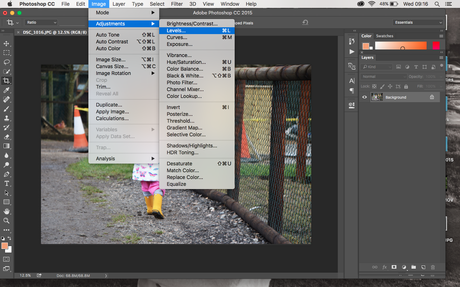
Now go to Image > Adjustments > Levels
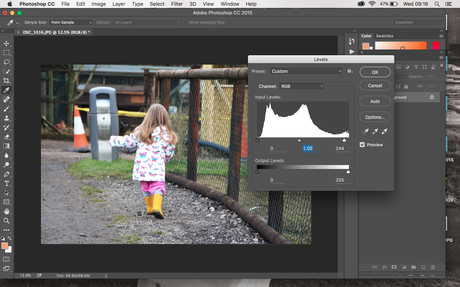
Adjust the middle and right number on the top row
Now up the saturation by going to Image > Adjustments > Hue/Saturation
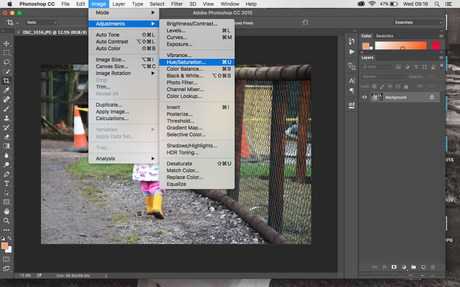
Up the saturation slightly
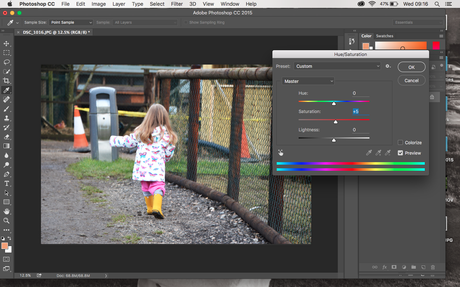
Now to make your image more crisp, I really think this helps when uploading online, as most sites reduce the quality of your photos, this is a great way to avoid that!
Go to Filter > Sharper > Unsharp Mask
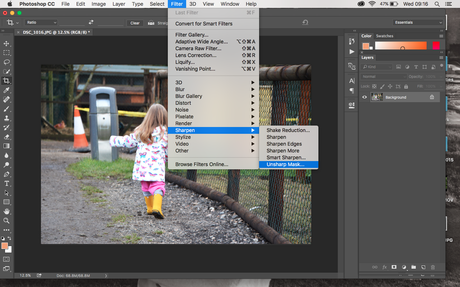
Adjust the settings to similar to mine! Notice how much more "professional" this sharpen tool makes your photos look?
