I remember seeing someone doing this on the internet a few years ago.

And my first thought was…
“Geez, that’s a lot of work for a meal!!!”
And here I am, a few years later, attempting something i thought was so frivolous.

I must have had a personality transplant or something!
Or rather, the process of aging does funny things to your brain.
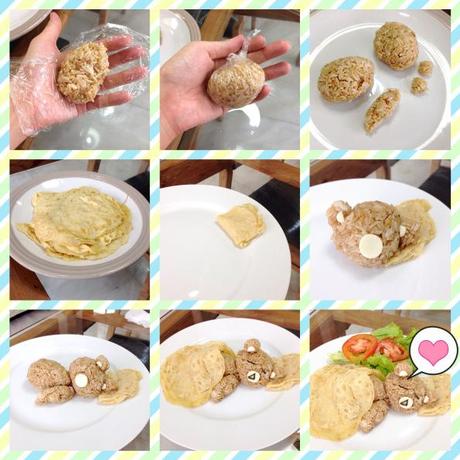
So, if you are old and aged like me, and would like to do frivolous things, here’s a step by step pictorial.

One word of advise though, for the sake of your sanity,, please use the shorter grained Japanese rice for this.
Short grained Japanese rice have a stickier quality, which saves you from tearing your hair out when the balls of rice refuse to ball together.
I learned this the hard way using the regular Chinese (or was it Thai?) long grained rice.

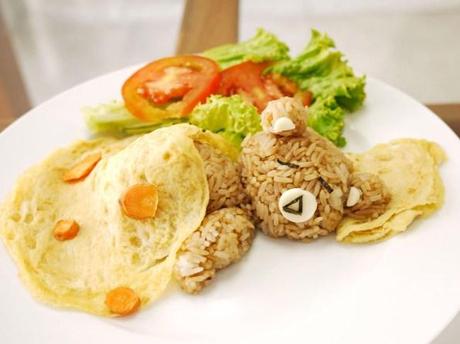
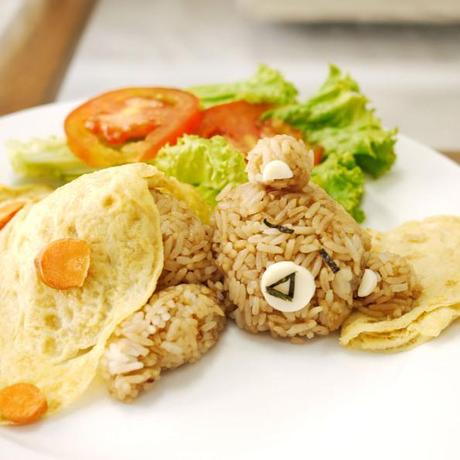
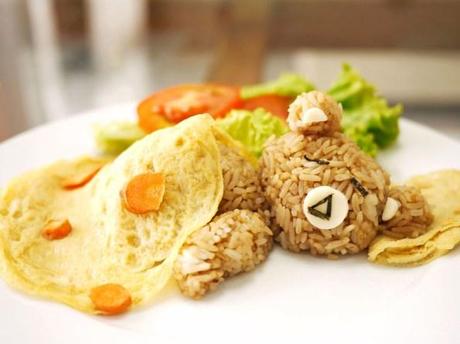
Rilakkuma Omurice:
2 Cups of cooked Japanese Rice
1 TBS of fish sauce
1/2 TBS of soy sauce
2 cloves of garlic, chopped
3 TBS of oil.
Salt and Pepper to taste
Directions:
Heat the oil in a wok, Throw in the chopped garlic and cook till fragrant
Throw in the rice and the sauces. Mix well to combine. Taste and add salt and pepper if necessary
Japanese Omelette
2 eggs
1/2 TBS mirin
1/2 tsp soy sauce
Oil to coat the pan
Beat the eggs, mirin and soy sauce together in a bowl.
Coat your frying pan with a bit of oil and pour just enough of the mixed egg to form a thin layer of omelet.
Repeat the process till all the eggs are used.
Assembly:
I am really bad with words, so i think it is easier if you refer to the pictorial. Or if you are a youtuber, please head on over to theKKSshow’s video for her comprehensive steps on how to make the rilakkuma omurice
But do take note that her recipe differs from mine. Hers was done with tomato ketchup. Mine was soy sauce.
Cheers!

