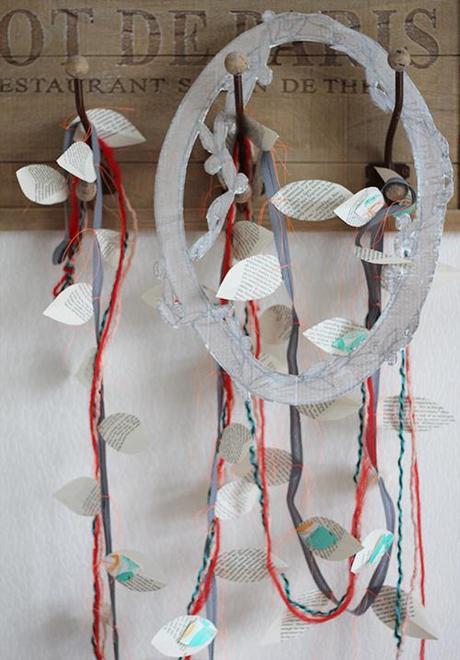
Today’s post is a DIY for a party decoration from Kirsty over at Me Plus Molly. Her blog is a beautiful mixture of doodles, crafts and adventures, my favorite project of hers being Udo the Slug.
I love that Kirsty is really into upcycling and turning things that might not otherwise have a use into somethign pretty. Here she shows us how to create a garland from leftover bits and pieces from your sewing box.
I feel honoured to be able to join in with many other bloggers this month to wish What You Sow - Happy Birthday! - on their one year anniversary.
It’s a pleasure to be able to join in the celebrations with a guest post on their blog. As a ‘stitcher, doodler and maker’ my contribution is a little DIY garland decoration, perfect for a party! I’ve chosen a foliage theme to keep in with the idea of garden parties. I’ve also chosen what I feel are colours fit for an autumn party, with an added pinch of neon thread.
First of all I want to clear up the difference between ‘bunting’ and ‘garlands’ and why I choose to go with calling my decorative strings garlands. Today ‘bunting’ is a term for festive decorations made of fabric or plastic, paper etc. in imitation of fabric. Common forms of bunting are strings of triangular flags and lengths of fabric in the color of national flags, which are often draped into swags.
Garlands on the other hand are decorative wreathes or cords, often used at festive occasions, which can be hung round a persons neck or on objects. Original garlands were made from flowers and leaves.
So as we will be stitching leaf shapes together to create our decorative cord, it’s a ‘garland’ in my book!
I love to reuse and recycle items so for this DIY I’ve used:
old book pages
paper scraps left over from pattern painting
bias binding tape (which I’ve had for ages)
neon embroidery thread (already had)
wool remnants
(sewing machine)
Decide on the length of the garland you want to make and cut the binding tape. I’ve made mine roughly 2.5 metres. Make and stitch small loops each end for hanging.
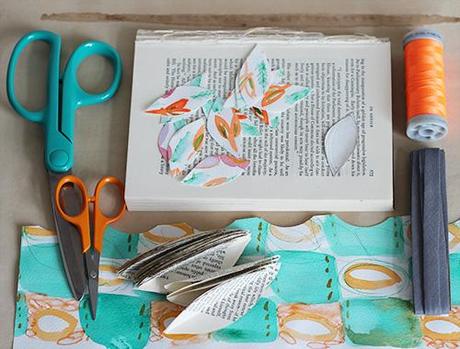
Draw a couple of leaf shapes on plain paper (one small, one big), to use as templates to draw around on the old book pages and paper scraps, to cut your leaf shapes from. For this length of garland I’ve used 40 old book page leaves and 26 scrap paper leaves.
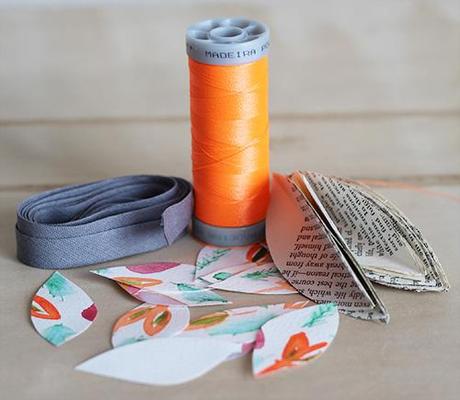
Space these out along your tape, either side of it, mine are roughly spread along the garland every 5cms. I’ve then added the smaller scrap paper leaves as so: old book paper leaf, old book paper leaf + scrap leaf, old book paper leaf + scrap leaf then old book paper leaf again; and have continued this along the length. However it’s obviously up to you how you want to lay out your garland.
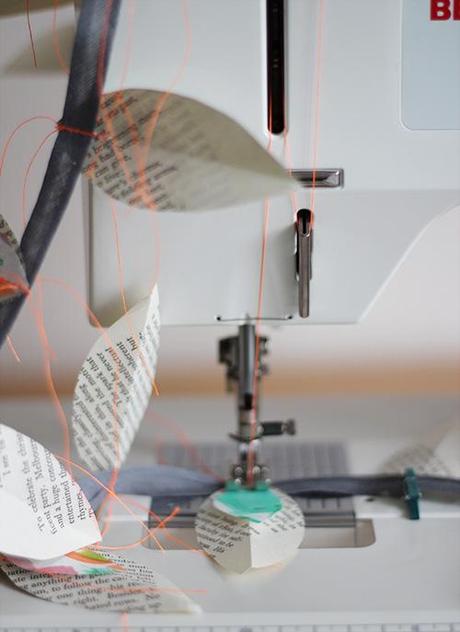
I pegged my leaf shapes on first and then machine stitched them all into place, just using a straight stitch back and forth. I’ve left the thread ends long and hanging to add to the garland. I love hanging whispy threads!
To add a little extra to my garland I’ve hung it with some lengths of wool remnants in similar colours. I think that garlands look great when there are a few layers, so to speak, and think that adding something as simple as lengths of wool, to drape with it, can create these.
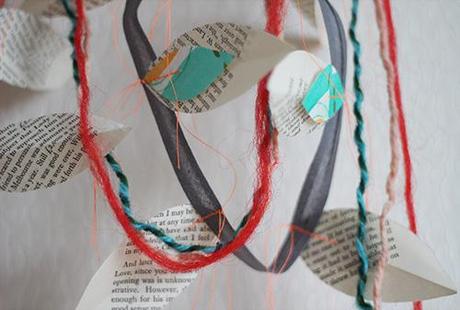
I hope this little DIY garland inspires you to have a go and make your own. Whip one up for a party or just to add a decorative feature to a corner, mantel, wall etc. This would work just as well with scraps of fabric as well as paper. Have fun!
