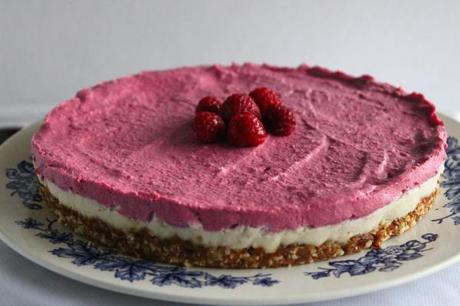
It’s been a while since my last post but hopefully I will be getting back on track to posting more regularly! In my last post I kind of explained that my lack of blogging has been due to a sudden lack of interest in food and baking and being in the kitchen caused by a busy marathon-training schedule, but I’m happy to say that I’ve recently started getting back into the kitchen so please bare with me while I start catching up with all of the food blog posts I’ve been missing out on these past couple of months! I’m so excited to share this Raw Cashew Dreamcake with you, but first I’ll fill you in on what I’ve been up to since my last post!
I’ve finally finished university and am currently on a job hunt in the real world that started off very enthusiastically and hopeful and has now after a few weeks become a tiny bit less enthusiastic and a bit more depressing. My fingers are still crossed that I will hear from somewhere soon! I feel like securing a real job is the first step in becoming a real adult in the real working world and I can’t wait!
I’ve also gotten really into yoga! It’s funny what a huge difference a great instructor can make, in any aspect of life whether it be yoga, school, a senior co-worker who is training you, a friend teaching you how to bake a cake, etc. I recently found an amazing yoga teacher, the kind who makes you want to actually put the effort in and improve, and after weeks of practicing…wait for it…I CAN DO A HEADSTAND!!! It’s still a bit shaky and probably a little lopsided, but who cares, I’m balancing on my head (and hands or forearms) and it makes me feel rad as heck and as proud as a peacock.
I also completed my second marathon ever!! I ran it 15 minutes faster than my first marathon back in May, and even though I’m still a back-of-the-pack kind of runner, I’m ecstatic about my time and am crazy enough to want to do it again. I think I’m more addicted to beating my time than actually running 42.2km/26 miles. I’m debating adding a “Running” page to this blog to document my running adventures and provide tips I’ve learned along the way because I do love reading other running blogs so we will see if that happens.
When I first starting seriously running, I was over the moon with the number of calories I would burn on a long run and felt like it totally justified the chips, french fries, ice cream and other junk that I loved consuming. Something changed when I started the 18-week training for my second marathon though. Even though I was burning a lot of calories, I still felt so gross after a poutine or a burger. I started to think more in terms of whether or not the poutine was worth the 27km run I did earlier in the week and the answer was always no! I started to change my diet to incorporate foods like mass amounts of fresh vegetables that made me feel great inside and starting looking towards vegetarian and vegan recipes for inspiration on eating clean.
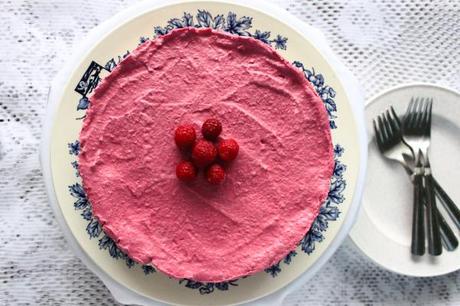
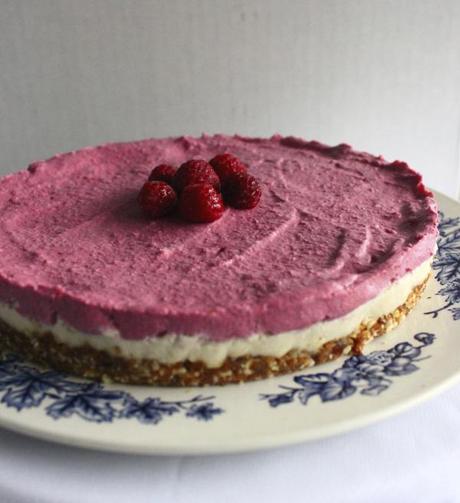
Cheesecake has always been a weakness for me, the more decadent the better (like this chocolate peanut butter torte or this caramel apple cheesecake pie). Unfortunately for me and most likely for you, cheesecake isn’t the most waist-friendly dessert to indulge in so when I saw this recipe for a Raw Cashew Dreamcake on My New Roots a while back, I immediately bookmarked it. Guys, now that I’ve finally made it I can honestly say it is the best thing ever!! This cake is essentially a raw AND gluten-free AND vegan AND healthy cheesecake alternative to the real thing. It’s ridiculously easy to make seeing as you only need a really good food processor or blender and you don’t need an oven! This version is a raspberry&vanilla flavor combo, but you can easily customize and flavor the layers to your liking. Now I have to admit, nothing that isn’t cheesecake will actually taste like real cheesecake, but the cashews in this dreamcake are like magic and work to create a smooth and rich filling that is just so good anyways. Plus you won’t feel so guilty after a slice or two!

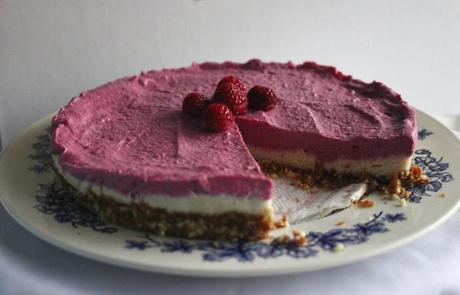
Raw Cashew Dreamcake
Ingredients:
For the Crust:
1/2 cup raw almonds (pecan or walnuts will also work)
1/2 cup soft Medjool dates
¼ tsp. sea salt
For the Filling:
1 ½ cups raw cashews, soaked for at least 5 hours, overnight is best
juice of 1-2 lemons
the seeds of 1 whole vanilla bean (or 1 tsp. alcohol-free vanilla extract)
1/3 cup raw coconut oil, melted
1/3 cup raw honey or agave nectar
1 cup raspberries (thaw completely if using frozen)
Directions:
Place nuts and dates in a food processor with sea salt and pulse to chop until they are to your desired fineness (process a finer crust longer than a chunky one). Test the crust by spooning out a small amount of mixture and rolling it in your hands. If the ingredients hold together, your crust is perfect. If they do not hold together, add more dates (one at a time) and process.
Scoop out the crust mixture into a 7” spring-form pan (if you don’t have a spring-form pan, use a pie plate or cake pan lined with saran wrap), and press firmly, making sure that the edges are well packed and that the base is relatively even throughout. If using saran wrap, try to smooth it out as much as possible to avoid a lot of creases in the final cake.
Rinse food processor well.
Warm coconut oil and honey in a small saucepan on low heat until liquid and whisk to combine or place in a small bowl and microwave in 10-20 second increments, whisking in between until liquid.
In the most powerful food processor / blender you own (you decide which one has the most torque) place all filling ingredients* (except raspberries) and blend on high until very smooth (this make take a couple minutes so be patient). If you have a Vita-Mix, absolutely use it. *start with the juice of 1 lemon, and add more juice to taste if you like. I only used 1 lemon.
Pour about 2/3 (just eyeball it, you can’t make a mistake!) of the mixture out onto the crust and smooth with a spatula. Add the raspberries to the remaining filling and blend on high until smooth. Pour onto the first layer of filling and again smooth with a spatula. Place in freezer until solid.
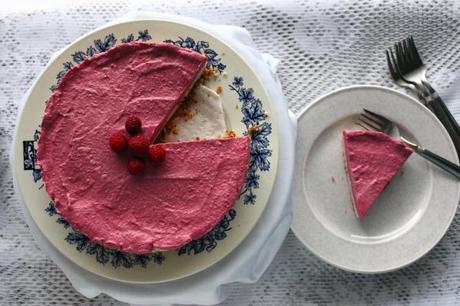
To serve, remove from freezer 30 minutes prior to eating. Run a smooth, sharp knife under hot water and cut into slices. Serve on its own, or with fresh fruit. Store leftovers in the freezer (what leftovers?).
—SOURCE—
slightly adapted from My New Roots

