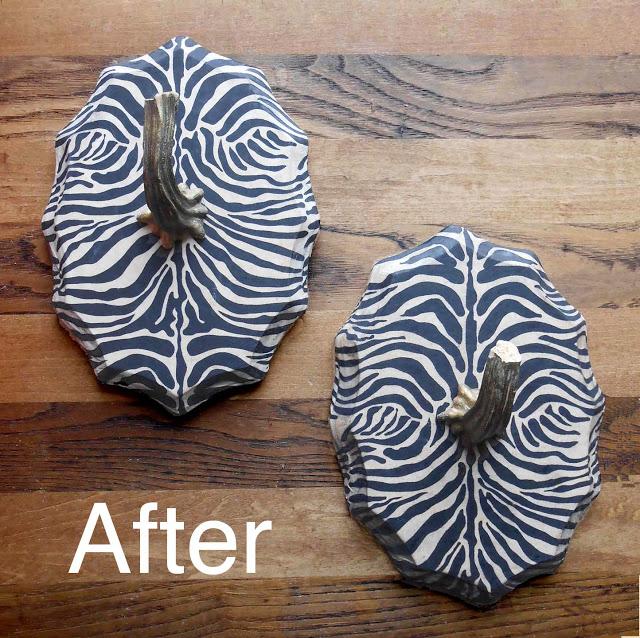
 Materials:-pumpkin stem (preferably curved)-small piece of wood-decorative paper or fabric-screws-saw tooth picture hooks
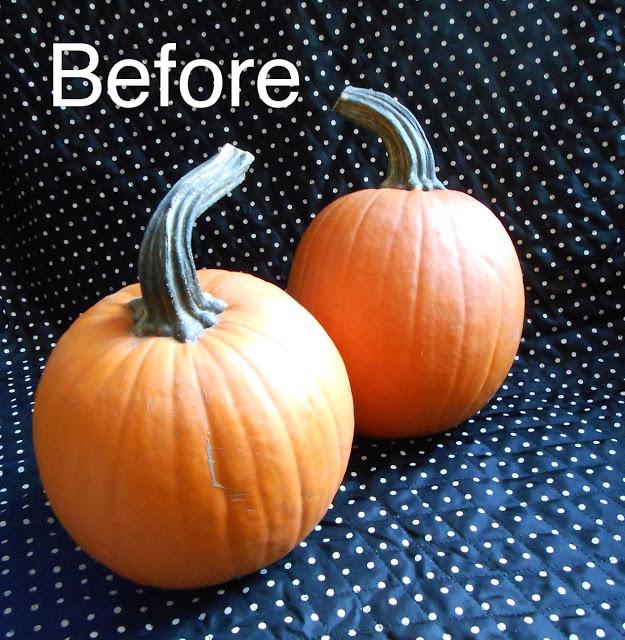
Preparing The Stems
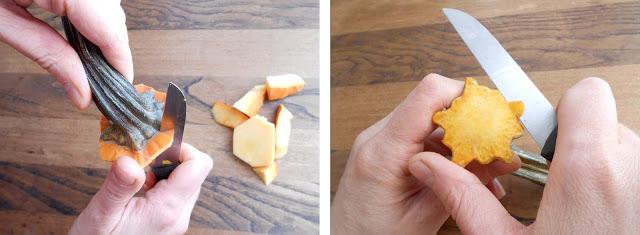
Step 1: Remove all bits of pumpkins from around and beneath the stem. (You may even want to put these into the oven at a low temperature for awhile to ensure that there is no moisture left that could cause rot later.)
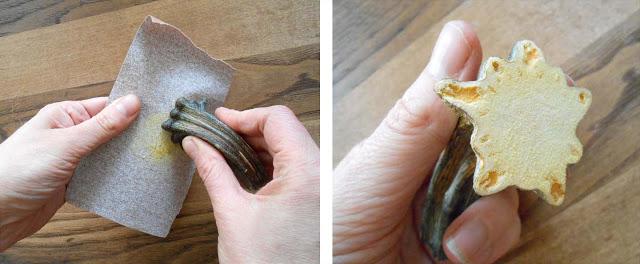
Step 2: Sand down the back until it is level.
Preparing The Mount
Aside from the pumpkin stems, you'll need wood to mount the stems to, pretty paper (or fabric) and decoupage medium. I'm still loving the DIY decoupage receipe I got from Sunny's Life In Rehab. You'll also want to put down some paper on your work area to protect your table top from getting super messy.
Step 1: Place the pumpkin stem on your mount until you are happy with its position, then trace around the bottom edge with a pencil.
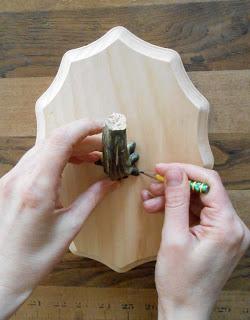
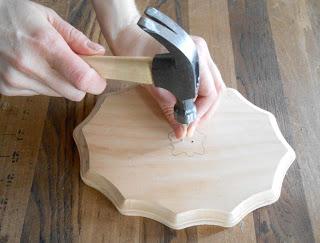
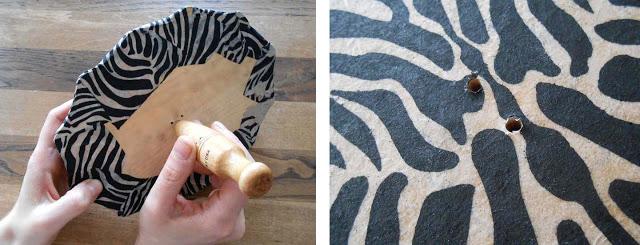
Step 2: When you lift up the stem you should have a clear tracing of it's shape place two marks in the center of this shape then hit each mark with a thin nail to make a divot where each of the marks are.
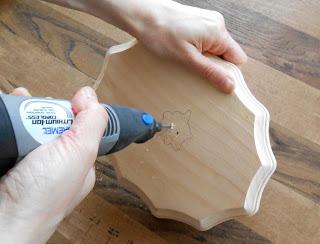
Step 3: Drill a thin hole into each of the depressions.
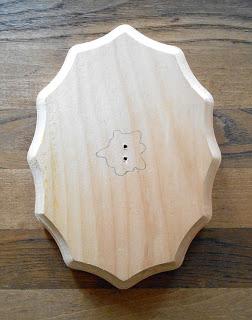
When you're done with step 1-3 your piece of wood will look like this:
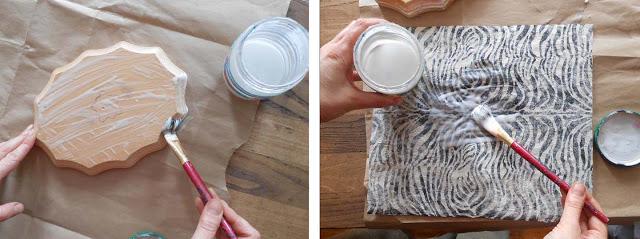
Step 4: Now you're ready to decoupage your paper into place. Thoroughly cover the front side of the wood in decoupage medium, as well as the backside of the paper.
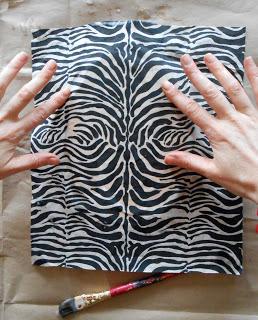
Step 5: Place the paper backside down on to the front side of the mount making sure that there are no bubbles.
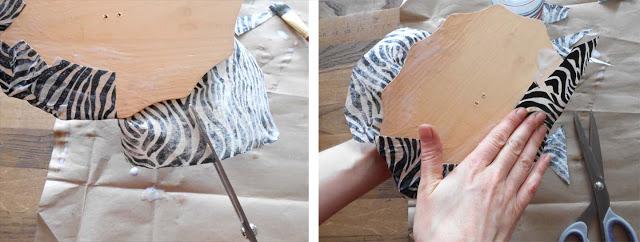
Step 6: The excess paper will wrap around to the backside of the mount.
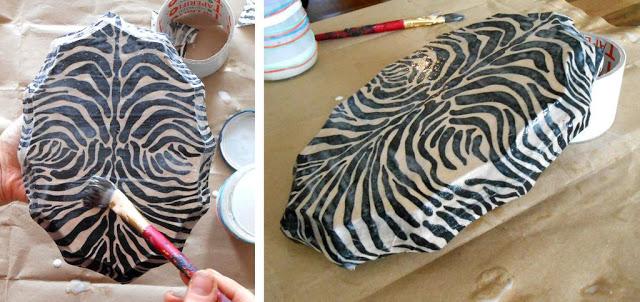
Step 6: Thoroughly cover the front side of the paper with decoupage medium, then flip over and cover all edges where the paper meets the wood on the back. Allow it to dry completely.
Step 7: From the backside, push a nail or an awl through to the front. The paper is now covering your tracing of the stem, but seeing the holes should get you back on track with your planned placement.
Putting It All Together
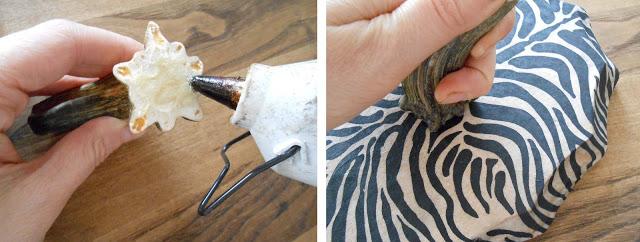
Step 1: Place some adhesive on the back of the stem. A wood glue or hot glue gun will work well. (You want to use just enough that you can get a good adhesion with the mount, but not so much that it spurts out everywhere!) Press firmly down over the two holes and let dry.
Step 2: Now turn to the back side and screw 2 screws into the drilled holes. The glue on the stem should keep it in place while you're doing this, but be pushing the stem on to the board for an additional precaution. Turn the screwdriver until the screws are flush with the back of the board.
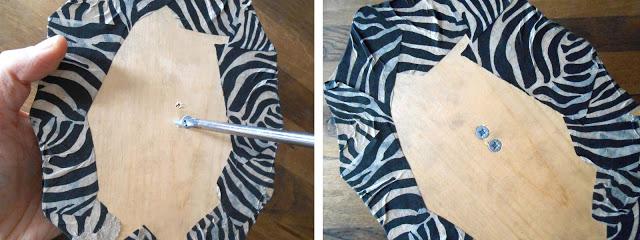 **It's probably obvious, but it's worth mentioning that you should use a lot of care when picking out your screws. They need to be long enough to go completely through the wood and into the pumpkin stem, while not being so long they pop out!**
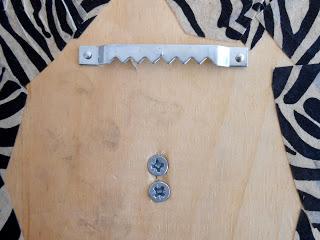
Step 3: Finish by screwing a picture hanger on to the back, at the center near the top. (Using a sawtooth hanger is an easy way to have these hang straight even if the balancing was a little bit off.)
You should be safe to hang hats, scarves, even a coat or two! I am currently using mine as jewelry hooks for some of my million necklaces. I am totally obsessed with these things.
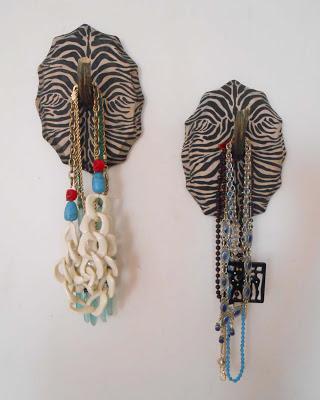 Happy holidays, y'all!
Tools
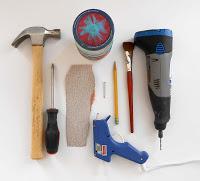
*pencil*hammer and nail*sandpaper*drill *scissors
*paintbrush
*glue gun
*screwdriver
*decoupage medium

