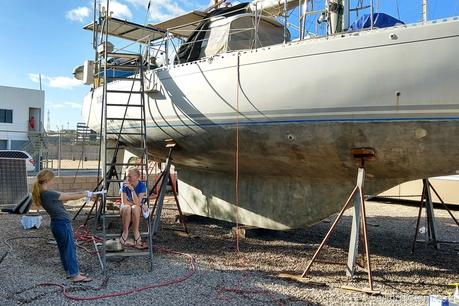
Coppercoat’s advantages in durability (=savings!) and environmental friendliness (=how we live!) have made me more excited about antifouling than I believed possible. As if to complete the picture, Totem’s shiny new metallic hull is dazzling in the Sonoran sun. Once sanded to activate the copper the hull will oxidize to rich shade verdigris, but for now it is stunning. Applying Coppercoat was an intense day of work, and an even bigger effort to prep. Researching our options confirmed how critical good prep is for this unique antifouling to be effective: here’s what we did, and why.
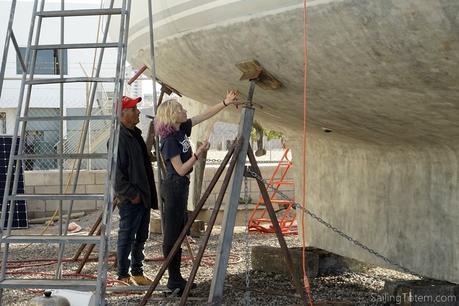
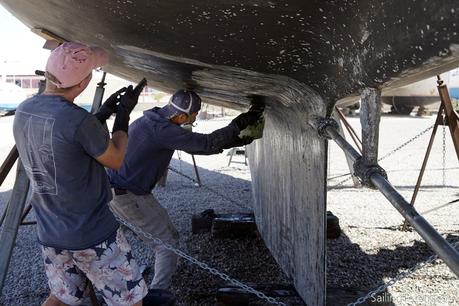 Jamie and Rudolpho tackling the bottom in June
1. Stripped. Bottom paint and barrier coat were stripped to bare fiberglass last June, shortly after getting hauled in Puerto Peñasco. Totem didn’t have gelcoat left, the surprise that greeted us after blasting decades of accumulated bottom paint in Grenada. We painted on paint stripper, and scraped it off; not a perfect job of paint removal, with some visible bits in the valleys of Totem’s not-very-smooth hull, but sufficient for the summer. Boats with different substrates (e.g., gelcoat, metal hulls, etc.) get different prep.
2. Dried. From June until November, Totem’s wet hull dried out on the hard in the Sonora, Mexico. That’s Sonora, as in The Sonora Desert, where heat and low humidity provided an ideal climate to dry out during the summer months. Elsewhere (like the US east coast, or mainland Mexico, or further south) would have taken many months longer or required additional equipment (e.g. heating pads) or both.
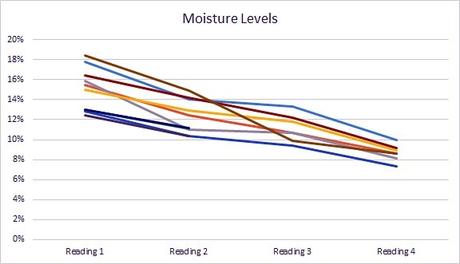
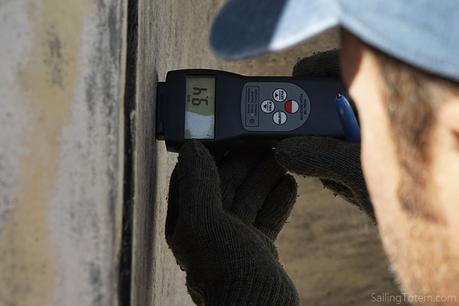
Hull moisture meter readings were around 25% when we left. Eight blue-tape boxes were masked off to ensure repeat readings were in the same location; during our five months away, Cabrales Boatyard manager, Salvador Cabrales, would take periodic readings. He’d write the new measurement on the blue tape, then send a photo of it for us to see. Great peace of mind on progress while we were remote! The readings were at 6% to 7% at the end. During the drying period, the boatyard pressure washed the bottom to remove glycol, the sticky byproduct of a Polyester / Vinylester resin and a wet hull, that migrates to the surface as the hull dries.
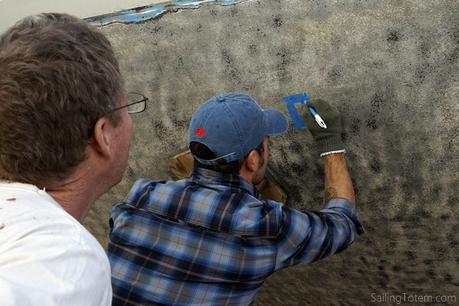
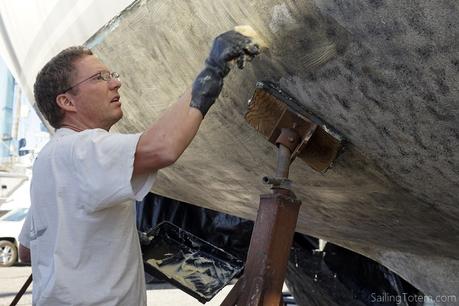
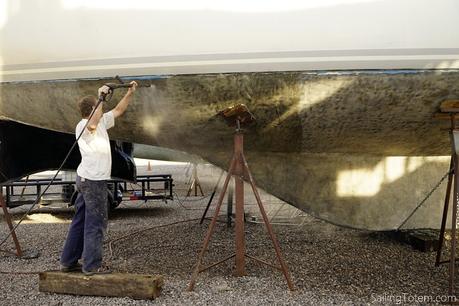
3. Stripped again. Totem’s bare hull was a rough surface, with flecks of paint remaining in the crevices. Brushing on paint stripper (we used Aquastrip) softened the remaining paint, which came off completely with a pressure washer.
4. Sanded. The entire hull was sanded with 80 grit. After a full day of holding a vibrating sander mostly at or above shoulder height, Jamie hired a couple of guys from the yard crew to speed the job along and save his back.
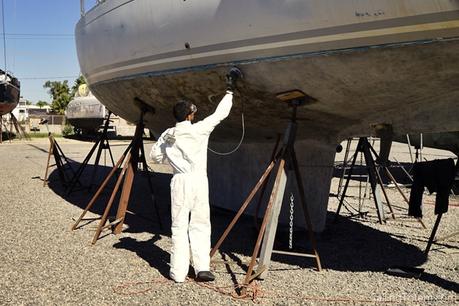
5. Epoxied. If you’re at bare fiberglass, like Totem, the substrate (fiberglass) is porous and rough. After was wash and acetone wipe down, one coat of West system epoxy went on. When it was tacky, a second coat of West System with 410 micro-balloon filler to thicken the mix to work towards a smoother surface. Adding another layer of epoxy on top of a tacky prior coat is called hot coating: this creates a chemical bond between layers. The alternative is curing between coats and replying on roughing up the surface for a physical bond.
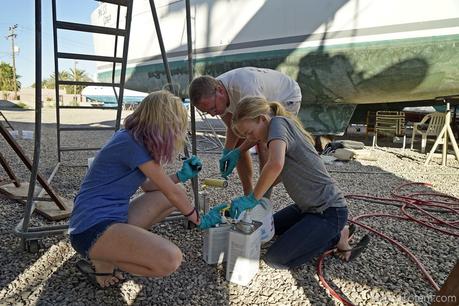
6 – 9. Cured, sanded, washed, then wiped with Acetone. Epoxy was given a few days curing time before sanding. Sanding the thickened epoxy coat greatly improved substrate smoothness. Washing the hull got rid of the dust, and wiping with Acetone prepped for the next layers of epoxy.
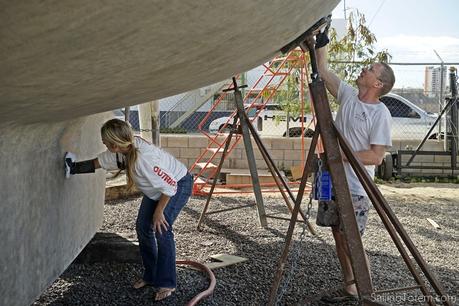
10. Epoxied again. Several times actually: three coats of West System (two with 422 barrier coat additive) were applied to Totem’s hull bringing the total to five layers of epoxy, minus the 80 grit sanding.
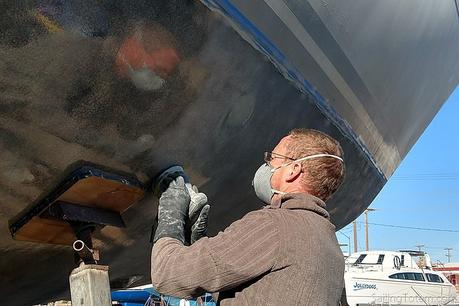
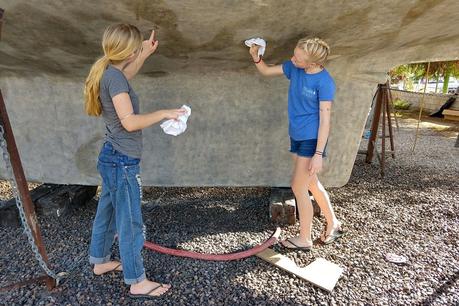
11 – 14. Cured, sanded, washed, and wiped with Acetone…again. Very intimate with the surface area of Totem’s hull at this point.
15. Barrier Coat. Three coats of Interlux Interprotect 2000 were applied over the West Systems. Interlux recommends five coats, but with five prior coats of West System (including two with barrier protection additive) we feel confident that the combined eight coats will serve.
16 – 18. For the third time: cured, sanded (lighter, much lighter), and wiped down– but this time, no acetone! The hull was dusted with rags instead to remove debris from sanding, and leave a surface primed for Coppercoat. For future Coppercoaters, we have done even better to gently pressure wash one or two days in advance.
Consumables list – I’m probably forgetting something:
- gloves – decimated a box of 150, plus a half dozen heavy-duty pairs for paint stripper
- 80 grit disks – 175
- 320 grit disks – TBD
- paint brushes – 4
- 3/8″ roller covers – 10 (Interlux Interprotect 2000)
- 1/8″ roller covers – 6 (West System epoxy)
- Acetone – 3 gallons
- blue tape – 1 big roll
- rags – large bag of clean, lint-free rags
- mixing sticks – 20
- spreaders – 10
- Aquastrip – 5 gallons
- West System – 4 gallons for 5 coats, plus 410 filler and 422 additive
- Interprotect 2000 – 7 gallons for 3 coats
A note on safety equipment:
Toxic stuff is all over this project. One of the reasons we’re excited about Coppercoat is how environmentally friendly it is, compared to alternatives, but getting to that point is not – really, a lot of boat work is pretty nasty, and this prep is no exception. Take care of skin, eyes, and lungs!
My friend Kate Laird (Check out her expedition sails and homeschool expertise!) called out safety kit shortcomings in some pictures posted, and she’s right. We should be better about how we’re protecting ourselves, and I also seemed good at capturing moments when we weren’t! Here’s an equipment list to help with planning ahead, with products we like.
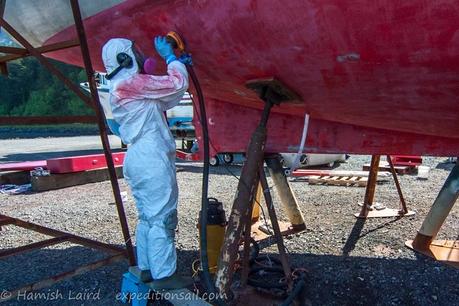
Respirator: Jamie and Kate both like this 3M 6200 half-mask. Bad luck was the straps on Jamie’s broke just before we started. You can get replacement straps and other parts – it’s one of the nice things about the respirator.
These reusable respirators have filters for particular matter (these pink ones) and VOC fumes (white ones here). Hot tip from Kate: keep the VOC filters in a ziploc bag to extend their useful life. They actually keep filtering away in there!
Jamie decided to try these disposable Moldex-Metric respirators this time. They were easy to source, lighter weight, and relatively comfortable. However, they’re really for “nuisance levels” organic vapors vs. fumes of OSHA PEL standards.
Skin protection: Tyvek jumpsuits are the standard, and they did get modeled around Totem, but the Goodwill in Phoenix turned out to be a good place for quick, affordable cover-up (50% off on Saturdays, and help from the Jollydogs crew picking things up for us!). We needed a few warm layers, anyway: we were NOT PREPARED for cool weather here in the late fall, and didn’t have clothes for it. Jamie’s happy: he hasn’t had a single day of gritty itchy boatyard yuck.
Eye protection: Jamie wears glasses but adds goggles over them when he’s worried about exposure. We picked up inexpensive eye protection in a hardware shop in Peñasco that worked fine for the girls. For more souped-up protection, this full-face respirator (3M 6700) Kate recommended is gold standard: big, single lens for easy viewing.
Further note on toxic junk, and being outside the US: I don’t know if there are any standards for the toxic waste produced in boatyards but the practices here mean we’re doing work that wouldn’t be handled the same way in the USA. Some things can be addressed by individual boaters, with some planning ahead. A shopvac using HVAC filters to capture and dispose of dust off sanders (Jamie’s got a bag on his that he’d empty regularly, and dispose – amazing how much of that stuff comes off – but no special filtering). You couldn’t just paint on stripper and pressure wash it off on a hardstand spot like we are, but set up for catchment and hazardous waste dispo…no, actually, you probably couldn’t because there’s probably not a hazardous waste facility. In the US, you’d stage the boat for this at a place where runoff is captured. For the most part, our lives are an incredibly light footprint environmentally: every once in a while, they’re really not.
Totem has 12 coats of epoxy right now. TWELVE. OK, so some got sanded off in the process, but even if we lost a couple of coats – it’s a long way from the bare fiberglass that peeked out when we blasted at Grenada Marine last year.
Coppercoat application: next post.

