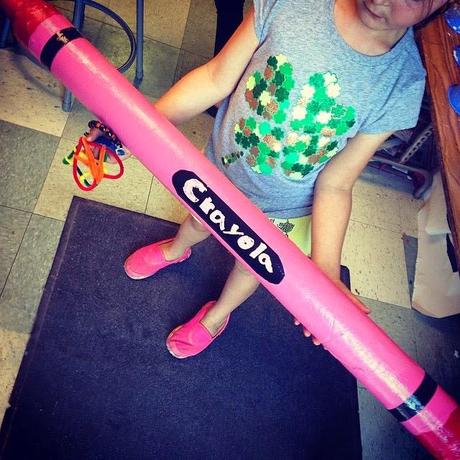
 The crayons are done! If you have been following me on Instagram, I've been posting progress over the past 4 weeks. I must admit that I like these a lot now that they are complete. The shiny black duct tape adds a look of precision, even if the painting is a little wobbly.
 PREP WORK: Tape both mailing tube plastic caps to the outside of a 36" tube. Cut half circles out of old folders or posterboard and roll into cone. Staple, trim to make 8" tall cone that is taped to the center of one cap. Cover heavily with masking tape.
WEEK ONE: Students cover the entire crayon with one layer of newspaper and paper mache.
WEEK TWO: Students paint the entire crayon white with acrylic paint. This makes the colors look much brighter when complete.
WEEK 3: Students paint the ends of the crayon with a solid acrylic paint (Michaels brand is good and cheap). White paint is added to the main color and filled in where the crayon paper would be.
WEEK 4: Strips of black duct tape are torn to make a stripe on each end. Students cover the crayon with Mod Podge or Collag Pauge. An oval is cut from a long strip of tape, and poster markers are used to write inside.
