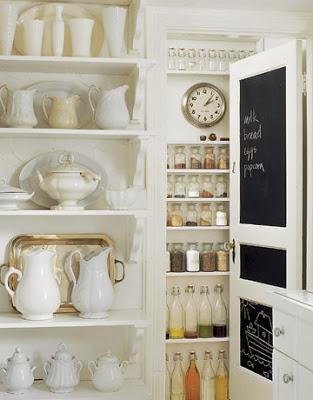
We have a 1950s stucco rambler, and our kitchen is awkward. The "pantry" is right next to our stove, and a broom closet is right next to that. They were both hot messes, let me tell ya...
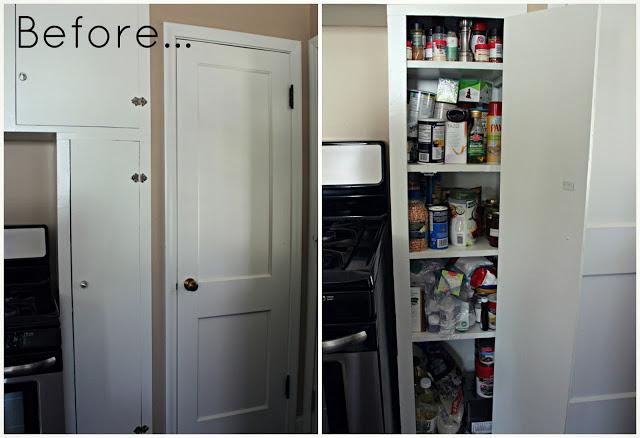
Every time I went to search for spices, every one except the one I needed came tumbling out. {which Lily loved}It was so disorganized and in need of an overhaul. I had to do something about it!
Pantry SuppliesLibby 4.5 oz spice jars (2 sets of 12) - soak them in hot soapy water to get the stickers off of the bottom. Bistro Chalk MarkerChalk LabelsMason Jars (I had those babies everywhere)Funnel
The first thing I did was get everything out of the pantry, and set into groups of "like" things. I started with the spices, since that was the biggest issue. Check to make sure that your spices aren't expired. Yes, apparently they expire -- and when they do, they lose their flavor... making them pointless.
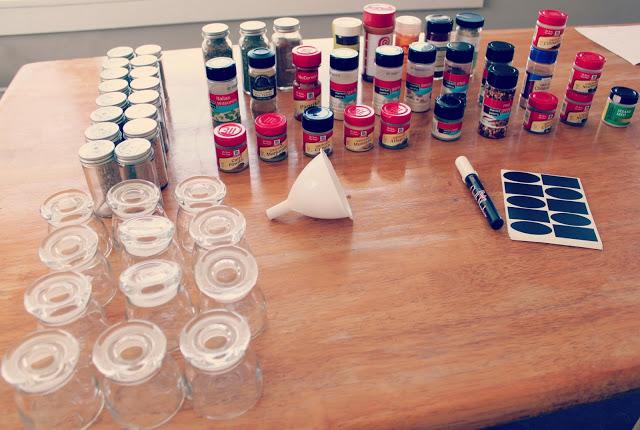
When I ordered the jars, I had a general idea of how many spices would stay, and which would go. 24 jars was plenty for my pantry. I had a lot of duplicates! After I filled the spice jars, I purged and condensed the rest of the items into mason jars.
Next, it was on to the broom closet door. I loved the idea of having a chalk board in the kitchen. We originally wanted to make it magnetic, too -- but the magnetic primer we purchased ended up being a dud, so we took it back.
Chalkboard Door SuppliesChalkboard paintPainter's tapeExtra fine sandpaper Small foam roller + tray Small paint brush
We had all of the supplies except for the chalkboard paint, so this was a super inexpensive project!
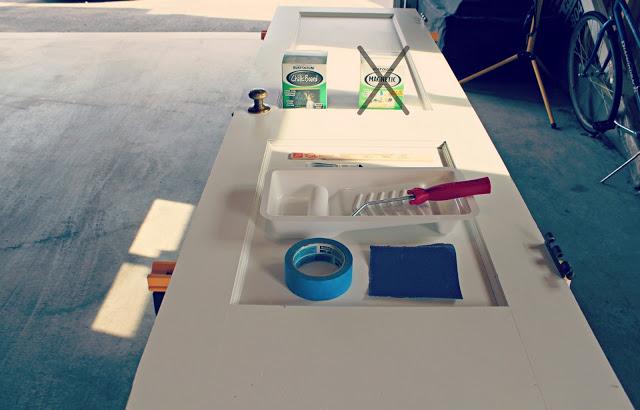
Remove the door, then start by prepping it for the paint. I sanded the area with extra fine sandpaper, then wiped it with a damp cloth and let it dry. Afterwards, I taped it off and added a plastic drop cloth because I am incredibly messy...
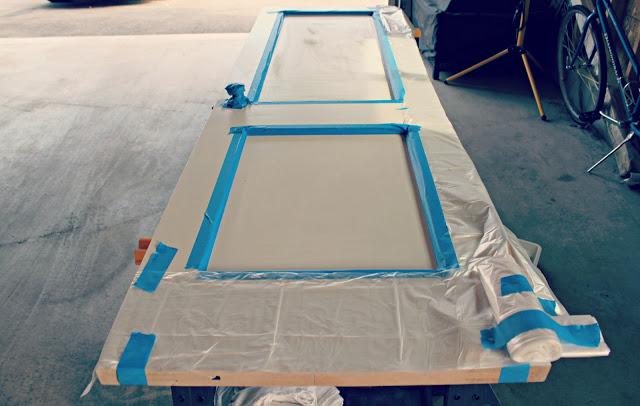
Follow the instructions on your paint can. You will need to apply thin coats. We applied 3, and alternated directions each time. The pain then needs to "cure" for at least 3 days before you write on it -- which feels like forever, by the way.
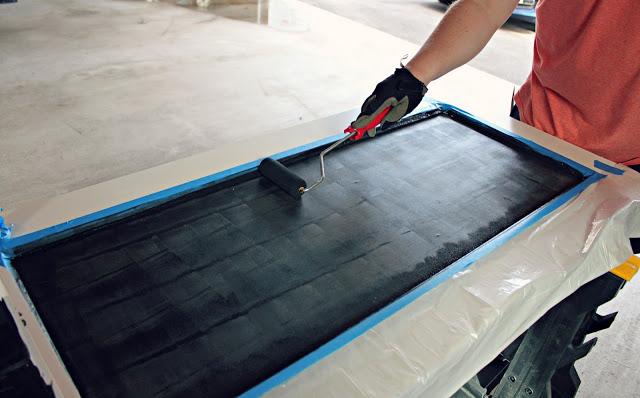
Then, it all came together...
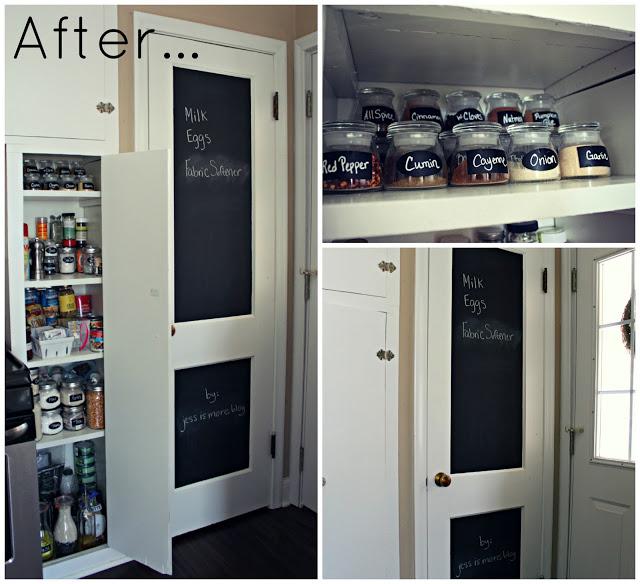
I am in love with the new pantry and door. It is sooooo easy to find what I'm looking for, and the chalkboard door is ridiculously fun.
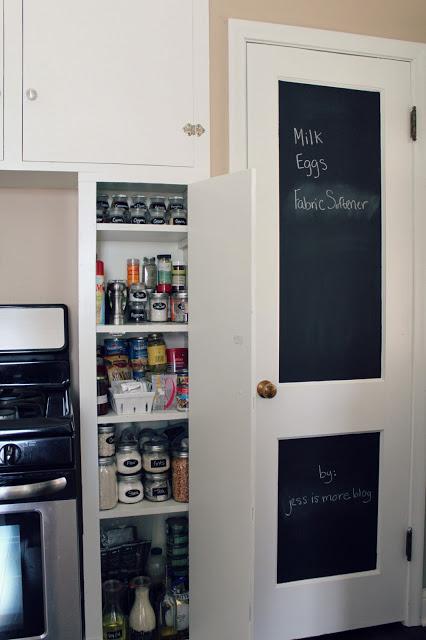
Organization for the win!

