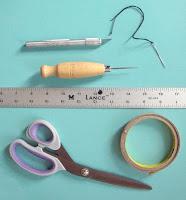
 Materials:-small suitcase-cotton thread-oversized button -large vintage adornment (optional)
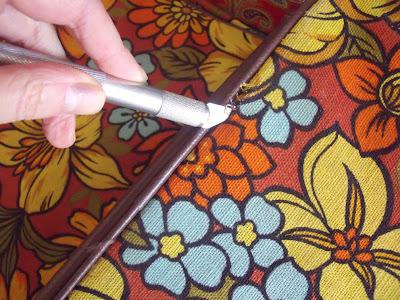
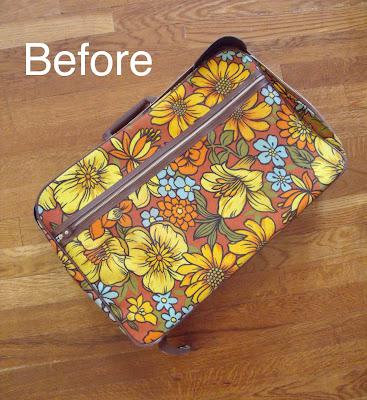 Preparing The MaterialStep 1: The first step is to separate the useable material from the suitcase's frame. Use an exacto to puncture a hole in the fabric, as close to the edge as possible.
Step 2: Insert one of the scissor blade into the hole and cut the rest of the way around.
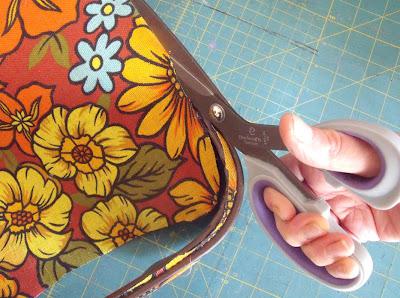
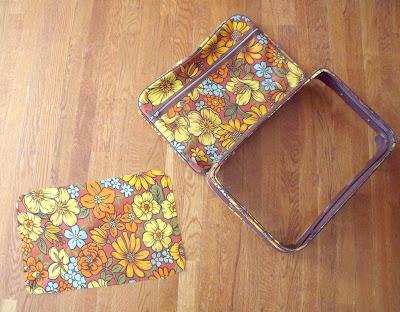
When you're done with steps 1 and 2, the panel you'd like to use should be completely separate from the rest of the suitcase. Repeat these steps on the other side. (This is also a good time to salvage any other usable parts you may want to use in the future, like the handle and any other hardware.)
Step 3: Use a ruler and knife to straighten three of the fabric's sides (the two long sides and one of the short ones).
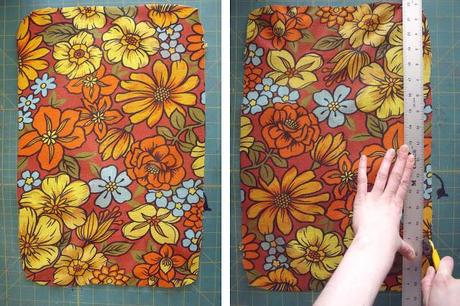
Step 4: The fourth side (the one you didn't straighten) will be used as the clutch's flap. Use a ruler and a pen to mark the exact center of this edge.
Step 5: Place an oval template on the mark and trace the top half of the shape with your pen.
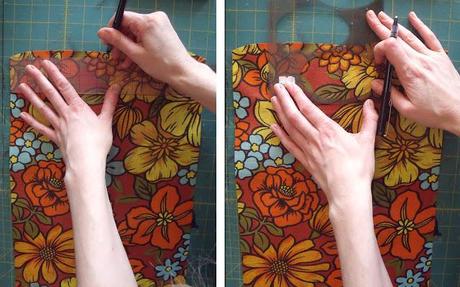
Step 6: Use a ruler to draw a straight line from the left side of the oval to the left side of the fabric, then repeat on the the right side of the oval.
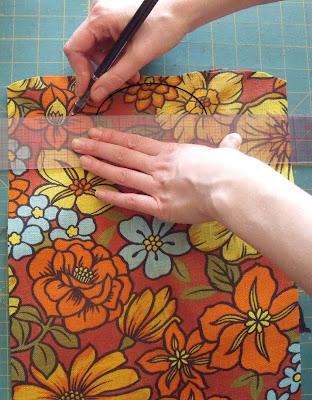
Step 6: Use scissors to cleanly cut on the lines you've just made.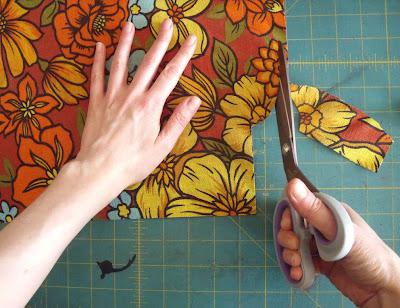
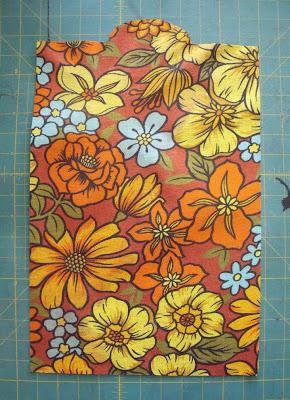
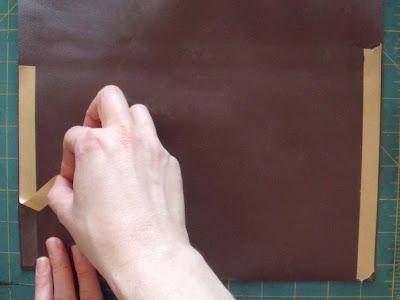
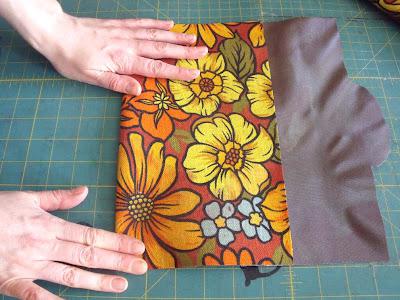
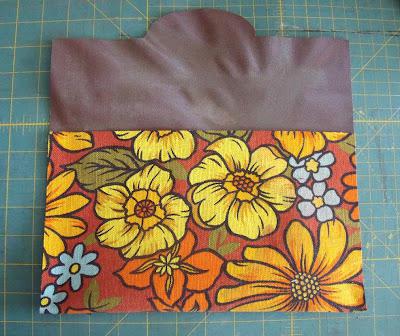
*The next few steps involve hand sewing the sides of the bag. If you want to do your sewing on a machine, skip steps 3-6. Though the hand sewing below will definitely take longer, it's very effective as an additional design element.
Step 3: Place a ruler 1/4" away from the edge of the bag and begin making marks 1/4" apart. These marks will extend from the left corner, around the flap, to the right corner (the folded edge will remain unmarked). These will be used as guides for a consistent stitch length.
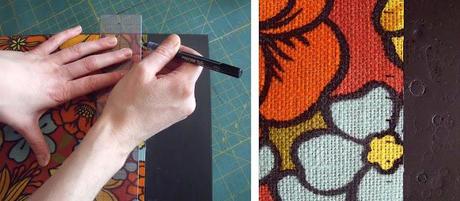
Step 4: Use an awl to pierce a hole in each of these marks. This will make the sewing MUCH easier, especially if you suitcase was made from tough materials.
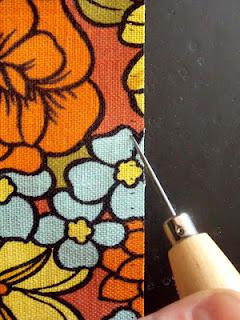
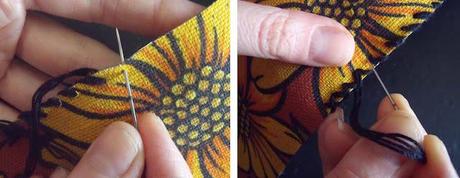
Step 5: Begin sewing at the bottom left-hand corner and keep going until you've reached the right-hand corner. Each stitch should go over the edge of the bag before emerging through the next hole.
Step 6: Once you've reached the bottom right corner, reverse directions, sewing until you're back at the left corner. This will give your stitches the "X" appearance pictured here.
Closures:
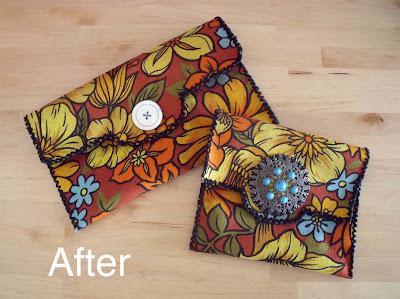
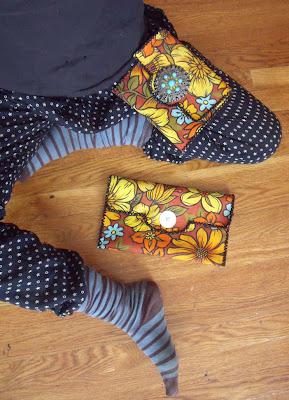
I ended up with enough material to make two of these clutches (one large, one small) and wanted to handle the closures on each of them differently.
On the larger one I decided to go with an extra large vintage button.
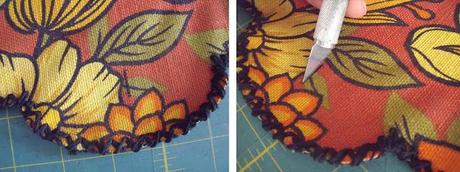
I found the placement by marking the center point on the flap and slitting it open with an exacto knife...
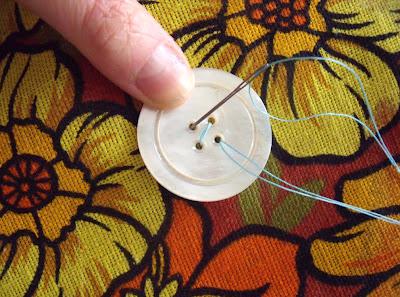
... then sewed the button into the corresponding area on the bag's front panel.
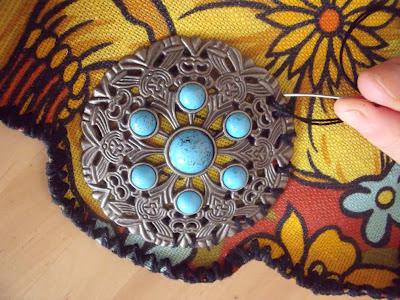
For the smaller one I cheated a little bit. I sewed on a random medallion I had laying around. This isn't technically a closure, in that it doesn't actually fasten the bag together, but it's weighty enough that it will keep the flap down on the front of the bag. It works for my purposes (also, it lets me finally use this excellent giant adornment).
Thanks for the inspiration for this one, Chris!
Tools
-ruler
-exacto knife
-scissors
-double-stick tape
-awl
