Clown Contouring is extreme contouring. I would not recommend this for everyday wear and there are a lot of steps involved. This would be more for a special event or for photography. Clown contouring uses greens, lavenders, yellows, pinks, and browns to sculpt the face. These colors are used for different purposes. Green is used for adjusting (also for cancelling out any redness), yellow for brightening/highlighting, lavender for balancing, pinks for blush, and browns for sculpting the face.
This is my take on clown contouring and how I would do this method of extreme contouring. I hope you enjoy this post. Let's get to it!
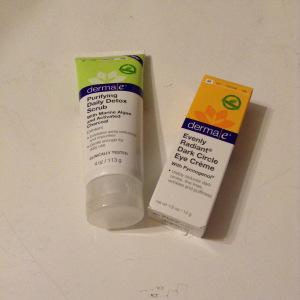
Step 1: Exfoliate
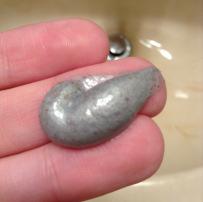
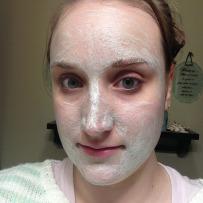
The night before you plan to clown contour you need to exfoliate the skin. You really want to remove all the dead skin so that none of the shades stick to dry patches and accentuate them. I have really been loving the Derma E Purifying Daily Detox Scrub ($15.50). This scrub includes Marine Algae and activated charcoal to exfoliate away pollutants and impurities in the skin. The scrub is also gentle enough for daily use. It works amazingly at removing all my dead skin and it really preps my skin for makeup.
Step 2: Diminish Dark Under Eye Circles
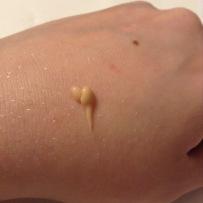
It is really important to diminish dark under eye circles. You don't want these dark circles peaking through your makeup. You want your face to look flawless. To help diminish my stubborn dark under eye circles, I love Derma E's Evenly Radiant Dark Circle Eye Creme ($29.95). This eye creme diminishes the look of dark circles, fine lines, wrinkles and puffiness. It feels amazing under the eyes and really does brighten the face. My dark circles look less noticeable and ready for highlighting. You can apply this eye cream both morning and night for the best results.
Step 3: Moisturize the Face
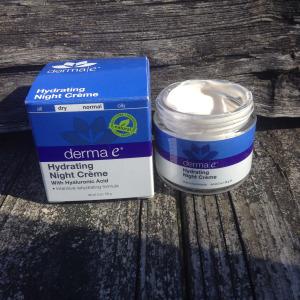
The final step to prepping the skin is to moisturize the face. Use a hydrating night cream at night and a hydrating day cream in the morning. I really love Derma E's Hydrating Night Crème with Hyaluronic Acid ($29.50) for the evening. It is so moisturizing and smells amazing. It really plumps my skin. I also recommend the Hydrating Day Crème with Hyaluronic Acid ($29.50) for the morning. Your skin is now prepped and ready for clown contouring.
Step 4: Now Begin Clown Contouring

This is how I look before.
Step 5: Apply Green Concealer to Cover Redness
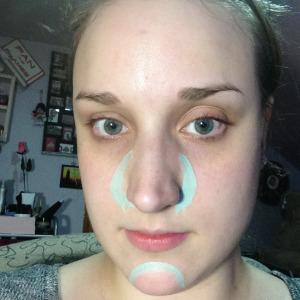
I applied green concealer around my nose and chin.
Step 6: Apply Lavender Concealer to Balance
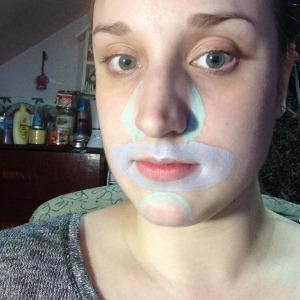
I applied lavender concealer around my mouth and later to brighten areas of my face.
Step 7: Apply Salmon Concealer Under Eyes
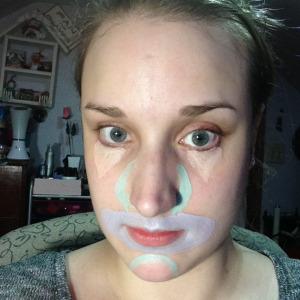
I applied salmon concealer right under my eyes to help further cover my dark circles.
Step 8: Apply Cream Blush
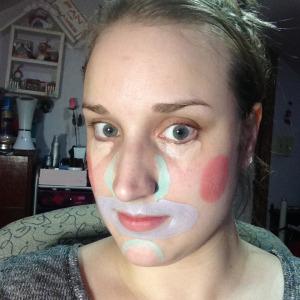
I applied a cream blush to the apples of my cheeks
Step 9: Apply Light Concealer
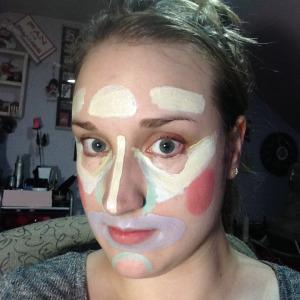
Apply a very light concealer to the areas you wish to highlight.
Step 10: Apply Dark Concealer
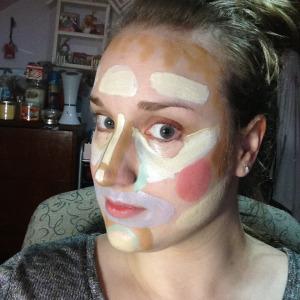
Apply a very dark concealer to areas you want to shade (usually around the outside of the face).
Step 10: Admire Your Clown Work
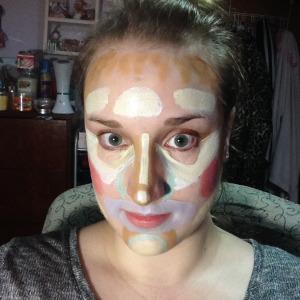
This is my completed clown face.
Step 11: Blend With Beauty Blender
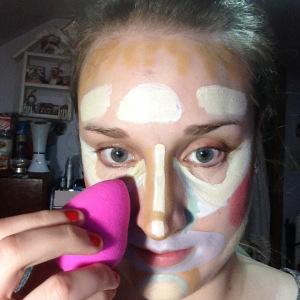
Start with the lightest shades and blend out to the darker shades. Below is how the finished blending will look.
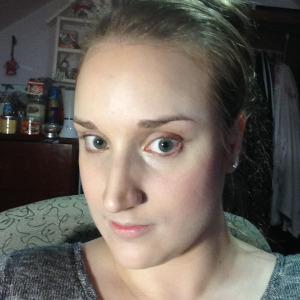
Step 12: Apply a Light Coverage Foundation
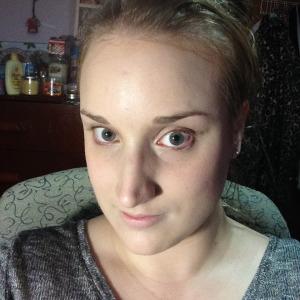
Blend in a light coverage foundation mash everything together.
Now Finish Your Face As You Normally Would
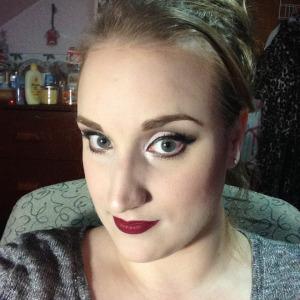
All that is left to do now is to finish the face. Apply your glamorous makeup and you are ready to take pictures.
Clown contouring is a very extreme version of contouring. I would not do this for everyday makeup, but I love how it turned out. It really sculpts my face and makes my skin look flawless. I also loved how well the Derma E products worked in prepping my skin for clown contouring. I definitely recommend them and I can't wait to continue clown contouring. When would you clown contour? Have you tried this trend before? Let me know your thoughts in the comments below!

