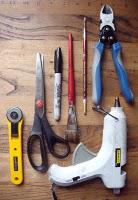
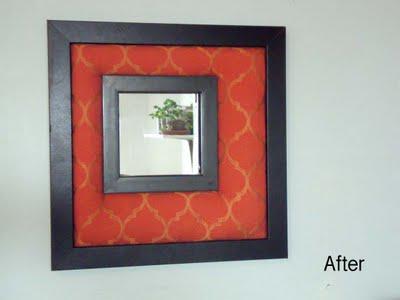
 Materials used:*2 frames of varying size without glass*backing material*handheld mirror*stuffing*fabric*black paint
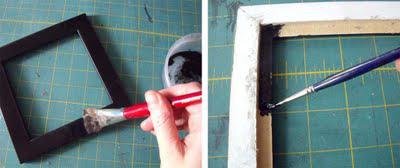
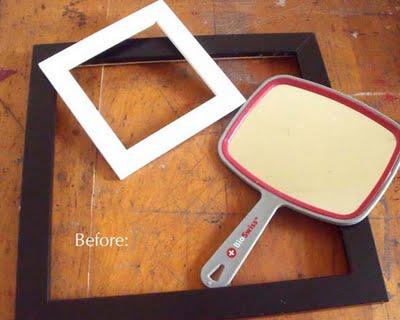 Not a whole lotta prep work was involved, but right away I wanted to get past the part of the project that could’ve made the rest of the steps moot: getting the mirror out of its plastic casing without it shattering. I prepared for the possible breakage by laying down some newspaper on my work surface and wearing a pair of gardening gloves. The thin, crappy plastic turned out to be easily snipped away, but ultimately I did leave some of it attached where it had been glued to the back of the mirror. It was too thin to affect the finished results and to fuss with it any more definitely would've been tempting fate. Another step that I wanted to get out of the way was painting the small frame to match the big one. This included not only the top and sides, but because my mirror wasn't an exact fit for the frame, I painted its underside as well. Otherwise, when I glued the frame to the mirror, the contrasting color of the bottom side would have been visibly reflected.
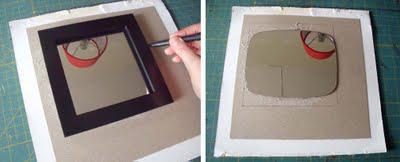
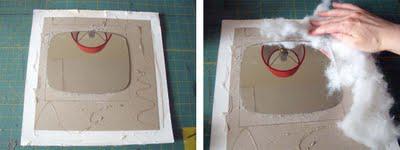
Next, I put lots of hot glue down onto the backing and began sticking the stuffing to it.
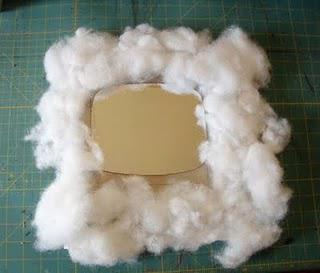
Once this step was done, I draped my fabric over the whole thing and cut away of the excess with the exception of an inch on all sides. Then I drew an X on the fabric just over the center of the mirror.
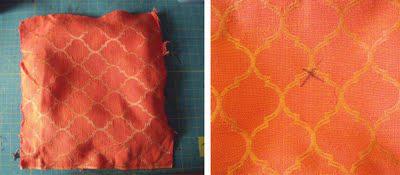
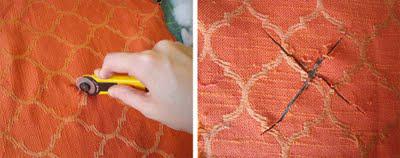 Now I placed the fabric back over the mirror and backing and gently flipped it over (making sure that the fabric didn't move from the right position) and hot glued three of the four fabric edges to the board. Leaving the fourth side open would allow me to add extra stuffing later.
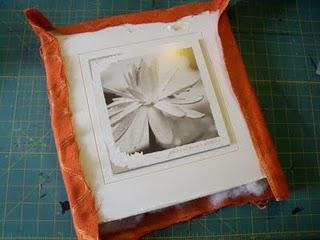
With it again facing right side up, I began folding back each of the triangular flaps and gluing it down onto the lines made where the small frame had been traced. In some places the cuts in the fabric needed to be extended a little, but it was way better to do it this way than to risk cutting too far right off the bat.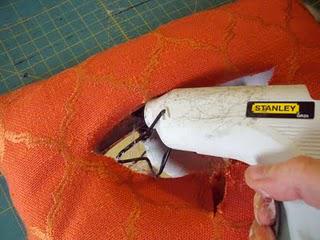
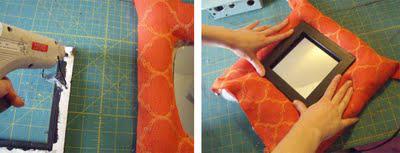 Finally, I attached the larger frame to the rest of the project making sure that it had enough glue to stay stuck, but not so much that it was oozing. As a final step, I trimmed away the excess fabric on the back and ran some masking tape down the edges where it met the back of the frame to give it a more finished look.
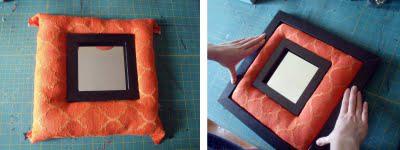 I love love the way it came out! Knowing how nostalgic my grandma has become over the past several years, I can't not give this her for her upcoming birthday, but there's still a couple of months till then for me to enjoy it a little myself .***A couple of things to note in this project:- If you’re hand mirror is made of wood or a denser plastic, this project would be better suited for some other random mirror you've got, all the better if it is without any frame at all. It will save you a lot of time and let you skip the shatter factor.-Also, the larger frame's backing board is important in this project. The frame I was using still had one, but if you're using a frame that lost it somewhere along the way, you can easily make a new one by tracing the inside of the frame onto a piece of cardboard and adding 1/8" all around. Even an old pizza box works, preferably minus the big greasy spot.TOOLS NEEDED:*glue gun*pliers*scissors*paint brushes*sharpie*gloves*blade