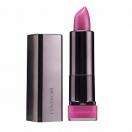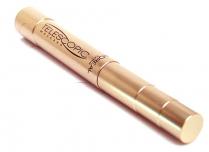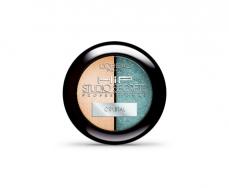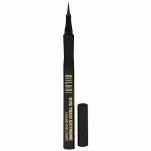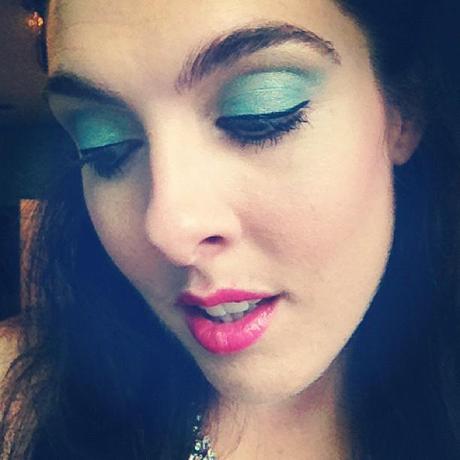
Bold colors I Instagrammed for a recent girl’s night out.
I’ll never forget the first time my mom caught me red handed… or shall I say, red lipped.
I was 4, maybe 5, and mom had stepped out of the house to do some errands while dad watched TV in the living room. After the door shut, I sneakily ran to the bathroom and found her make up bag. I knew she would kill me if I touched it, I knew I was too young to wear make up, but I couldn’t help but rebel our of curiosity in that moment. I always watched mom put on make up and I wanted my chance to try it on too. Afterall, my mom always looked so beautiful with her eyes and lips colored, and I’ve always wanted to grow up and be just like her. So I dug in.
As I explored all the bright colors and smeared the bright red lipstick across my lips, my obsession with make up began from that young age. I couldn’t wait to grow up and really get the chance to wear it… one day. Until then, I had a blast painting the canvas of my face until mom returned home. As she opened the bathroom door, I stood there like a deer caught in headlights waiting for her next breath as she evaluated my rebellion.
But she just laughed.
What I thought would turn into the worst spanking of my life, she just laughed. She knew I was becoming every bit her daughter, ready to take on the world one shade of brightly colored lipstick at a time.
I’ve always found it funny when I meet women who are afraid to try out bright red or pink lipstick, because for me, I can’t imagine going through life without it. It’s part an extension of the creativity that stirs inside of me, part wearing my courage on the outside, part a mask I hide behind as I try to conquer this scary world, part that little girl inside of me that still hopes to grow up and be as bold as my mom has always been living life to the fullest.
A few of you asked me on Facebook and Instagram (username: scarlettlillian) for a hints on how I did my make up recently for a girl’s night out. Here’s the simple ingredients I used. While I love to splurge on the expensive department name brands sometimes, this look was achieved via anything you could find down the Target make up aisles.
*L’Oreal HIP Studio Secrets in Crystal
*MILANI Liquid Eyeliner
HOW TO:
1. When putting my foundation on, I always put it on my eye lids as well. I feel like this always serves as a base to help the eye shadow stay on a long time.
2. I smeared the gold side of the eye shadow on the whole base of my eye lid and under my eyebrows. I always put a little bit more under the arch of my eyebrow to highlight that a bit more.
3. I then put the teal side of the eyeshadow first on my eye lid, layering it slowly, then gradually move up to the bone right above my eye lid highlighting just the rim of where the bone is. It forms a natural “V” and is sometimes too harsh, so then I’ll take my finger that still has foundation on it, and smudge it over where the teal ends to blend it in better.
4. I’ve tried SO many liquid liners, including overpriced name brands one, but found this MILANI one to be the easiest and longest lasting to apply. It literally is like taking a marker and drawing it on your eye. The tip is perfect so that it isn’t too bold of a line, yet fine enough to just put a hint on depending how dramatic you want to go. I start on the outside corner of the eye and work my way in.
5. Last but not least, apply 2 coats of mascara. The Telescopic mascara wand is amazing for separating the lashes individually. I love how I never get clumps with it.
6. Then I applied my favorite hot pink lipstick that the fabulous Jacksonville make up artist Paulina Perez introduced me to when she did the make up for our promo video above.
Leave me a comment and let me know what your favorite lipstick color is! I always love trying new shades and brands!
