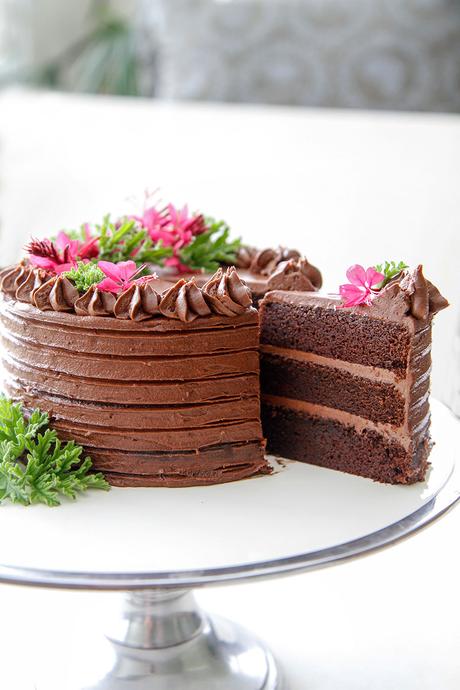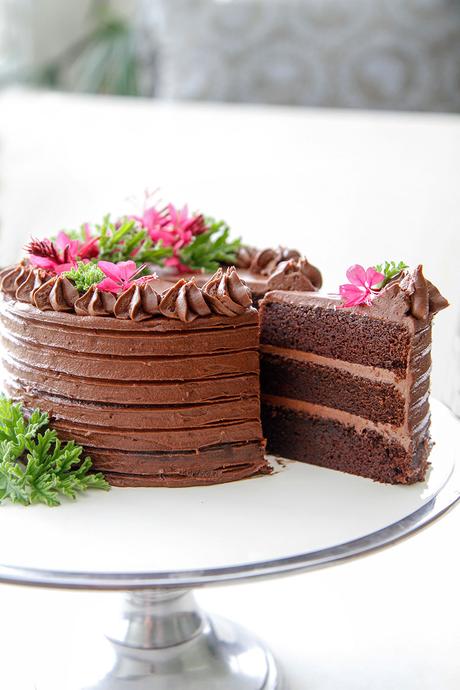
My favourite cakes to make are Mini Layered ones. The ingredients that are required are minimal, and they are so cute and stand as high as they are round. The slices are teeny weeny and are just a few mouthfuls, which as far as I am concerned, is enough to fight off the sugar craving.

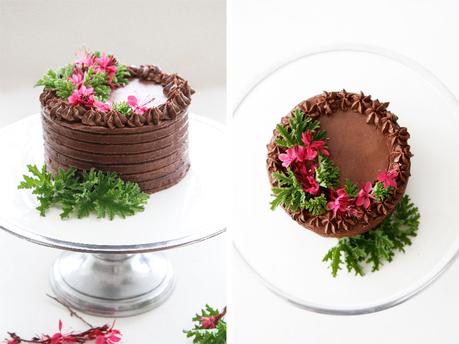
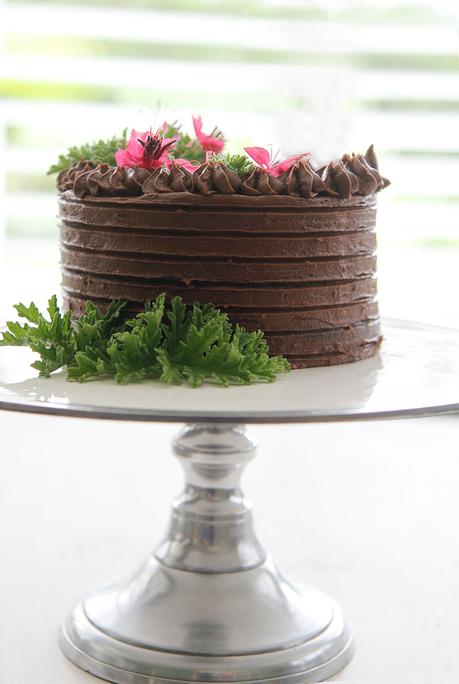
This cake cooks at a very low temperature for a long time, but it comes out level and perfect every time. I use a 6 inch (15cm) deep cake tin which is not a common one, and if you are going to make it, make sure that you do not use a bigger tin as it will not work . You should be able to find this size at all good baking shops . I topped it with a soft chocolate buttercream frosting and the smallest Rose scented geranium leaves and tiny flowers that I could find in my garden. This recipe will last in an airtight container for up to 5 days , which makes it a great cake to make if you have to bake well in advance of a function. I always keep my cakes in the fridge until a few hours before I need them. It keeps the icing firm and the flowers stay fresh.

Happy baking my friends.

This recipe is adapted from the Australian Women's Weekly "Decorating Cakes" cookbook.
Because this is cooked on a low heat and is a deep dish cake it cooks for approximately an hour. If you were cooking it in 2 tiny cake tins it would cook for far less time
-
Preheat your oven to 160ºC / 325ºF ( yes this is a low oven temperature but it cooks for a long time).
-
Grease and line a Deep 15cm (6 inch) cake tin.
-
Combine broken chocolate and sifted cocoa and add to the water in a saucepan on the stove. Stir over a low heat until the mixture is smooth then transfer it to a bowl and cool for 15 minutes.
-
To this bowl of chocolate mixture add butter, sugar, eggs, vanilla extract, sour cream ad the sifted dry ingredients.
-
Beat all the ingredients on low speed until combined and then increase the speed to medium. Beat it for 3 minutes or until the mixture is smooth and changed to a paler colour.
-
Spread into the prepared tin and bake for 1hr to 1 1/4hrs in a thermofan oven. If you are not using a thermofan oven this can cook much quicker so you will have to watch it.
-
Test cake by inserting a skewer into the centre of the cake. If it is cooked the skewer will come away clean. If there is any mixture on the skeyer, bake it for a further 10 minutes before testing.
-
Allow the cake to cool in the pan, and when cool turn out onto a wire cooling rack.
-
Once cool I like to place the cake in the fridge (wrapped in plastic wrap so that it doesn't absorb any of the fridge smells). Once it is cold and firm I then slice it into 3 even layers before icing with your favourite icing.
-
Decorate with flowers, or chocolate curls.
