Meringues are such a deceptive dessert on so many levels, they seem so simple to make yet with their delicate crisp exterior you never know if you will be getting a gorgeous gooey centre or one that is dry. There are so many things that need to work together to get them to be just right. I personally love them to have a slightly chewy centre, and its still a bit of a guessing game for me as to how they turn out, but this is the recipe which I have found works the best for my taste.
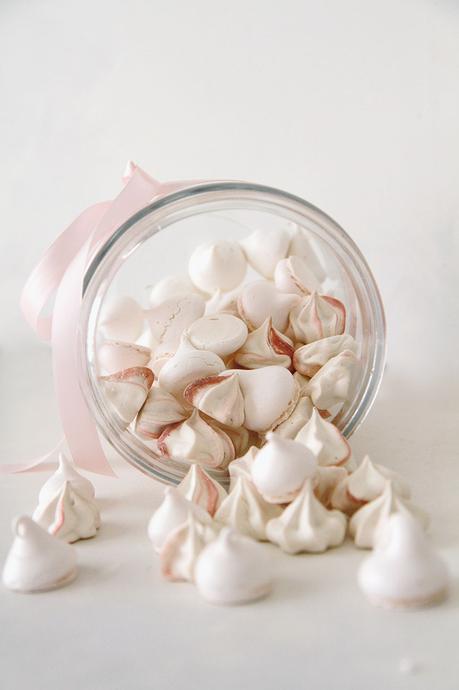
These beautiful little pop in your mouth meringue kisses are great on their own or enjoy them stuck together with creamy ganache to make little meringue sandwiches. They can be swirled with chocolate or dipped in it, combined with fresh fruit or made into a gorgeous pavlova. Bake them in circles, stacked with a berry mousse for individual desserts with a difference. Tie a ribbon around a glass jar and fill it with these sweet little crispy kisses for a gift with a difference when invited to a dinner party.
This recipe is slightly different from the normal as the sugar is heated and then poured into the whisked eggs whilst still warm. This creates a beautiful glossy, stable mixture.
TIP : To achieve the shaded effect spread one or two thin lines of food colouring gel inside your piping bag before adding the meringue mixture. Use a tooth pick to do this so as not to get too much colouring in the bag.
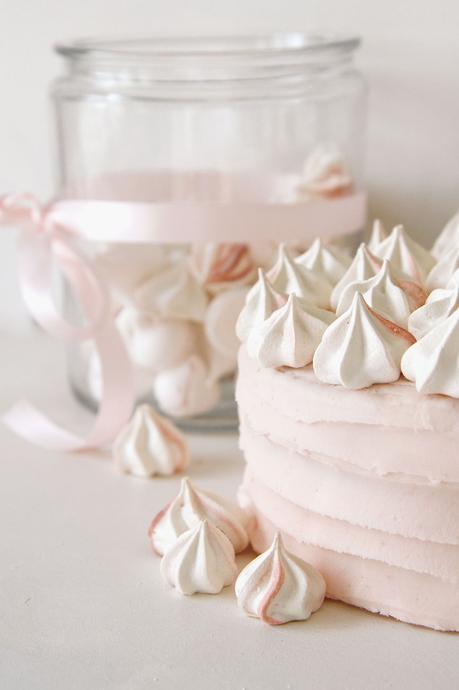
Everyone needs to feel special, so here are a whole heap of kisses from me to you.
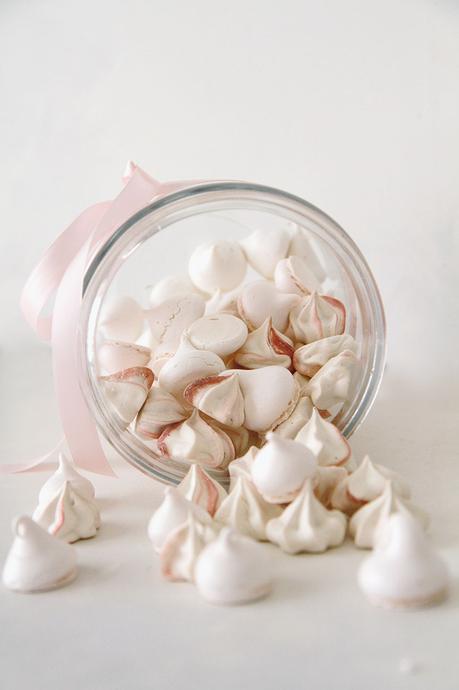
- Use a ratio of 2:1 for this recipe. You will need to weigh your egg whites first. (2-3 egg whites). Whatever they weigh, then use double that weight for your castor sugar
-
Preheat your oven to 200ºC.
-
Line a baking tray with baking parchment and pour in the caster sugar and heat it in the oven for 7 minutes.
-
Heating the sugar helps to create a glossy, stable mixture. It will start to crystalize slightly on the edges. Then you will know it is ready.
-
Pour the egg whites into a mixer and whisk them slowly, allowing small stabilising bubbles to form, and then increase the speed until the egg whites form stiff peaks.
-
Remove the sugar from of the oven, and get the oven temperature down to 100ºC (leave the door open to help speed this up.)
-
Slowly spoon the hot sugar into the beaten egg whites with the mixture on a high speed, making sure the mixture comes back up to stiff peaks after each addition of sugar.
-
Once all the sugar, is added continue to whisk on full speed until the mixture is smooth, stiff and glossy .
-
Continue to whisk for at least 5 minutes after all the sugar has been added. Test by rubbing a bit of the mixture between your fingers; if you can still feel the gritty sugar, keep whisking at full speed until it has dissolved and the mixture is smooth, stiff and glossy. If you want to colour the meringue add a tiny amount of food coloring with a toothpick to the meringue mixture now and beat together. If you want swirls of colour, add small strips down the inside of the piping bag before putting the meringue mixture in.
-
Spoon mixture into a piping bag with a decorative nozzle and pipe small meringues onto the baking paper.
-
Bake for 35-40 minutes or until the meringues come off cleanly from the baking paper.
