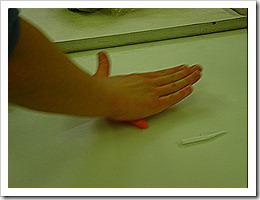
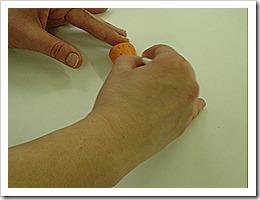
First Anna takes orange marzipan and rolls it into a carrot shape; with a fat head and tapered tail like so
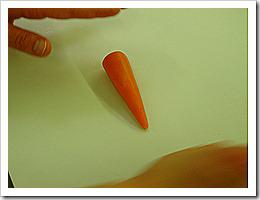
Next you need to make indentures along your carrot shape to give it a more carrot-y look like so
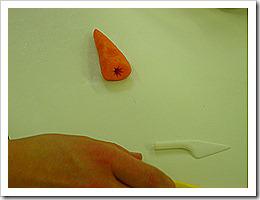
We have a special tool to make the starred hole in the top which you may not have at home; as long as you make a half inch deep hole the missing star effect won’t matter to the over all finish.
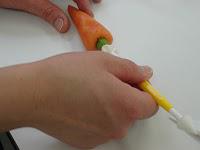 Next Anna takes a green piece of Marzipan and rolls it into a stem shape and pops into the inch deep hole ; we again use our special tool to fix it into shape; a trick to use at home is to dip the end in a bit of melted chocolate before popping it into the hole. Once cooled the chocolate will help keep it in place!
Next we need wheels;
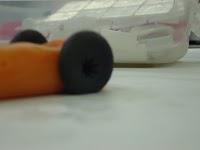
Anna takes equal sized black Marzipan pieces (about pea size) and squashes the ball shape flat, as you can see on the left hand picture again we have used our star shaped tool to create the effect in the middle. Why not improvise at home a Phillips head screw driver would give you the same effect attache to the side of the carrot at the fatter end, at the pointed end repeat the same but with smaller sized pieces of marzipan to give you the crazy races style racing car effect.
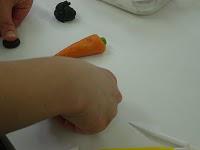
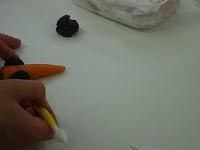
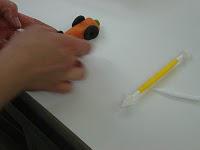
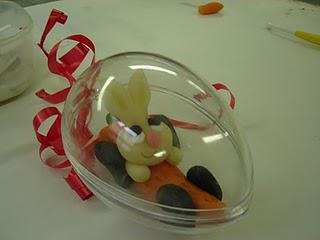
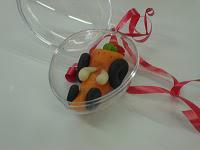
We package our Bunny's in a plastic egg for our customers, as Marzipan takes around 24 hours to harden we place our little racers in their packaging at this stage to add finishing touches. This reduces the amount of times we have to touch the car and prevents damage during packaging, for you guy's at home just carry on as normal and ignore the plastic egg in the photo's.
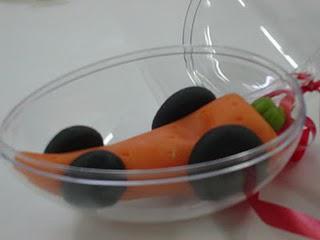 How are yours at home looking guy's. You'll notice in this photo the dip Anna has made between the two larger back wheels, this is where your bunny is now going to be built so its important. Once again we have a special tool (big cheaters I know) at home grab a marble or something similarly round and smooth and roll it just a little in this space to create the indenture as seen above.
Time to get our Bunny driver in the hot seat, switch to uncolored marzipan for this and take a pea sized lump, split into two, roll small carrot shapes and place hands at the wheel
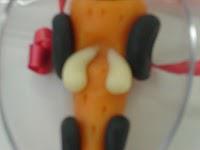
Looking good ha!
OK time to build the head ears and all, take a brussel sprout sized ball of natural marzipan.
Roll one end along a flat surface to create a tapered end but not as long and thin as our previous carrot shapes; now place it between your forefingers with the ball shape at the bottom and start rolling gently this will create an neck, when you cut the tapered end like so you create a bunny head with ears, easy!
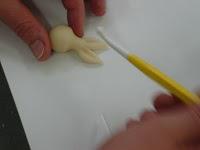
Your doing very well, we are really nearly done, you can stop for a quick cuppa if you want!
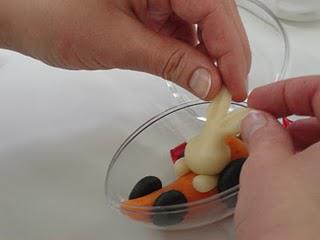 So now place your head into the dip in the car we created earlier and arrange your ears. Push one slightly back to create a windswept look!
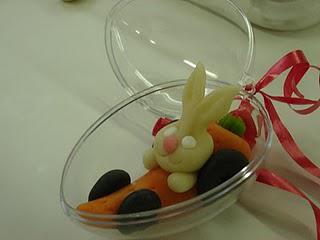 We need to add our face now start with some eye holes, again our special tool comes out so improvise at home perhaps the end of a toothbrush, you just need small tear drop shapes in which you'll later pipe white icing for the eyes and a small black dot for the pupils, a squashed dot of pink marzipan gives you the cute button nose.
 Can you see the mouth lines Anna has drawn in, these you have to mark into the marzipan what you use is up to you now I've given you enough ideas for improvised tools, it be fun to see what you come up with at home let us know.
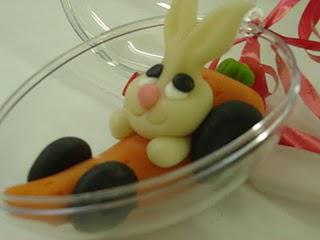 So did you have fun!
I may be cute but I'll kick your be-hind on a track!
Nicola Quigley
[email protected]
