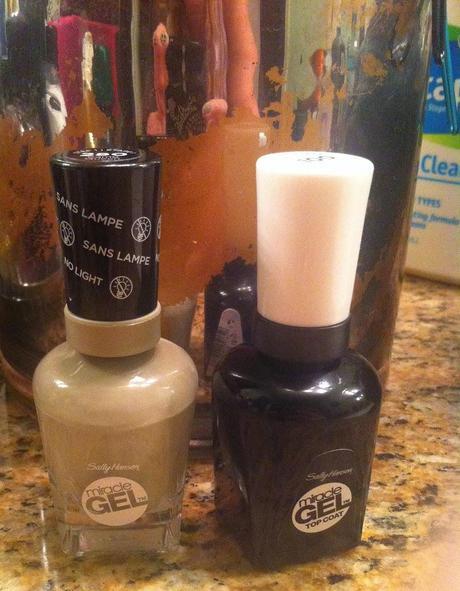
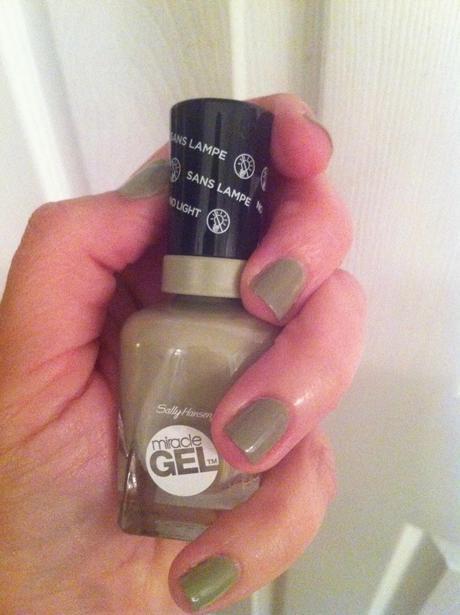
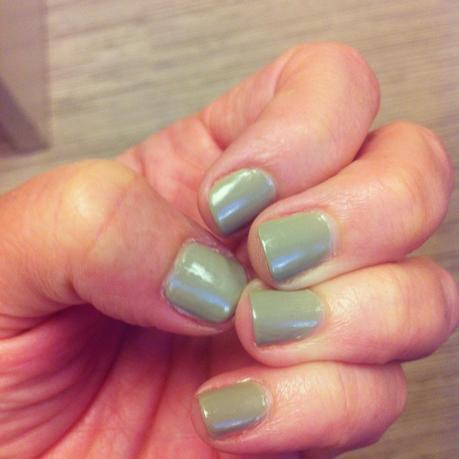
I chose Camo Queen, I loved the idea of a light olive green polish and it was a perfect neutral for me. I got great coverage in just two coats. I could have gone with one but I always apply thin coats to speed the drying process. This was a late night polish job and I was worried I'd made a huge mistake. You know those times when you do a late night polish job and wake up with sheet marks on your freshly painted nails? Yep, that's usually me. Well, it didn't happen this time! The Sally Hansen Miracle Gel dried incredibly fast. It was still a little tacky when I went to bed. I was worried. The photo above is the next morning and it looked great. Now the real test. How long would it last?
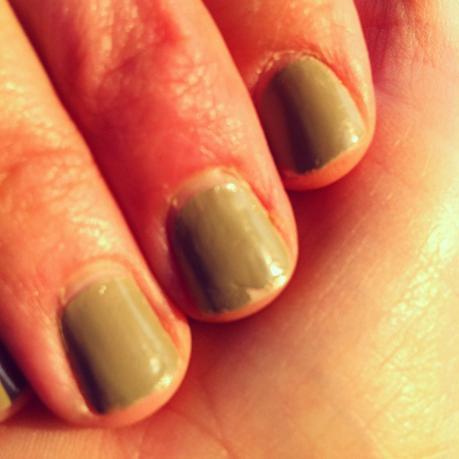
Day 7 - My first chip.
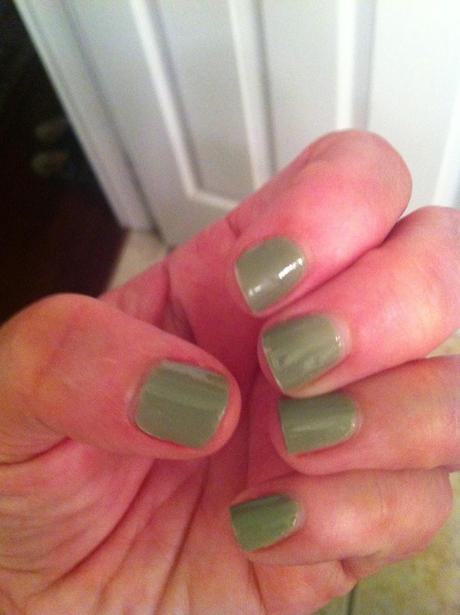
Day 8 - Left hand
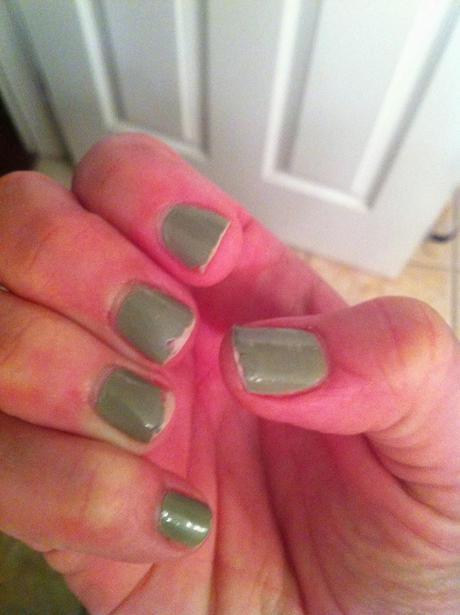
Day 8 - Right Hand
I tried to wait as long as possible. I got my first chip on day 7. Then I did the dishes. For me that's the real test. I'm not big on wearing gloves to do dishes. I threw caution to the wind. The results are above. I have to say though, a week isn't bad. A manicure that lasts a week is a win. I'm betting it might have lasted even longer if I had added a coat of clear polish mid week but I wanted to give it a full and honest test.The polish is on the more expensive side of drugstore polish ($8.99 per bottle and the drugstores near me). You can find combo packs that contain one bottle of polish (in a color) and one bottle of top coat for about $15.99. It's a bargain compared to the cost of a salon gel manicure. Plus, it won't destroy your nails and you can remove it with regular nail polish remover. Sally Hansen Miracle Gel polish comes in 47 shades. I think it's great and will be trying some other colors. My next trial will be testing out regular polish with the Miracle Gel top coat. Stay tuned.
Note: The opinions in this post are my own. I was not provided any compensation or product by Sally Hansen. I purchased these products to test them out and share my results with all of you.

