{Enter to Win a 2 Year Membership to RedWeek.com!}

I hope you had a great weekend! Around Valentine’s Day, Target had a TON of different Sally Hansen Nail Polish strips on clearance. Since I had been wanting to try them anyway & they were 50% off {plus I had coupons} I picked up probably 5 or 6 boxes. I HATED the first box I tried. They snapped off during application & chipped within hours. I was SO mad. I told myself A) maybe I was doing something wrong, B) they were old, or C) they were total crap. I had not worn them since then because I had a drawer full of other designs & brands I wanted to try. I had gone through all of the brands in my drawer, so I decided to give Sally Hansen another shot. After all, I bought them so I might as well use them right?! I had a MUCH more pleasant experience this time! I’m going to share some tips that resulted in a decrease in profanity during application.

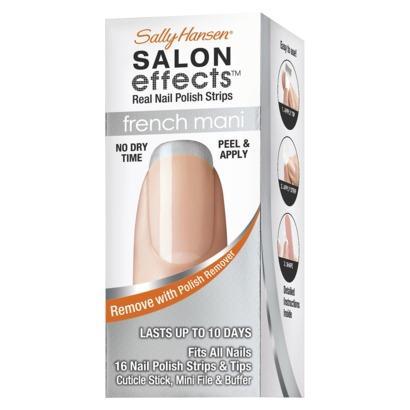
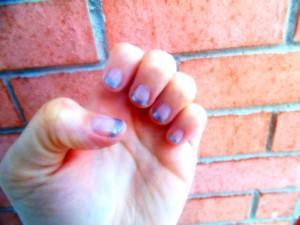
Sally Hansen Salon Effects French Mani Nail Strips in Steel the Night $9.99
{I paid about$3.50 after clearance & coupons}


Tips
- Warm the strips between your hands before peeling the top clear strip off. I did not have any snapping or breaking this time.
- The cuticle stick is your BFF. Use it to peel the paper backing off of the nail strip instead of your fingers. It separates a lot easier. **I SO wish they would put these on a sheet instead. I always end up needing the side of strip with the tab, so it sometimes it has a jagged tear if I’m not SUPER careful.**
- Since this particular brand is very “stretchy”, I found that if I use the cuticle stick to pull & separate the excess strip from the nail instead of filing off, I get a much smoother look without accidentally filing some of the print off.
- I made sure to use a top coat this time.
- Just be aware the french manis will take longer than the regular strips because it is a 2 strip process.
What are you wearing on your nails today?
What are your thoughts on Sally Hansen’s Nail Strips?

