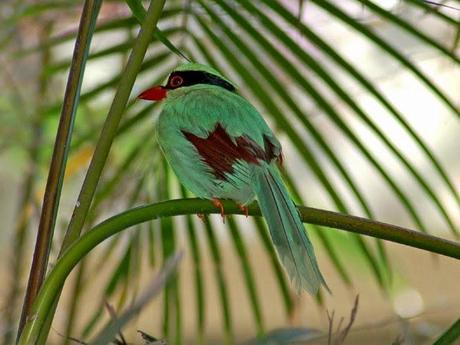
 above : the common Green Magpie (Australia)
Once I started looking into what Magpies are all about I was amazed at how many different variations of this species there are, although some of what I looked at would probably fall into associated species. I mean have you ever heard of a 'cyanapica cooki' ??Here is one of those by the way:
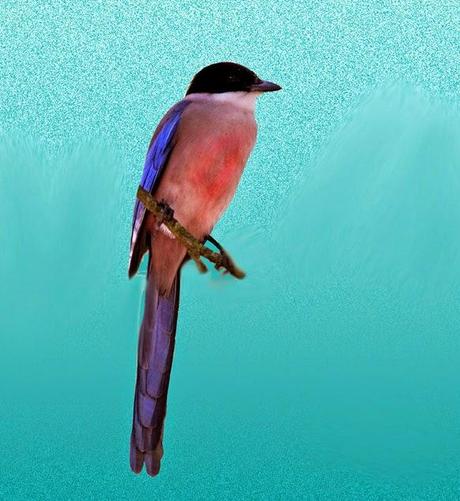 "Cyanapica Cooki" - are not its colours delightful to us people in Scotland whose birds and beasties are mainly beige-ish gray !?
I also looked into the fables and mythology associated with Magpies in various cultures around the globe. I particularly liked a story from China which was about a pair of forbidden lovers who were trying to escape from those who would keep them apart. When they were at the verge of escaping onto another planet - they were helped by some friendly magpies who linked them selves together to enable the lovers to escape to a life unfettered. The story went something like that.
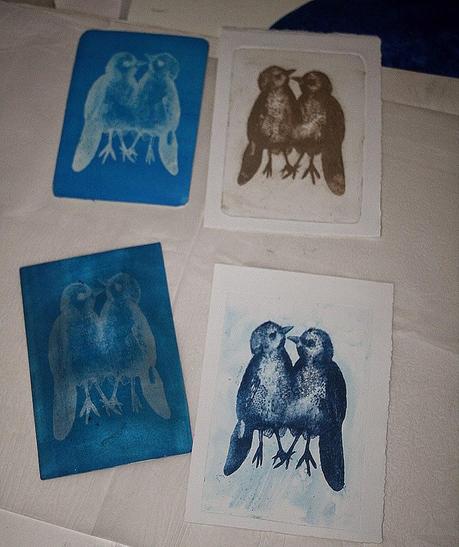 Anyway - it came to the point where I needed to stop researching (of which I did plenty) and get on with it. Well one of the ideas I was thinking about was doing a pair of siamese twin magpies......but I was finding it hard to work out where to put the joining of the 2 birds. So I made a drawing and then scanned it and out put it as a bitmap to get it on to a plate using photo polymer. I used a small piece of thin alumin(i)um and another plate which was a kind of slightly grained white plastic.
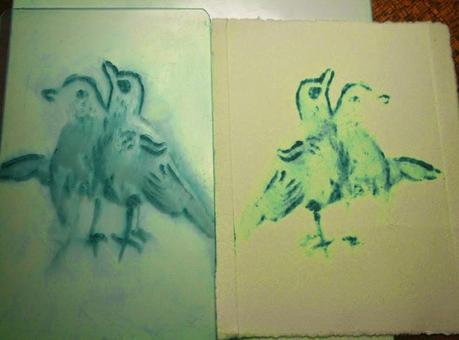
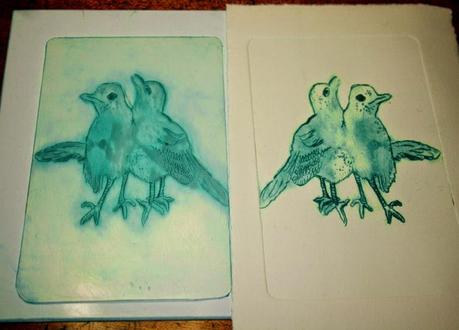
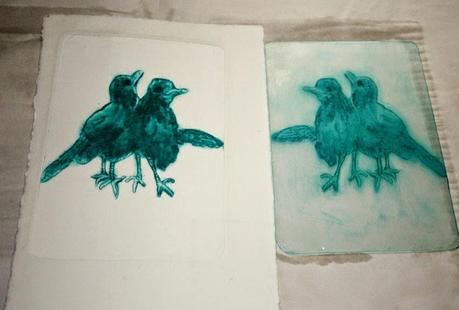
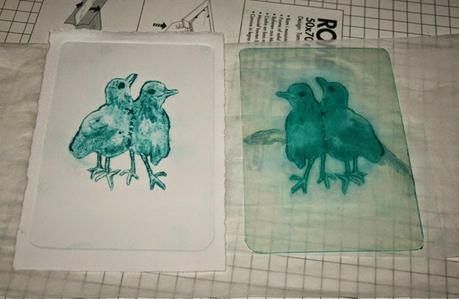
There they are - the plastic plate at the top and a proof using Akua sepia coloured, intaglio pigment ink(water based) and below the plate which was aluminum. When I proofed these, neither of them had been etched / dry pointed or anything else. I seem to remember I had to do the photo etch process twice as something went wrong on the first attempt. Not surprising given that I had'nt done any photo etch for ages. I proofed the aluminum plate using the usual oil based intaglio ink.
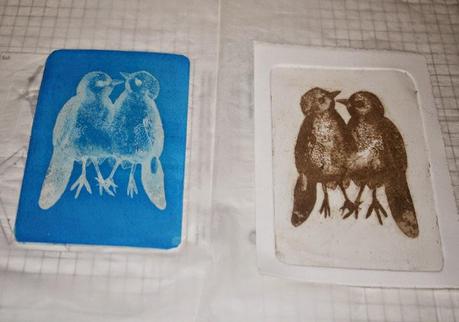 left: photo etch (photo polymer) on plastic right: proof using Akua intaglio ink
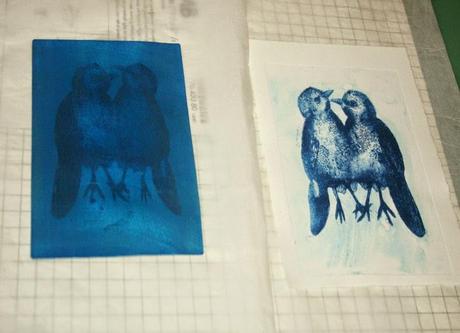 left: photo polymer (photo etch) on thin aluminum right: proof using oil based etching ink
OK so then I fiddled about with these two plates adding pastel ground to them, dry pointing into them and so forth ....but I just wasn't happy with them .......don't think I made any photos of the subsequent proofs. Although I had spent ages on the pencil drawing from which I had made the photo positive - it somehow just wasn't 'happening' for me.
I decided I wanted a more painterly image so I wire wooled and sanded a piece of clear polypropylene and then 'painted' a rough approximation of the same pencil drawing using diluted pastel ground and just thin small paint brushes. Allowing each little layer to dry as I went back and forward to it while I was still working (developing more imagery using previous scans of drawings and further photos etc ) on some more imagery on my computer.
This is a selection of a few of the things I came up with:
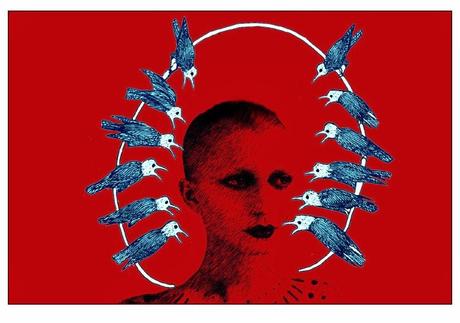
I might have been thinking, photo etch for the the background with the face and the red. The bird circle would then have to be pigment inkjet chine-colle and as they (print edition organizers) are preferring a print with only traditional techniques - so that rules this one out. I could still make it into a postcard and maybe have it for sale.
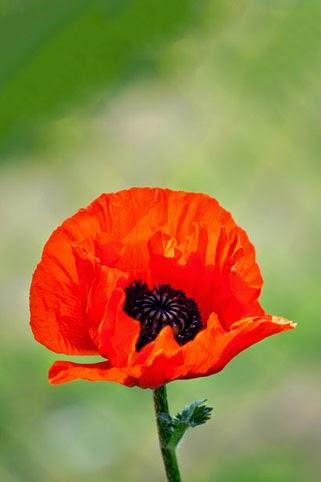 Poppy Flower photo: image by Petr Kratochvil : http://tinyurl.com/cn7gm4
Then it dawned on, me that I don't often use red in my artwork for some reason - I suppose it's not a favorite color of mine although I do like certain reds. Particularly as seen in particular flowers, eg poppies, sweet williams and pansies.
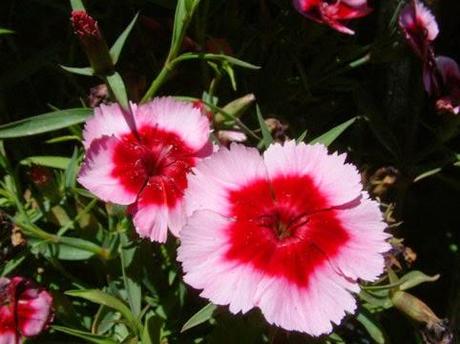 Sweet William photo: image by MUmland @ http://www.imagejuicy.com
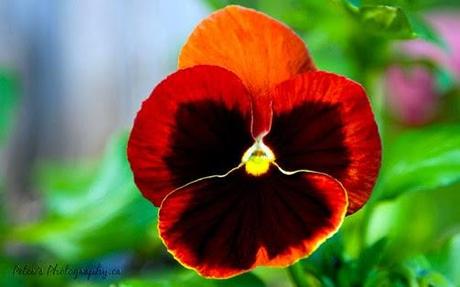 Pansy photo: http://petersphotography.ca
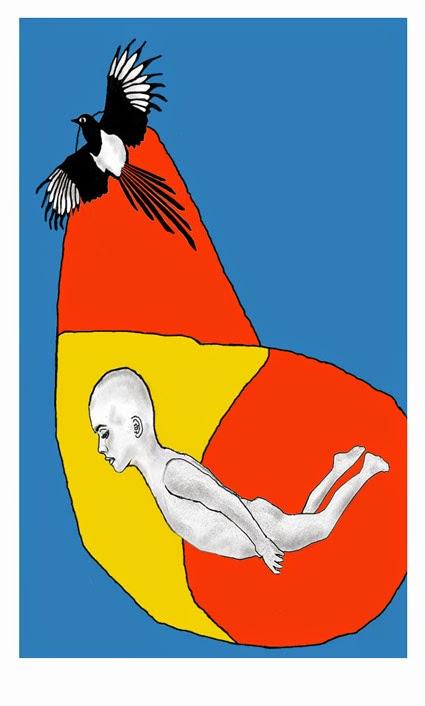 I've referred to this one as the Magpies Kite as I was naming it in Photoshop.The figure is one I made from the time I was developing the imagery for the print for the exhibition in Riga. The print I made for that in the end was called "Deep" . The theme for that exhibition was "Titanic"Getting back to the Magpie plate I was working on just using painted on pastel-ground in layers.
 Pastel ground on sanded polypropylene Stage 1
Pastel ground on sanded polypropylene Stage 2
Pastel ground on sanded polypropylene Stage 3
Pastel ground on sanded polypropylene Stage 4 (had to remove their tails and add their stitches)
Somewhere else along the line I made these images which I was seriously considering as possible final images.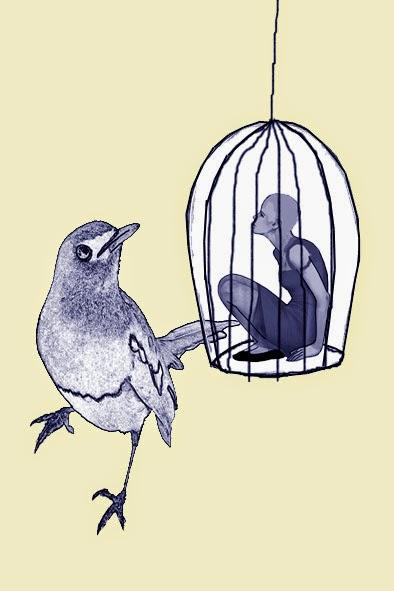
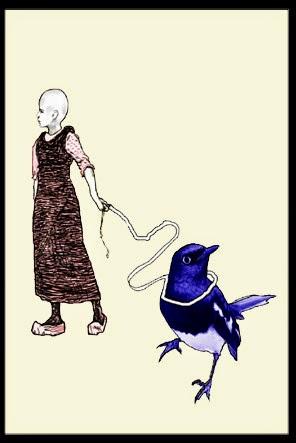
I seem to remember that after I made these - I then got distracted with another project i was working on at the same time using collagraph and dry point. I was also doing some tests with copper sulphate spit bite on aluminum. Both activities being related to the same starting point i.e., a water color monotype. More on this later.
Eventually I made a couple of images in black and white which I then photo etched onto steel plates.
I wont publish these until they have been 'released' by the Magpie project, through Annie Day at Printmaking Sisters.
