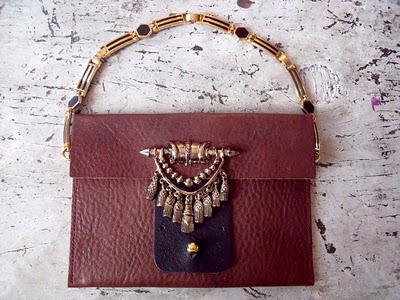
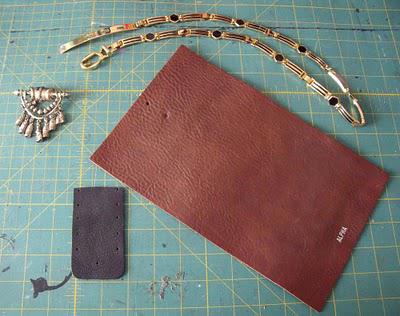
 This tiny evening bag was made entirely out of stuff that I already had laying around in my craft room:*the body of the bag was created from a discarded 10 3/4" x 6" leather sample, folded a couple of times to form the front, back and flap *a closure strap made from a piece of scrap leather *ornate second hand belt for the handle*vintage pendant for extra adornment*brass collar button closure
 Making the body of the bag:-I started by anchoring the collar button 3" from the top edge of the leather, then folded the leather piece so the back side without the collar button was 3" higher (this excess is what forms the bag's flap). -Two looped tabs of scrap leather were inserted between the pieces and then all were top-stitched together. The tabs are where the bag's handle would later be attached.
Attaching the strap:-The opposite end of the leather had a word printed on it. I knew I'd be covering it up with the vintage pendant. It made sense to position the strap's stitch marks there, as well. This way they'd both be concealed. -I used wire cutters to clip the clasp and pin off the pendant so it could lay flat against the leather. Using an awl, I poked holes in the leather a few places around the pendant so it could be securely hand sewn into place without putting stress on the leather or my hand.-Towards the end of the strap I made a hole with a leather punch that was just large enough to slip over the collar button and keep the bag closed.-Attaching the handle to the two tabs was the final step.
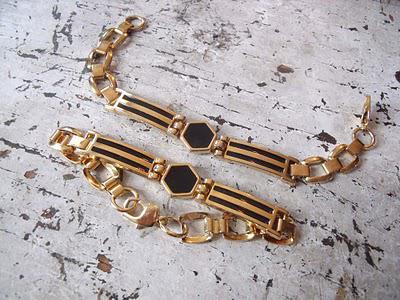
*Bonus bracelets! Made from links left over from the handle.

From start to finish the whole project took about an hour. It's tiny enough to be a good option for me on my uber minimalist days, and much easier on the eyes than my junk all rubber banded together.
TOOLS NEEDED:*wire snips*awl*needle and thread*screw driver*leather punch

