I don’t know what it is, but when handholding my DSLR, often times my horizon isn’t straight. I don’t know maybe I’m a little off kilter :) In any case in a lot of shots I have to straighten my horizon in post. The other problem I sometimes face when shooting buildings is that the perspective is off and the building looks like it’s leaning backwards. If I had a Tilt Shift lens I could take care of that problem in camera but alas I don’t. This is where the Lens Correction panel in the develop module in Lightroom 5 comes in.
I have to say that LR5 has become not only an organizational and cataloguing tool for my image library but my go to post processing software as well. The power of LR5 never ceases to amaze me. I would say that 85% of my images are processed in Lightroom alone and I only use Photoshop now for detailed cloning work.
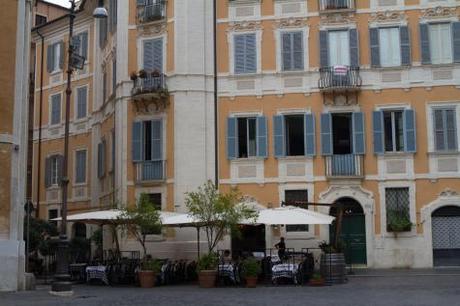
The image below was taken while I was walking around Rome. This is the original RAW file, straight out of camera.

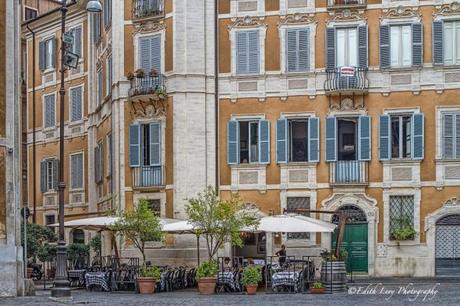
As you can see it needs some work. Not only is the building leaning a bit sideways but it’s also leaning back. I first used the “Level” tool in the Lens Correction panel then the “Vertical” tool to straighten the building. Then I opened up the shadows which brought back all the detail inside the windows and the tables of the restaurant. I then increased the clarity and vibrance slightly, made some adjustments with the Luminance sliders in a few colours and added a bit of detail.
Here you have it…the final image. Click on the image to enlarge.

