 I am handing over to Clare again from Blush Rose, a Manchester based florist to show you how to make your own corsage. You can use any foliage, and flowers and attach to any type of wrist band...so have a go, and if you do, will you show us? I may attempt one this weekend.
 So with all our brides anticipating your grand day, I decided to create a step by step DIY wrist corsage. I fondly remember having one of these when I was maid of honor for my sister’s wedding. Because I had so much to do I needed to have it permanently on me at all times as I was afraid I would put the bouquet down at the ceremony and leave it there.
So here goes….
Brides are you ready?
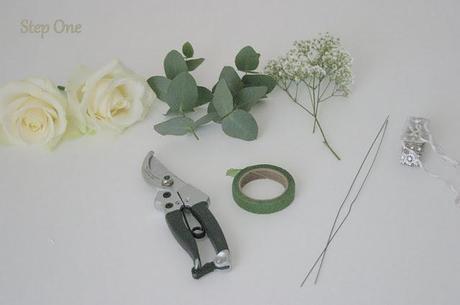
I am using
2 Large Cream Rose’s
Green Foliage (eucalyptus)
Gypsophila (filler)
Florists wire and tape
And a jewelled bracelet with ribbon and corsage base.
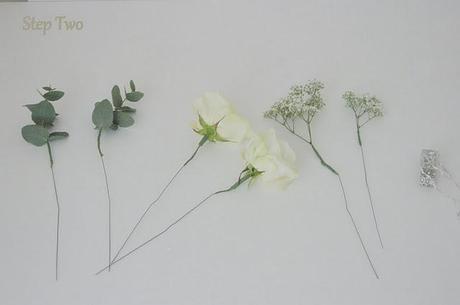
Before we start making the corsage, we need to prepare the flowers first. Cut all the flowers short.
Then, tape each flower with floral wire. This makes it easier to shape them according to the direction you want. Cut the leaves separately, too.
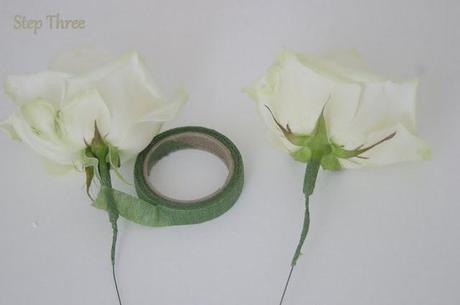
In making the wrist corsage, the first thing to do is to tape the main flowers together. So, I take the 2 cream roses and tape them together using the floral tape. Then add the foliage bit by bit.
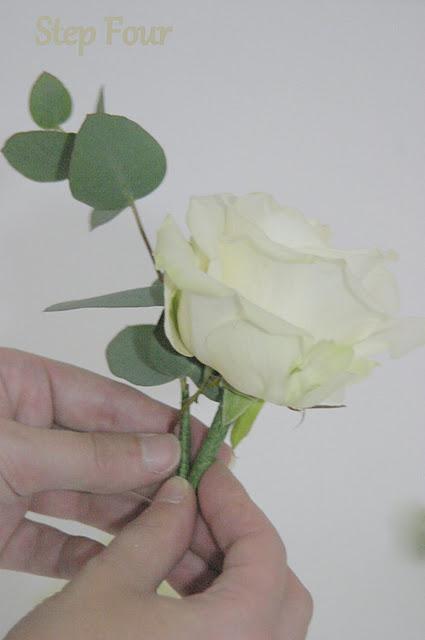
As you start to add more fillers keep taping them together. Keep twisting your design so you are able to see it from all angles
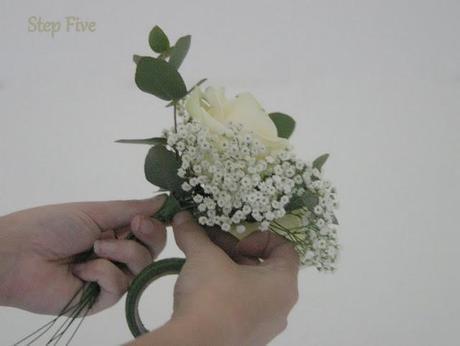
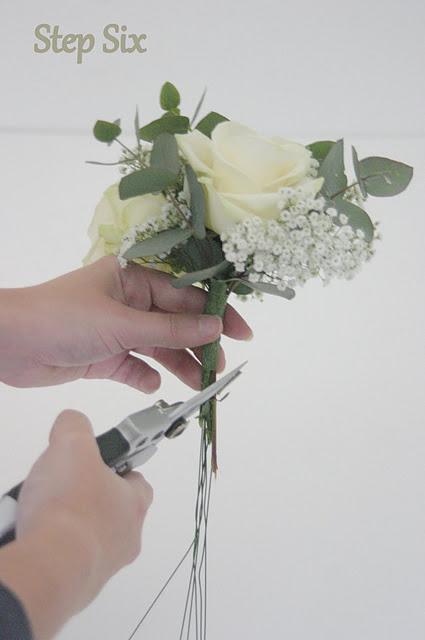
Step Six
Cut the corsage down to the base and start to attach the corsage to the base of the bracelet with the ribbons.
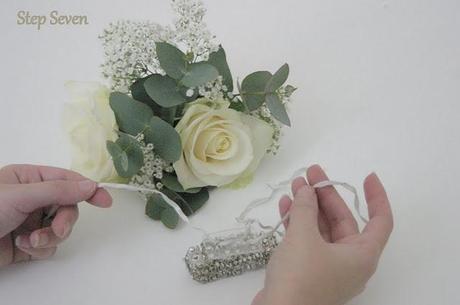
This bit can be tricky but persevere (a handy hint is you can use floral glue which will not damage the flowers)….
And hey presto
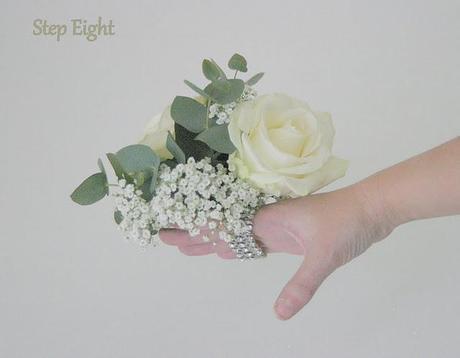
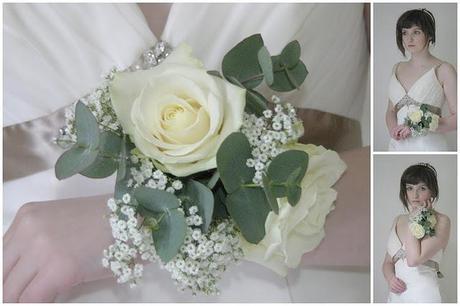
You have yourself a lovely bridal corsage…
Here is how it looks on as one of our models shows here
If you wish for us to design flowers for your special day please do contact us. I (Clare) or a member of my team will be only too happy to create your dream day… We are a Manchester wedding florist.
So there you go, following on from trends for 2012, will you be having corsages?
