I found this cool DIY mirror etching project on Instructables and thought it was a neat way to personalize your bathroom. I’ve always wondered how etching was done and this short guide showed me just how easy it is to do!
Etching your bathroom mirror doesn’t require the highest level of artistic skill. In fact, it’s very quick and simple to learn. Best of all, you can etch your favorite quote or even an image into the mirror of your choice. Here’s everything you need to know to etch your bathroom mirror!
*Note Small children should be supervised during this project because of the required use of an exacto knife and inhalation dangers of Armour Etch compound.*
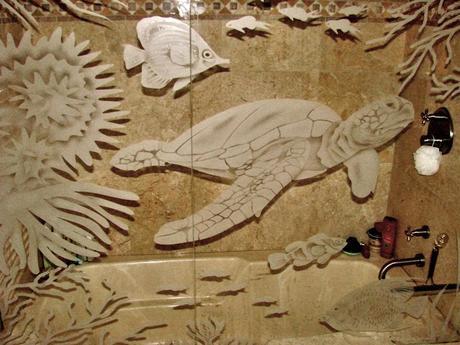
Add a frosted look to your bathroom mirrors or even try it on your shower glass doors! Image via Chris Sommer Fine Art.
1. Etching Glass Materials
-
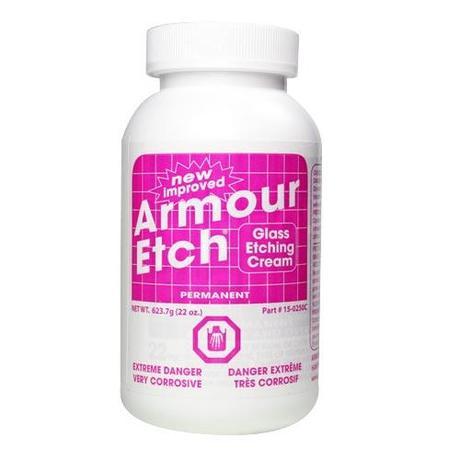
Armour Etch is a glass etching compound that creates permanent designs on windows, mirrors, and glass. It can be found at most craft stores or you can always order it online at etchworld.com
- A foam pain brush, contact paper (arts & crafts store or Wal-Mart Kitchen Section), and an exacto knife.
- Cutting board, a pencil, ruler, Windex, latex gloves, and a stencil pattern of your choice.
2. Prep Your Mirror
Start by applying contact paper to the entire mirror, setting your text/image with the desired alignment. You can choose from left, middle, or right depending on your preference. Try something as simple as a short quote along the bottom frame of your mirror or add an image in one of the corners. Be artistic, this is your own personal project! Make sure that you use Windex to wipe down your mirror to make sure that the etching compound is directly applied to the mirror and not on top of any loose elements like dirt or dust.
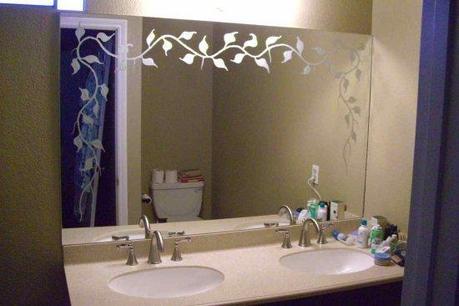
Etched Vines Bathroom Mirror. Image via Sans Souccie Art Glass Studio.
Create Your Guide
In this step you create the pattern that you’ll use to transfer the text/image onto your mirror using a contact paper guide and Armour Etch. If you are confident in your hand-writing skills, you can free hand this part. I recommend using a stencil to ensure that letters are evenly spaced and have a level of uniformity. This small detail will make sure that the final result looks professional and evokes the “wow” factor from your friends who can’t believe you did it yourself!
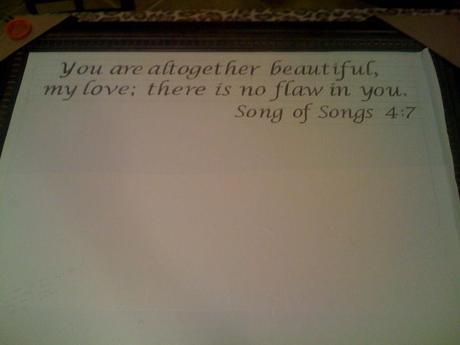
Cut out your image/text to create a guide. Image via Instructables.
Once you have transferred your text onto the contact paper, carefully cut out the letters using an exacto knife so that your quote is see-through. Use caution during this step because exacto knives are very sharp and can cause serious damage!
3. Apply Armour Etch
By now, the sweet smell of success is looming! Here’s the fun part; applying the Armour Etch to your mirror. Make sure that your mirror is completely covered to prevent any scratches or abrasions during the etching process. Use a foam brush to apply a thick layer of mirror etching to the mirror. Be careful when pouring cream directly on the mirror because it may run underneath the contact paper and ruin your project. Use this technique based upon the liquidity of the brand of etch that you purchased. If it has a thick substance, you can try pouring directly but you probably don’t want to try this with a thinly based etching compound.
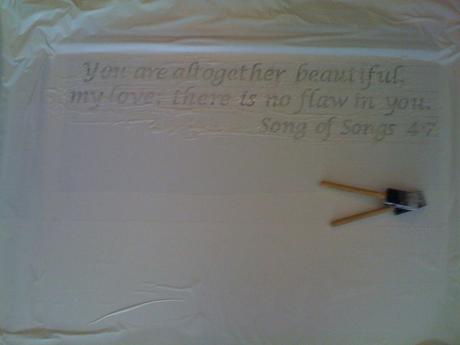
This is what it should look like when you apply your etching compound to your mirror. Image via Instructables.
Once you have created a generous layer of Armour Etch on your mirror, take some time to clean up your work area. You will need to let the etch sit for about 15 minutes to dry thoroughly. As with paint, drying times may vary between brands so be sure to read the directions on the bottle before rushing through your project.
4. Add the Finishing Touches
Time to see the what you’ve done! Before you get ahead of yourself, dab at the cream to make sure that it is completely dry. If some residue comes off on your finger, you may want to wait another 10 minutes or so.
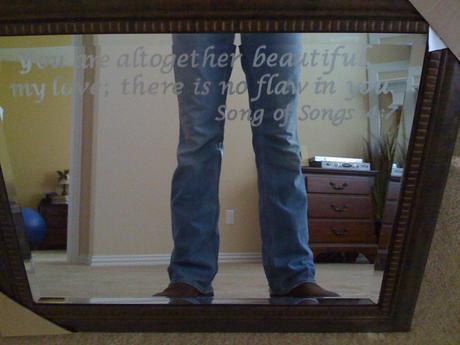
The finished product from the original Instructables post.
Remove the contact paper to reveal the etching on your newly personalized mirror! Use water and a damp cloth to remove any excess etching compound and touch up as needed. This is a great way to personalize a gift or customize your bathroom. Surprise that special someone with a mirror etched just for them. Watch as they gasp in astonishment as you reveal your inner artiste!
Looking for more DIY Ideas to spruce up your bathroom? Check out these DIY Projects from our previous posts:
DIY Magnetic Makeup Board
How to Re-paint Your Bathroom Vanity with Lacquer
DIY Corner Shelving Unit
About this Post
Cheryl Khan is an interior designer and freelance writer who enjoys arts & crafts because of their decorative nature. She loves sharing new DIY ideas on the Tradewinds Imports Blog and helping others find inspiration!
