New antifouling was the primary objective of our haulout in Thailand, but being out of the water for the first time since early 2008 was an opportunity for other projects. One which Jamie had been thinking about for a while is replacing several of Totem's through hulls. They are original to the boat, they show their 32 years- although they were not showing signs of impending failure. There was none of the pink/red tinge that indicates galvanic wasting, no signs of brittleness; this was a gut level decision, since seacock failure is one of the top reasons boats sink.
Hiring out the sanding work to shipyard staff to help prep the hull for painting freed Jamie up to focus on the through hull replacement work. The fiberglass doughnuts he prepped beforehand were used to make a broad, flat base between the through hulls and the hull. The base of the bronze fitting is very flat, but the hull shape where it's installed has a curve. The original fittings were just gooped up with a large amount of caulking, something that could lead to water weeping in over time. This new base allows the movement to be distributed over a larger area, and can be better adhered to the hull.
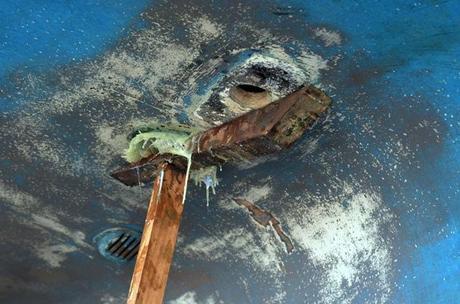
The removal process validated our decision to do this bit of preventative work. It turned out that sealant in one of the seacocks had begun to break down to a watery goo. Not all of it, but the portion bonded to the hull. It was only weeping very slightly and really unlikely to fail catastrophically, but consistent leaking is more than a nuisance and can precipitate other problems. Some of the seacocks were also getting brittle. Again, nothing that indicated pending doom, but it reinforced our decision to take the step before there was a problem.
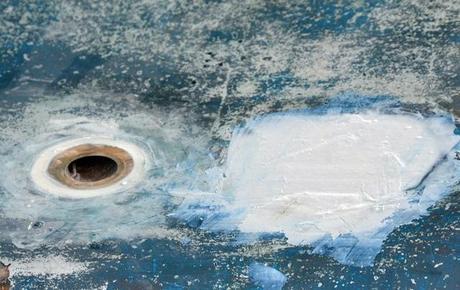
The new bases were installed first, at which point we realized they were slightly differently shaped than the old ones- a minor complication. The old through hulls were recessed deeper into the hull than the new ones, so without modification, we couldn't have a flush finish. To avoid a ¼” recess on the outside, Jamie took the old fitting and cut fiberglass doughnuts to fit around it- ten layers for each one. He covered it with plastic wrap, laid the fiberglass on top, and layered it with epoxy. This mess was then forced into the existing recess to build it out, while maintaining the same shape.

It looks messy, but allowed the new through hulls to have a perfect, flush fit despite the different size. After curing, edges were trimmed and smooth, then the fittings were gooped up with sikaflex and pushed up into place. The seacock side was screwed on from the inside to seat it into the doughnut, and provide a good seal. It's really a two person job: Niall helped position the fitting from the outside of the hull, while Jamie worked from the inside.

Jamie also re-routed some plumbing to allow two through hulls to be removed and glassed over. I’m happy to minimize the number of holes deliberately made in the boat and glad he can think through plumbing issues to a better overall solution. I'm hoping a salt water foot pump into the galley sink is next- at least, that's what I'm asking Santa for this year.

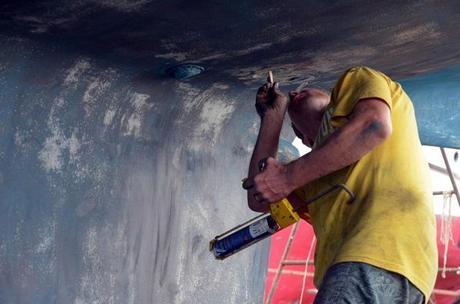
As the top photo attests, this was a week of many neck kinks and sore muscles. Jamie bore the overwhelming brunt of the hard physical work. My job was more along the lines of "keep the crew fed and happy." He's better now, but even after a week of daily swims in the gorgeous clear water of the Similan Islands, there's still a spot of blue bottom paint on his foot that I have a feeling I'll be looking at for a while.

