I’ll be honest, they’re are times when 5 minutes of Avery on the iPad give me just enough time to get my stuff packed up uninterrupted so we can be out the door and on our way. Not something I’m overly proud of, just speaking the truth. The kid loves to look at pictures of himself and if it means he’s occupied for a few seconds, I’m game.
We’ve all heard the horror stories of children deleting every photo from a specific album, or launching the Living Social app and purchasing a cruise (that really happened!). Butttttt, after doing a little research, I learned that Apple made a way to avoid these mishaps.
Of course they did.
Guided Access keeps tiny fingers in a specific app, while eliminating certain areas of the screen so that even if they’re tapped, they won’t respond to a touch.
Ready?
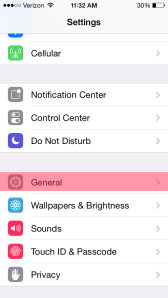
1. Tap settings, then go to ‘General’.
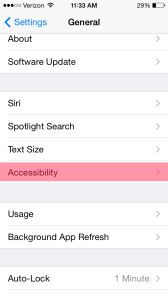
2. Tap ‘Accessibility’.
3. Scroll down until you see ‘Guided Access’. Tap.
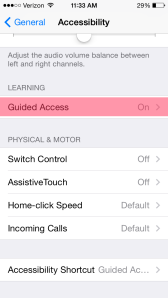
4. Turn on Guided Access, then set a passcode. You’ll also want to make sure ‘Accessibility Shortcut’ is set to the on position.
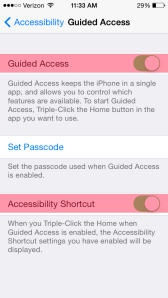
(Bear with me on this next part, once you’re in Guided Access, it disables you from taking screenshots, so I had to take photos of the screen as best I could. Also, I switched from iPhone with those screenshots to iPad for the actual photos, but you should be able to follow along as they’re very similar).
5. Open the child’s app, camera, or photos (whatever it is they like to look at), then triple-click your home button. Guided Access should now pop up. At the bottom of the piano, there’s an area I’ve tried to highlight with red. It says “circle the areas of the screen you would like to disable”.
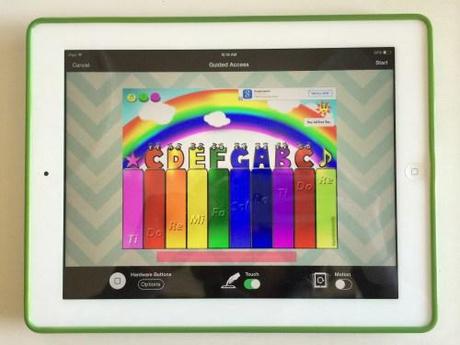
Because we have a free version of ‘My baby piano’, there are still ads. Thanks to Guided Access, I can make sure Avery doesn’t click on the ads that then lead to the internet. If you’re child likes to just look at himself in the camera, you can disable him from getting to the pictures and accidentally deleting them by blocking off that specific area of the screen.
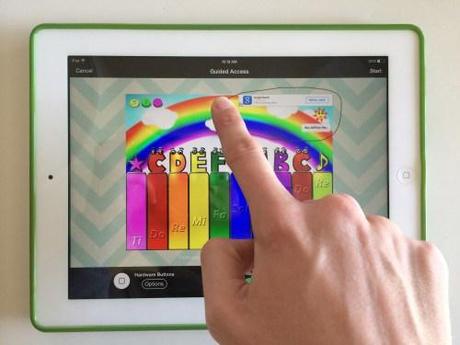
6. Once you’ve circled them, the device will recognize the area and make a block that you can then resize.
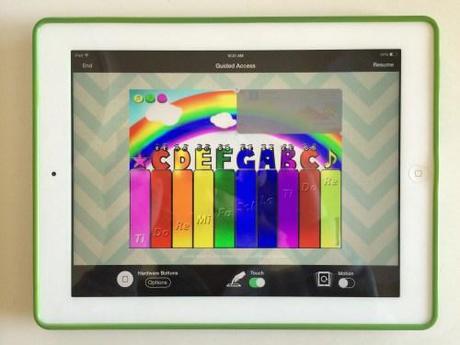
Now that you’ve blocked off these certain areas, Guided Access will remember this the next time you open this app again.
7. Tap ‘Start’ in the upper right-hand corner. If it’s your first time using Guided Access, you’ll be prompted to enter a 4-digit passcode and then verify it by typing it again.
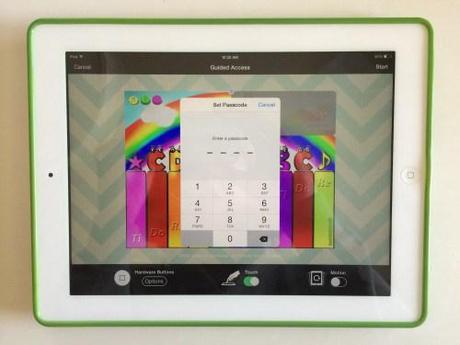
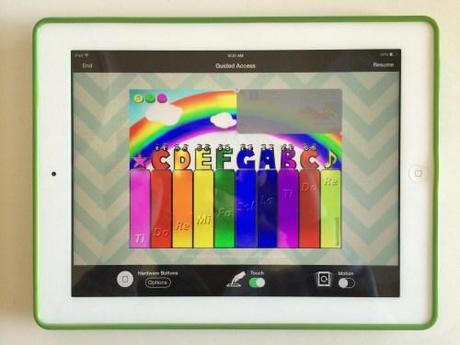
8. You are now running Guided Access and your screen should look like this:
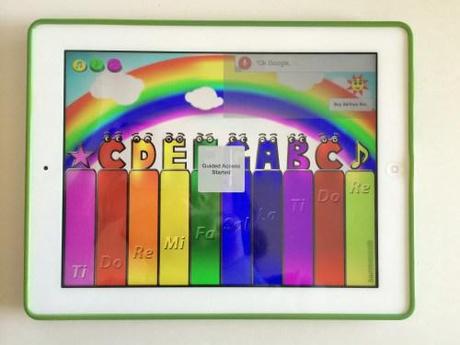
And then this:
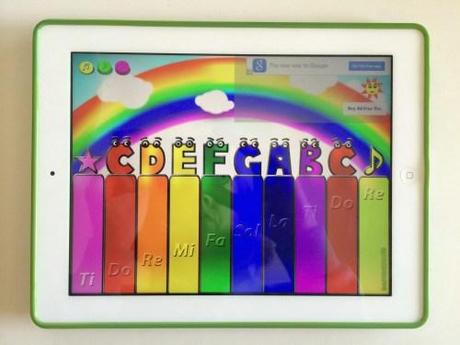
A few things to note:
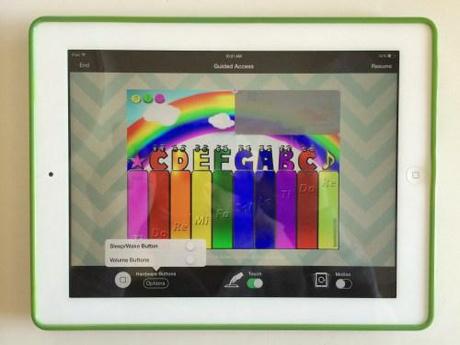
You can disable the home button so that if it’s accidentally pressed, nothing happens by selecting ‘Hardware Buttons’ from Step 6:
When Guided Access is on, your phone will vibrate should a call come in, but it will not actually ring. A very small banner will appear at the top of the screen to let you know a call is coming in, but it’s very easy to miss a call when Guided Access is running.
The volume can’t be turned up or down once you’ve started running it, so make sure the device is at a comfortable volume before starting Guided Access. Otherwise it’s a lot of fumbling, entering passcodes, restarting Guided Access, etc..
After your first time using Guided Access in each app, all you have to do it open an app, tap the home button 3 times, and Guided Access will automatically start without having to enter any passcodes.
9. Once you’re ready to exit Guided Access, tap the home button 3 times quickly. You’ll be prompted to enter your passcode. Enter and then tap ‘End’ in the upper left-hand corner. Your app will remain open, but you can just tap the home button to return to the main screen.
Seems like a lot of steps, but this built-in feature is a lifesaver when it comes to making sure kids stay in a specific app (and when you just need 5 uninterrupted minutes!)
