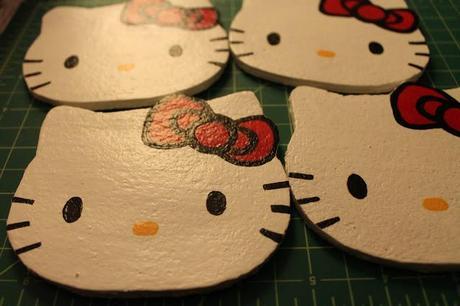
I have been racking up craft blog posts well before Christmas and now that all handmade gifts have been received I can begin telling the world all that I have done! So goodbye 2012 and Hello Kitty! Let's pop off the new year with an extremely cute booze oriented project that everyone will love. Handmade Hello Kitty Coasters. I made these as a small Christmas gift for my Mom and fought every urge in me to not keep them for myself, Hello Kitty and me, forever and ever (apparently I'm still fighting). These can be made into the perfect gift for anyone from anyone. They are super easy to make and are a fraction of the price of purchasing a four pack of novelty coasters. Win. Win. So lets get to it!
Materials:
- Cork by the sheet or roll (be sure to purchase double the amount of coasters you want to make)
- Craft paints (I used white, yellow, black and red)
- Paint brushes
- Blue painters tape
- X-acto knife
- Matte Mod Podge
- Hot glue and gun
- Free Hello Kitty Printable (thanks to www.defrumpme.com)
- Hemp string and a button for packaging
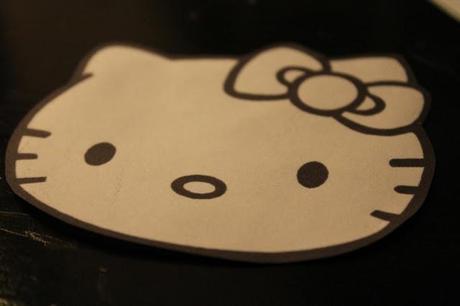
Print and cut out the Hello Kitty faces.
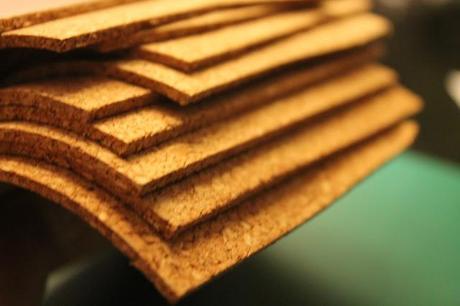
I am making four coasters so I cut out eight sheets of cork.
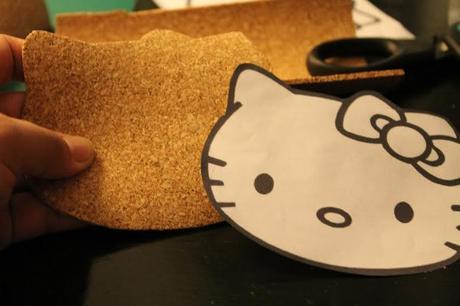
Cut each piece into the shape of Hello Kitty's face. You can do this directly off the sheets of cork. Since I used a cork roll (which is harder to maneuver than single sheets) I had to add an extra step to ensure I don't ruin all the cork I have.
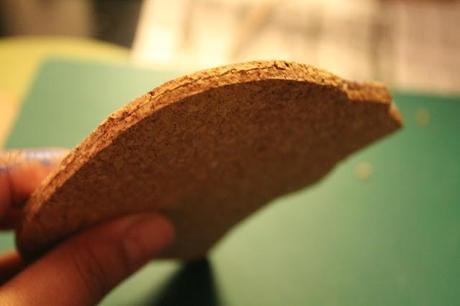
Hot glue two cork sheets together for a nice thick coaster. Let your double-cork coasters dry under a heavy book or a press so the edges don't curl.
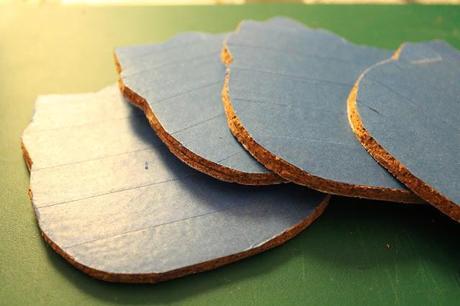
Cover the back side of your coaster with blue painters tape. Using an X-acto knife cut along the edges of the tape for a perfect fit. Now paint the rest of the coaster white. I did 4 coats of white paint making sure I got into all the nooks around the edges of the cork.
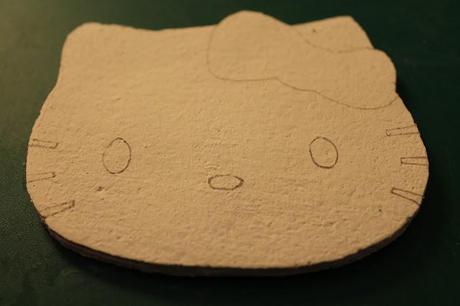
While your coasters dry, use the X-acto knife to cut out the eyes, nose, whiskers and bow of your Hello Kitty print out. Once dry, trace the image onto each of your coasters.
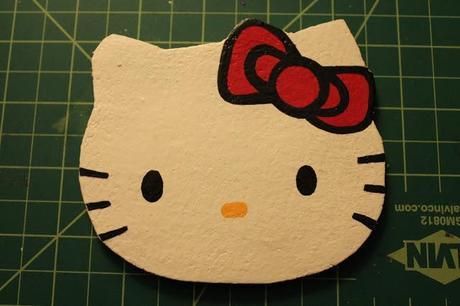
Paint your image onto each coaster using the original design as a guide.
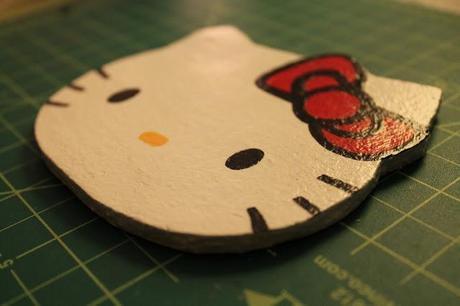
Paint on at least two layers of Mod Podge to seal the paint onto the cork. Let dry, then remove the painters tape from the back of each coaster.
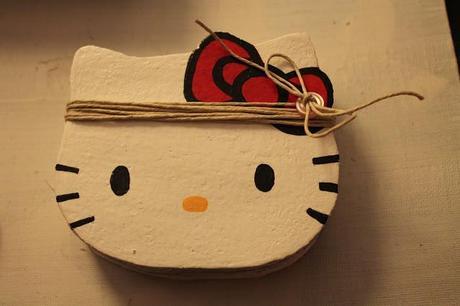
Wrap hemp string multiple times around the coasters. Feed the string ends through a button then tie a bow for very simple and very cute packaging.
That's it! How cute are these!?
Variations:It is super easy to find free printable templates for all of your favorite characters. Do some searching and I bet you can find something for everyone. Try to Google "free printable coloring pages" for tons of great images to get the ball rolling for new ideas like super hero logos, Mandala designs and holiday images for seasonal home decorations.

