So the Great British Bake Off is over for another – Wednesday nights won’t be the same again! I was really pleased that Nadiya won though, she was my favorite going into the final and really excelled with her 3 bakes. A very worth winner and so humble too. Was anyone not crying in that final scene??
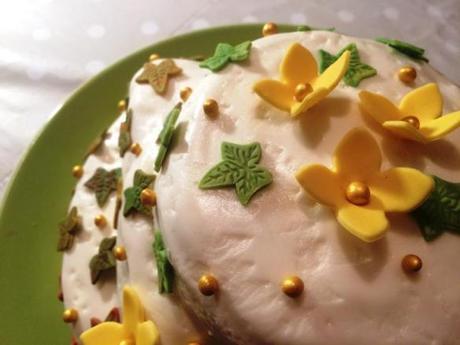
I wanted to pull out all the stops for my final bake for the Great Bloggers Bake-Off, and loved the idea of a three-tiered classic British cake. I asked Rob what he’d like and lemon drizzle was the answer – can’t say no to that!
This gluten-free lemon cake really vamps up the lemon, and is deliciously easy to make and moist when done. It’s very well complemented by the lemon curd filling (keep reading), but works just as well as a standalone cake, without any filling or frosting. And it’s one of those great bakes where you can’t even tell it’s gluten free!
Gluten Free Lemon Drizzle Cake
(makes 1 each of 8 inch round, 7 inch square and 4 inch round cakes. Halve the recipe to make one 8 inch round cake)
300g butter
300g caster or granulated sugar
Grated zest and juice of 2 large lemons
50g ground almonds
3 medium eggs
200g gluten free plain flour (I use Dove’s Farm)1 1/2 teaspoons baking powder
20ml milk or warm water
Lemon Drizzle
100 ml lemon juice (approx. juice of 2 large lemons, I used bottled for this)
150g caster or granulated sugar
Method
– beat together the butter and sugar until light and fluffy
– add the almonds, and beat in the eggs, one at a time
– add the lemon juice, zest and milk and beat again until smooth
– sieve in the flour and baking powder, and gently fold in until all combined
– split between 3 greased, lined tins – a 4-inch round, a 6-inch round, and an 8-inch round
– bake at 180 degrees C until the cakes are springy to touch and starting to come away from the sides of the tine. If you’re not sure then check with an inserted skewer, which should come out clean.
Each cake will need a different amount of time. Check first after around 20 minutes to see if the first is done, if not give another 5 minutes. The middle will take around 30-35 minutes, and the larger around 45 minutes. The time is very dependent on your oven and tin so keep an eye on them! Once you’ve taken the smaller one out, check the other two at least every 10 minutes, if not more often.
– Prepare the lemon drizzle by mixing the lemon juice and sugar. Microwave for 20-30 second until all the sugar is dissolved
– Once each cake is removed from the oven, prick small holes all over the top with a skewer or cocktail stick, and generously spoon over the lemon drizzle. Leave to cool fully in the tin.
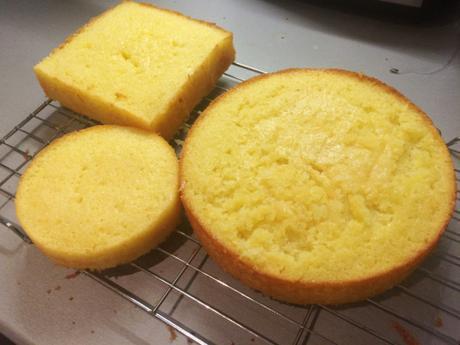
I took a great tip from Nadiya on the show and popped the cakes in the freezer once cool, (wrapped in baking paper) for an hour or so before slicing in half and levelling the tops. It really did make it much easier – no cracking and much less crumbs.
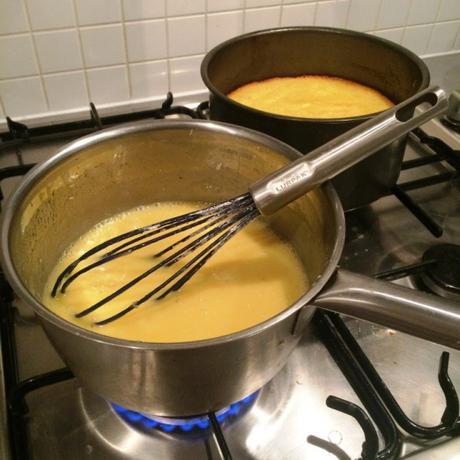
Whilst the cakes were cooling and freezing I made the lemon curd – as this did take quite some time to cool as well. I used Delia’s recipe as a starter – but halved it (3 jars of lemon curd seemed a bit excessive!), and upped the cornflour to give a thicker set that would hold in the cakes. Maybe a bit of a blonde moment but I’d never realised that lemon curd was made mostly of eggs! I would say though that it is really easy to make and waaay better than shop-bought stuff, I’d highly recommend trying it!
Lemon curd
Grated rind and juice of 2 large lemons
3 medium eggs
175g golden caster sugar
100g butter
20g cornflour
Method
– in a large saucepan, beat together the eggs then add the remaining ingredients
– put on a medium heat and whisk continuously for 7 – 8 minutes until it starts to thicken. At this stage cook for another minute, before transferring to a bowl to cool. It will continue to thicken as it cools as well.
As the curd was cooling I went onto the next step. Nadiya had made marshmallow fondant look and sound so easy (“I make it all the time…!”), so I thought I’d give it a go. Well I’ll be honest. I’d like to meet Nadiya and introduce her to ready-to-roll fondant. It’ll save hours and countless amounts of kitchen cleaning!
Needless to say my attempt was rather less than successful. The online methods I read in advance made it sound relatively easy, however completely failed to mention that it is the stickiest substance ever made by man. Seriously, super glue has nothing on this stuff!
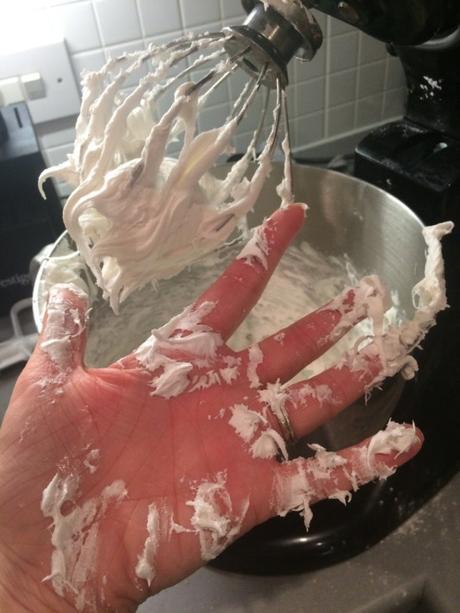
The other downside about marshmallow fondant is that it uses a lot of icing sugar. Add that to the sugar in the marshmallows and you’re practically bouncing off the walls with every bite! I’d put in as much sugar as the recipe recommended and it was still nowhere near a fondant consistency, I was struggling to see how this would ever roll out. Additionally I was starting to run out of time – it was nearing midnight and I wanted to get the cake assembled at least that night! So I improvised and turned it into a marshmallow frosting – with the simple addition of a little more water and lemon juice. The good thing about this frosting is that it keeps well (in a sealed container), and if it starts to harden up before you’ve used it all, it can easily be ‘melted’ back down again by popping in the microwave.
Another grumble about these marshmallow icings is that I found it rather tricky to locate all-white marshmallows in the UK shops. I went to a good 5 or 6 big high street retailers / supermarkets, and was just about to give up when I found what I needed in The Range. Really though, does anyone know why they come in pink and white in the first place?!
Marshmallow frosting
(sufficient to cover 3 cakes as made above)
200g (white) marshmallows
400g icing sugar
1 teaspoon lemon juice
2 tablespoons water, plus additional as needed
Method
– put the marshmallows, lemon juice and water in a large bowl. Microwave on 30 second intervals, stirring in between, until the marshmallows are fully melted to a smooth paste
– add the icing sugar and beat well to a smooth consistency (no lumps)
– the consistency should be thin enough to spread, but thick enough to hold its shape without dripping (hold the spoon upside down over the bowl to check). If it’s too thick, add a little more water and beat again, if it’s too thin, add a little more icing sugar. Once ready use straight away, or keep in the fridge in a sealed container until you need to use. Microwave to melt back to a spreadable consistency on removing from the fridge.
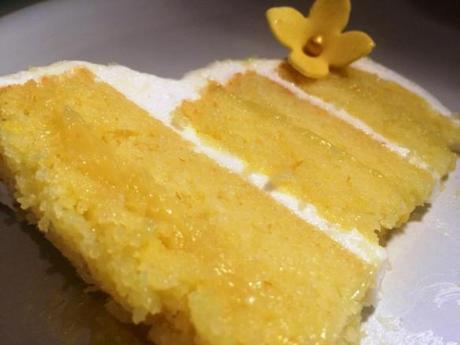
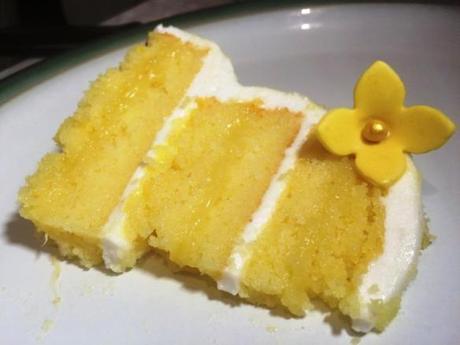
With the lemon curd filling and marshmallow frosting finally ready the cakes could be assembled. I layered up with lemon curd in the center of each tier, and marshmallow frosting between the tiers and all round the sides. After refrigerating for half an hour to set the first layer, I added a second layer of marshmallow frosting to ensure a good thick coating.
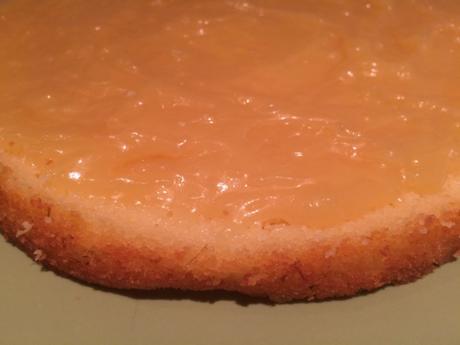
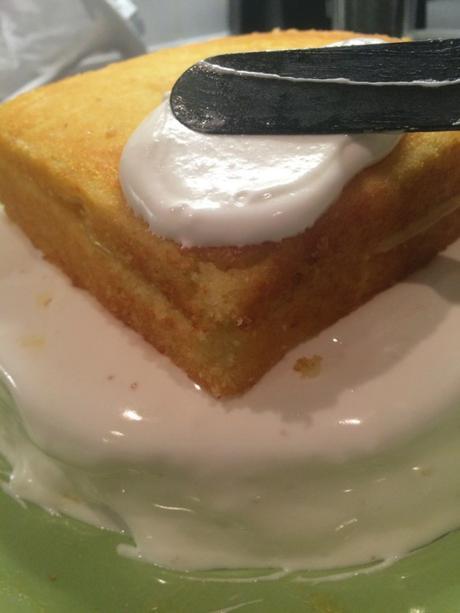
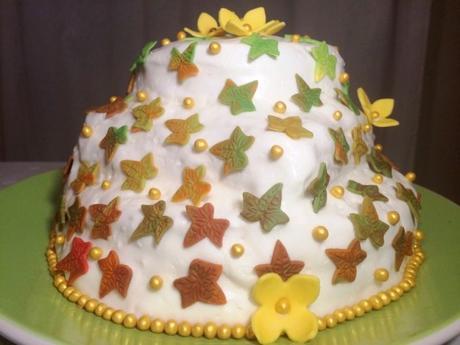
As the weather in the UK has recently taken a turn for the chillier, I decided to theme the decorations with an autumnal twist. To go with this rustic look I dimpled the frosting all over to give a more weathered effect.
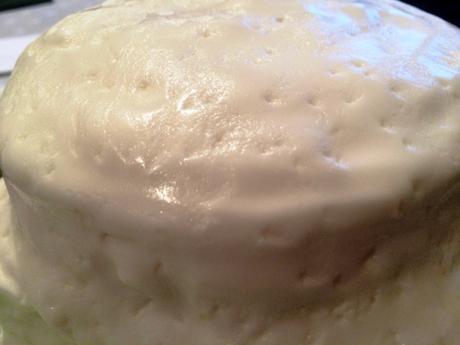
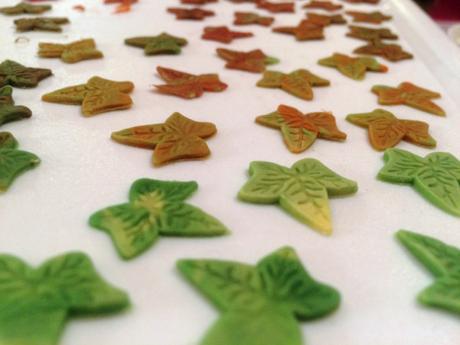
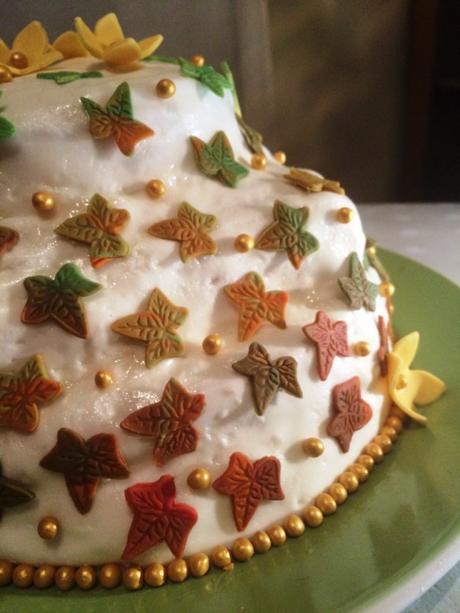
The leaf and flower decorations I made from coloured (normal) fondant – no more marshmallow icings for me! I may be blowing my own trumpet but I love how these marbled autumn leaves turned out. They were really simple to make too – I started with some green, yellow, orange, red and brown fondant, and mixed together in varying proportions, rolling out while they were only part combined. I used a leaf plunger cutter to get the veined and pronged leaves.
The marshmallow frosting stayed quite sticky so it was easy to attach the decorations the next day. Starting with some yellow flowers (a nod to the lemony inside), I arranged the leaves in an ombre graduating color pattern down the cake. To finish – what showstopper is complete without a little sparkle – gold soft pearls around the base, in the flower centres and amongst the leaves.
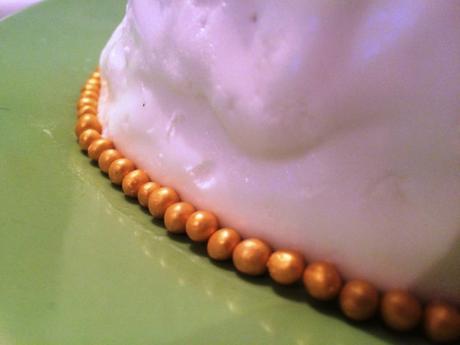
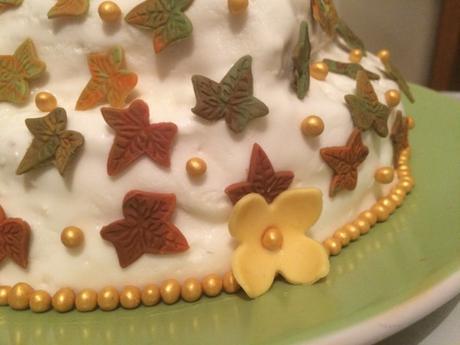
Despite my various doubts (and wanting to give up!) in making this cake, I’m so pleased with how it turned out. Everything came together perfectly in the end and I’ll be honest – it tasted amazing! The homemade lemon curd had such a great zing, I want to put this in all my cakes going forward :-) I’m less enamoured with the marshmallow frosting – it really does taste just like marshmallows, which personally I’m not a fan of on a cake. I’ll stick with buttercream and ready-to-roll fondant from now, thank-you-very-much.
The inside of the cake had a perfect wow as well – not to brag but look at those layers!
Although I’ve not been able to participate every week this year, I’ve really enjoyed being a part of the Great Bloggers Bake Off again. As always massive thanks to Jenny for being an amazing organiser. Please click the banner below to visit her blog and for more information on the bloggers bake-off.

