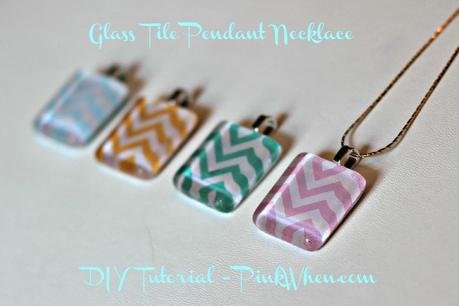
 Glass Tile Pendant Tutorial
 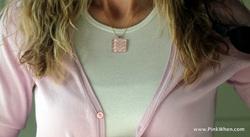 Chevron Glass Tile Pendant Glass tile pendants are so easy and fun to make, and while there are a lot of different tutorials out there, I figured I would make just one more.
 I get a lot of my inspiration and ideas from Pinterest, and when I stumbled upon another cute picture of a glass tile pendant, I decided it was time to do my own version. You don't need a lot of supplies, they are fun to make, and you can wear them just a short time later!
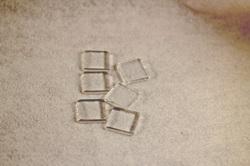 Glass Tile Pendants Supply List:
Glass tiles (you can find these at most supply stores)
Jewelry Bails (again at most supply stores)
Diamond Glaze
Twine or Chain
Exacto Knife
Paper (heavy like scrapbook paper) with a design of your choice
Metal fingernail file
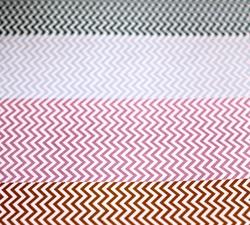 Paper Choices This first thing you want to do is choose your backgrounds. I have seen so many really cute designs, and I couldn't help myself when I chose the Chevron prints.
 Last summer I had a ton of Chevron when I was doing some embroidery and sewing designs, and with the leftover prints, and the design still popular, I just couldn't help but make my pendants Chevron.
Once you have your chosen background, lace a pendant over the paper and cut with your Exacto knife. Don't worry if your paper is a little larger than your pendant, you can remedy that shortly.
For the second step you are going to take your diamond glaze and cover the entire flat portion of your glass pendant. Once your pendant is covered, place on top of the paper design. You can still maneuver and work the paper to get the perfect position for your design. After this step, you will want to let your pendant sit and dry for about 30 minutes to an hour.
Once the pendant has dried, take your fingernail file and gently file away the excess paper so you get the perfect fit for your pendant. Be gentle, but thorough.
After you have your paper shaped, go ahead and place another coat of the diamond glaze on the back of the pendant. Make sure you cover the edges well. Once you are finished with this step, let your pendant sit and dry for another 30 minutes to an hour.
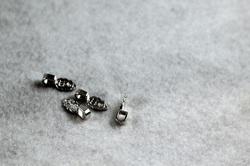 Jewelry Bails
 After your pendant has dried, you want to attach the bails for your necklace to connect with.
Place a dab of diamond glaze onto the bail, and then affix to the pendant in the desired position. Allow to dry for another 30 minutes to an hour to maintain secure fixation.
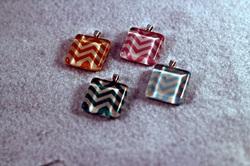 Chevron Glass Pendant Necklace
 Once your bails have dried, you can attach them to a chain for a perfect Chevron necklace!
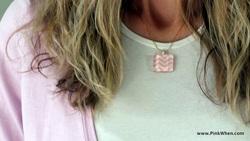 Chevron Glass Pendant Necklace Tutorial
 Did you like this tutorial? If so, let me know! You can always leave a comment here, and make sure you follow me here and here for some great recipes and tutorials to come!
Make your day a great one!


