This is a sponsored post written by us on behalf of The Home Depot.
Today we’re wrapping up our edible container garden series with a recap, a how-to and answering a few FAQs.
In every gardening class we’ve ever taken, the first thing the teachers say is “make sure your garden is close to your house. The more you see it, the more you care about it, the better your output will be.” But did we listen??
Jeanne’s been pretty successful growing food in some raised beds. But they are deep in her backyard. And Abby’s abundant greenhouse is at the far edge of her property. So while we’ve been “lucky” to have success despite the distance from our backdoors, both of us were looking for a way to bring some of our veggies a little closer to the home. And container gardening brings fresh herbs and lettuce right outside our kitchen doors.
With food prices so high and plenty of empty patio space, we both feel it’s a convenient and cost effective way to increase our garden output this year.
Of course, we wanted the right containers. And sometimes, it’s easier to figure out what the right container is by seeing what’s available, then going home and dreaming about it before formulating the plan. So last week we headed to Home Depot to look around and figure it out.

Then we braved the snow (yes, snow, on April 20th) and went back to the Garden Center to actually get our pots, soil and seeds. (We were very fortunate to make it out of the Garden Center still friends as we were both eying the same set of pots! Good thing there was more than one set available.)
Two days later, in true Montana Spring fashion, the weather was beautiful and we were able to get together and finally plant stuff!
Frequently Asked Questions:
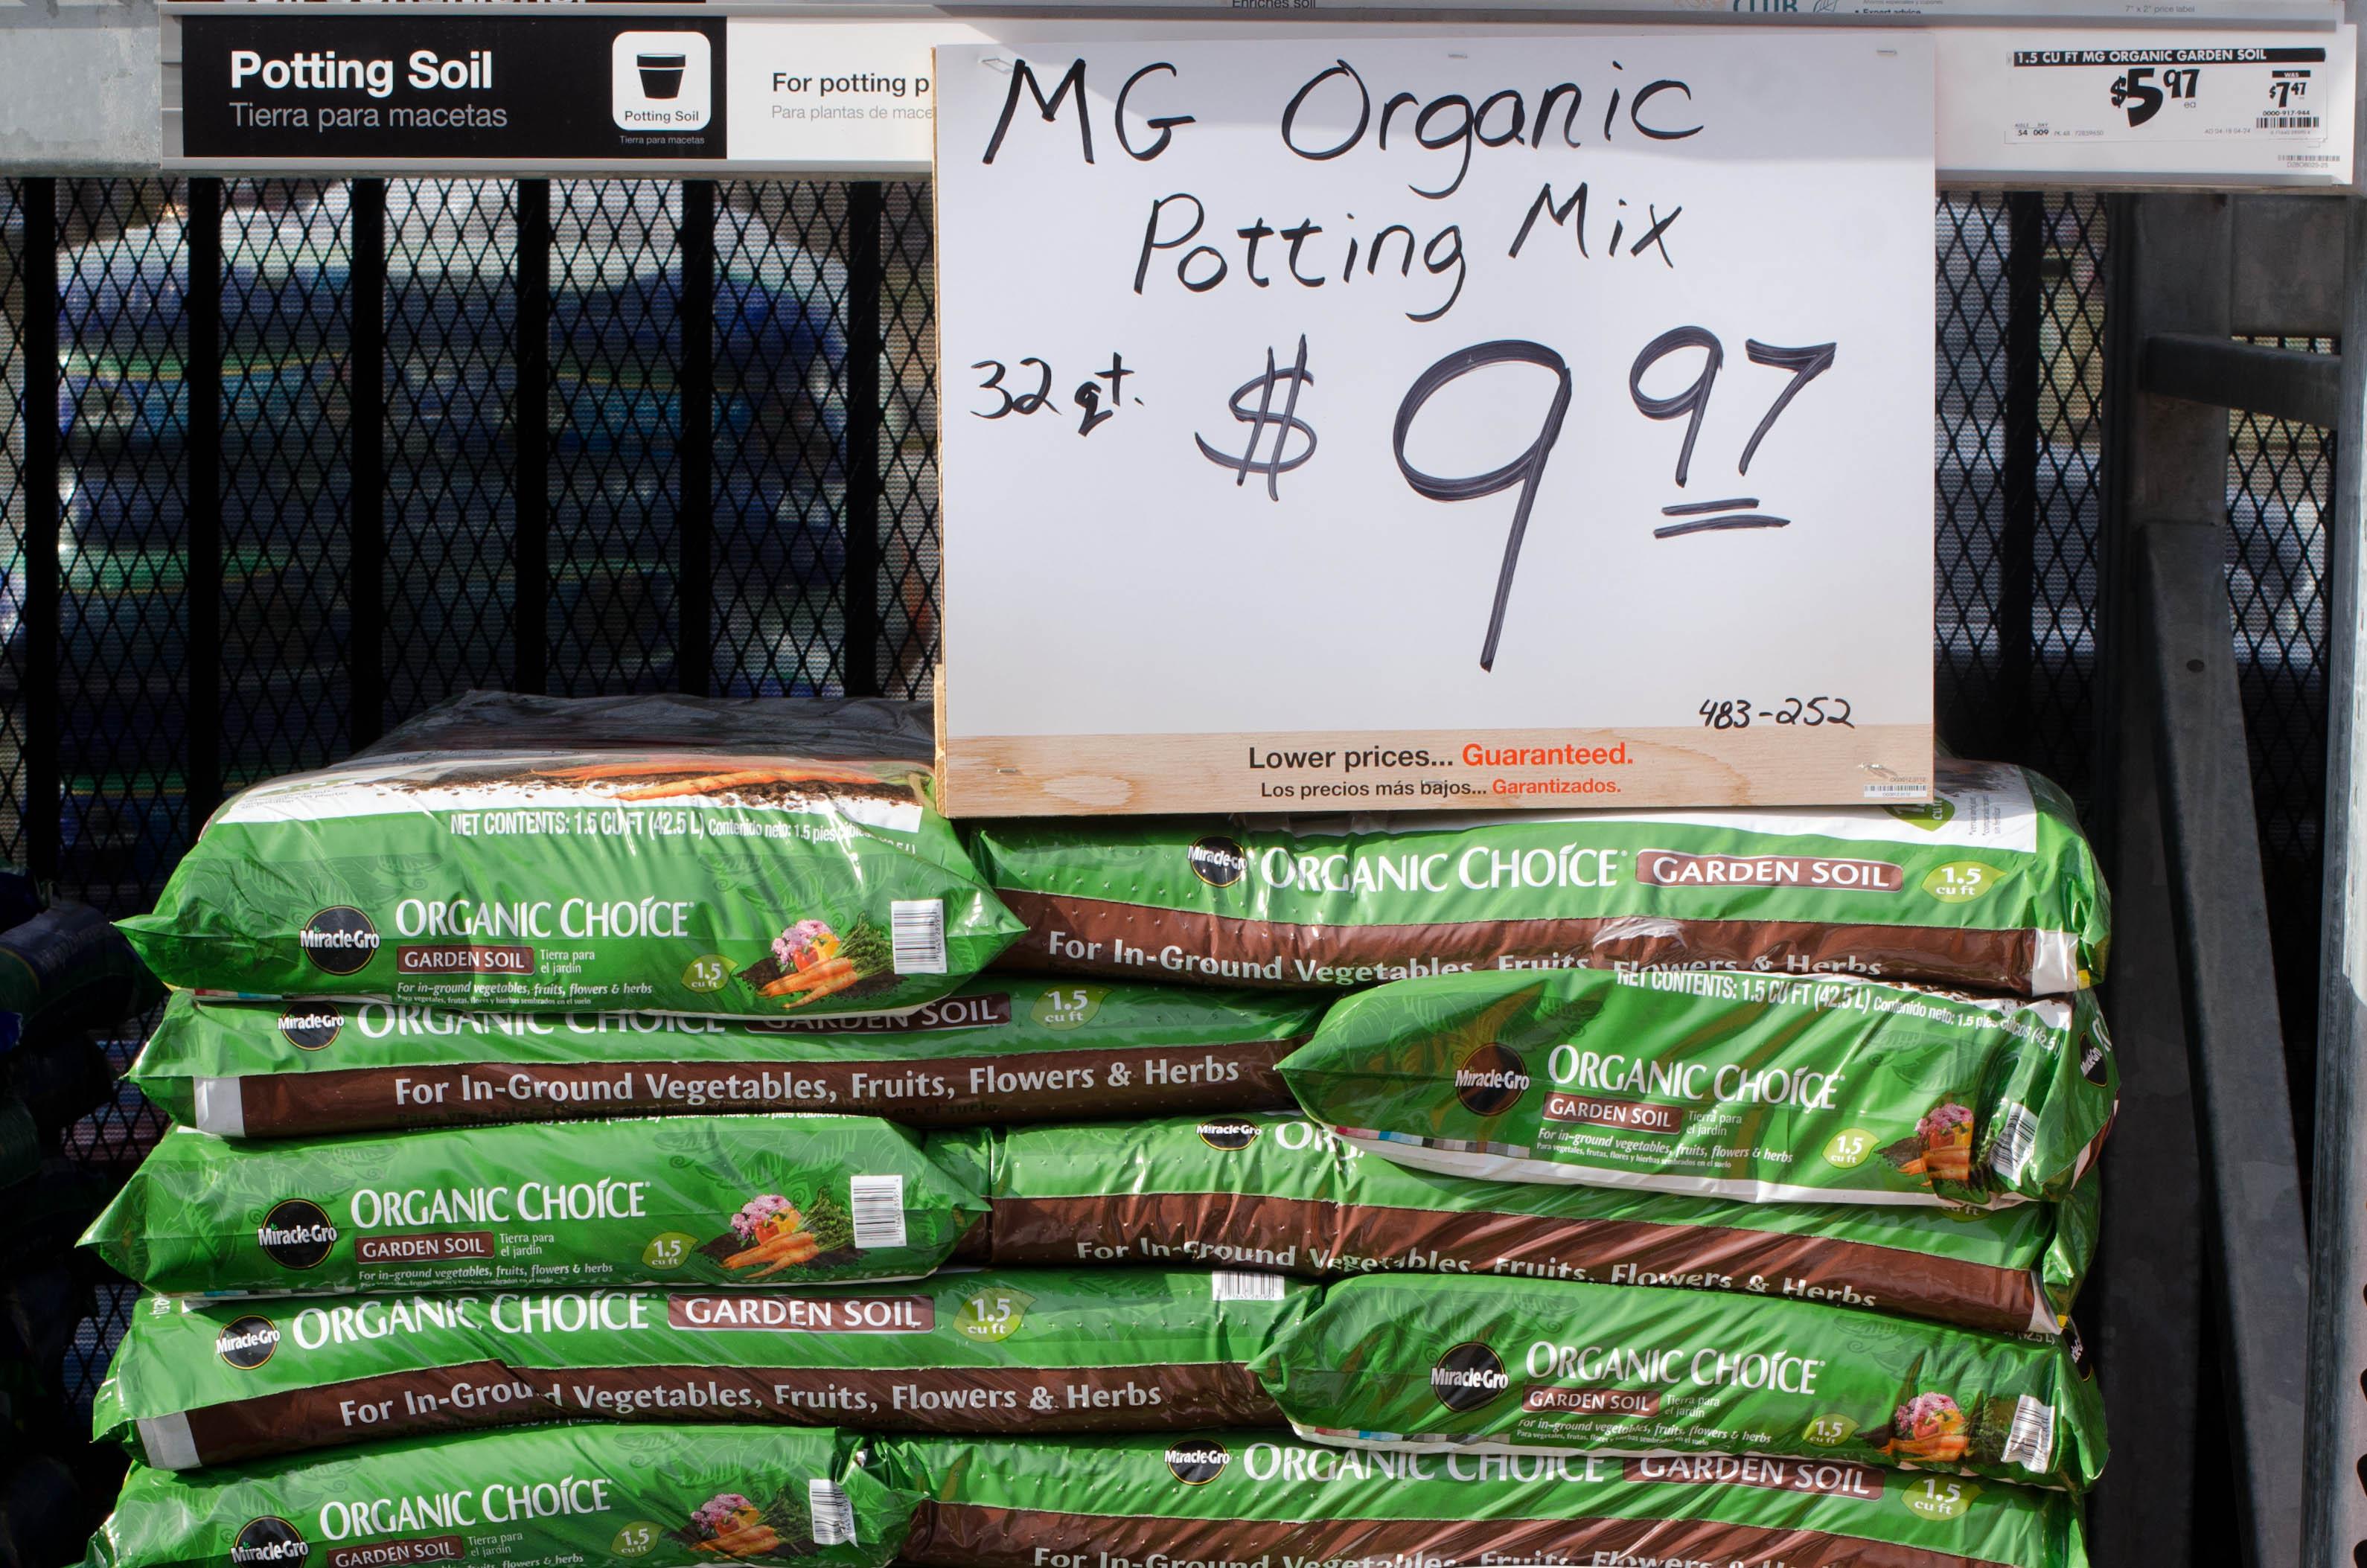
Which type of soil is best?
Abby here. I must admit, up until a few days ago I was pretty satisfied with using Organic Choice Potting Mix in my garden beds. So I won’t bash it because it’s a totally viable choice and, I should say that we’ve been pretty darn successful growing food up to this point. BUT thanks to Jeanne I now know there are some easy, even better, and cost effective ways to get soil.
Because Jeanne makes her own potting soil. She uses a blend of organic compost (that she either buys or gets from her compost bin), peat moss and a little vermiculite (all available at HD). So easy. And so much less expensive when you’re filling a lot of raised beds and or containers.
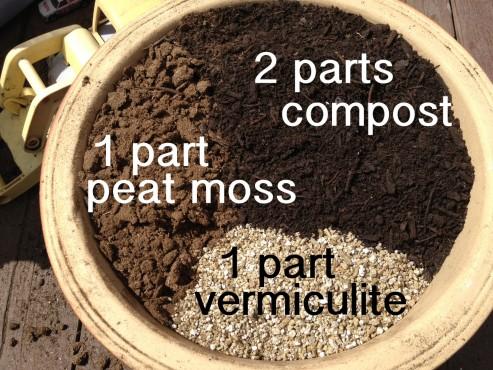
So we put together a short video that shows exactly how it’s done. Check it out HERE!
And don’t let the word vermiculite scare you off like it did me (Abby). I thought it was a fancy, hard to find thing, but turns out its just a very fine natural stone-like substance sold at most garden stores, including Home Depot.
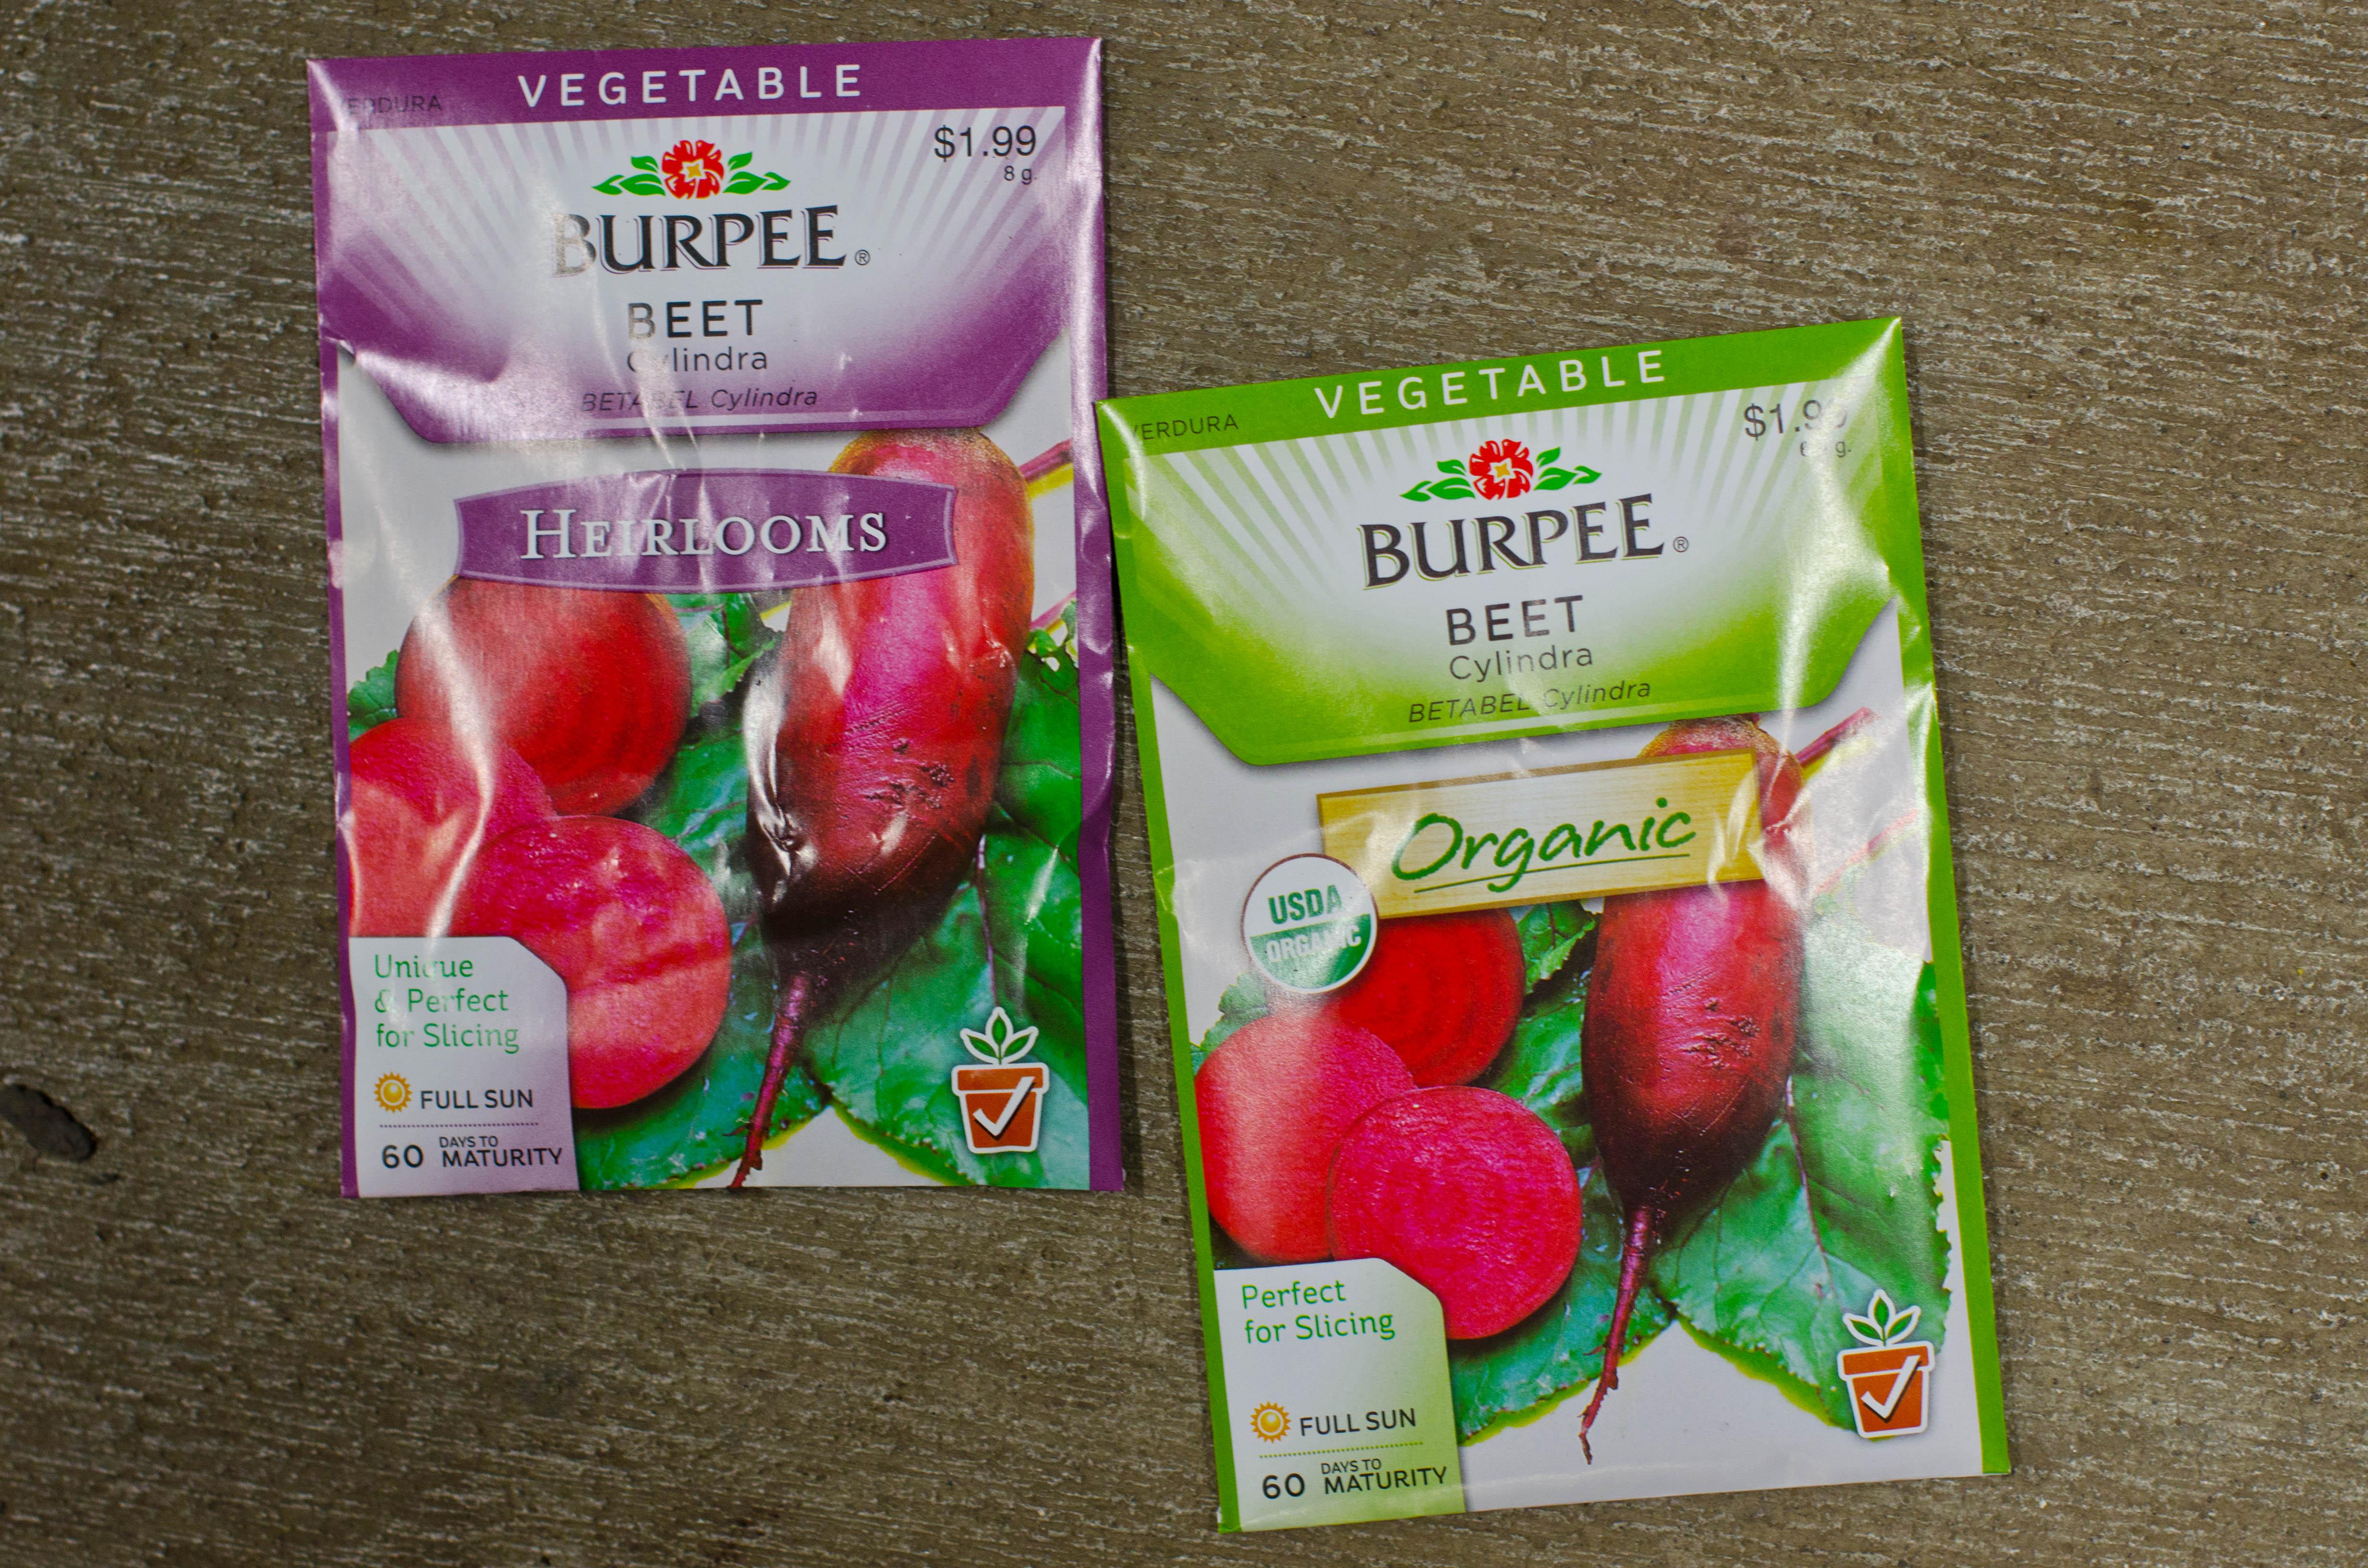
What is the difference between conventional, organic and heirloom seeds?
- Heirloom seeds are simply seeds that have been passed down for generations. They haven’t been tampered with or modified in any lab in any way. They’re generally open-pollinated and created by nature. (And this is a good thing!) The one downside to heirloom seeds is that they are a little more “fragile” in that they are more susceptible to insect infestations and climate issues. Nothing that can’t be overcome. And if you want the tastiest fruit and veggies, heirloom is the way to go.
- Organic seeds are similar to heirloom ones in that they are true seeds. But some of them are hybrids. Hybrids that could and do happen in nature, but can also happen in a lab. Unlike conventional seeds, organic seeds are not genetically modified with genes that cross species, nor are they injected with viruses, or with anything that couldn’t happen in nature.
- And then, of course, there are conventional seeds. Which we avoid like the plague. There’s just no way to know what genes or viruses or insecticides or fungicides are genetically altered or added to the seeds. Sure, many of them are drought-resistant, insect-resistant, disease-resistant. And that can be a major draw. But for us … we’ve just seen and read too much information about how use of GM foods may be related to higher rates of autism, ADHD, Parkinson’s Disease, increased allergic-tendencies, etc.
At the end of the day, seed choice is going to have an impact on your successful growing. You want to get viable seeds. You don’t want to pay a lot of money for them. And you want food that’s going to nourish your family that you will actually eat!
Look at the veggies you buy (at the store and and at the restaurant) and consider planting what you’re going to enjoy. We suggest finding seeds that are developed locally, that are going to grow in your climate, and that is going to make you happy to feed the food to your family.
Whatever you decide, we’re psyched you’re growing food! Yay gardens!
How do you make a raised bed?
There are so many ways to go about making a raised bed. People build raised beds from old railroad ties. They use old tractor tires. Some use concrete slabs or bricks. We’ve seen beds out of stone or rocks. You can use what you have on-hand or buy a kit.
The only real issue to consider is: Is it safe?
Old railroad ties look awesome, but they can leach oil and carcinogens into the soil that’s going to be growing your veggies. Same with old tractor tires. Do you really want to eat veggies that come from potentially poisoned-dirt?
So whatever you decide, our recommendation is to make sure that whatever is touching your soil be untreated, unpainted, unstained and uncontaminated.
If you’re going to build a 4ft x 4ft raised bed with raw materials, this is how Jeanne went about building hers:
We used two 8 ft 1″x 12″ boards, each cut in half. We screwed them together to form a box (how’s that for descriptive writing?), stapled some weed liner to the bottom and placed them right on top of the grass in our backyard. The boxes each cost about $24 in raw material. Then we filled them with our own potting soil (see video above about how it’s made) and got to planting.
We could have gone more complicated, with fancy edges or corner-spikes to hold them into the ground. But after a couple of years, we’re thrilled with the food that we can grow enough veggies to feed our family of four for the summer and into the fall, very happy with how they are holding up and even happier that we didn’t go overboard spending hundred of dollars on “extras” that we didn’t need.
We could really go on and on here … get us going on the garden and it’s apparently hard to stop us from rambling! But we’d love to hear from you all.
What advice do you have for us all about growing a successful organic garden?
Got more questions? Be sure to check out the Garden Club Community Forum or ask us and we’ll try to find the answer!
It’s home improvement time, and The Home Depot has everything you need to #DigIn for Spring. No matter what projects you want to tackle, they have great values on all you need. They’re ready to help you with renovation ideas and expert advice, too.
Get over $300 in email exclusive savings each year, sneak peeks on new products, monthly lawn & garden ideas for your region and access to The Home Depot’s gardening experts.
Click here (http://thd.co/ZNbhDj) to join the world’s largest garden community today! Or go to http://gardenclub.homedepot.com/ to see some of the many benefits of membership.
This is a sponsored post written by us on behalf of The Home Depot.
