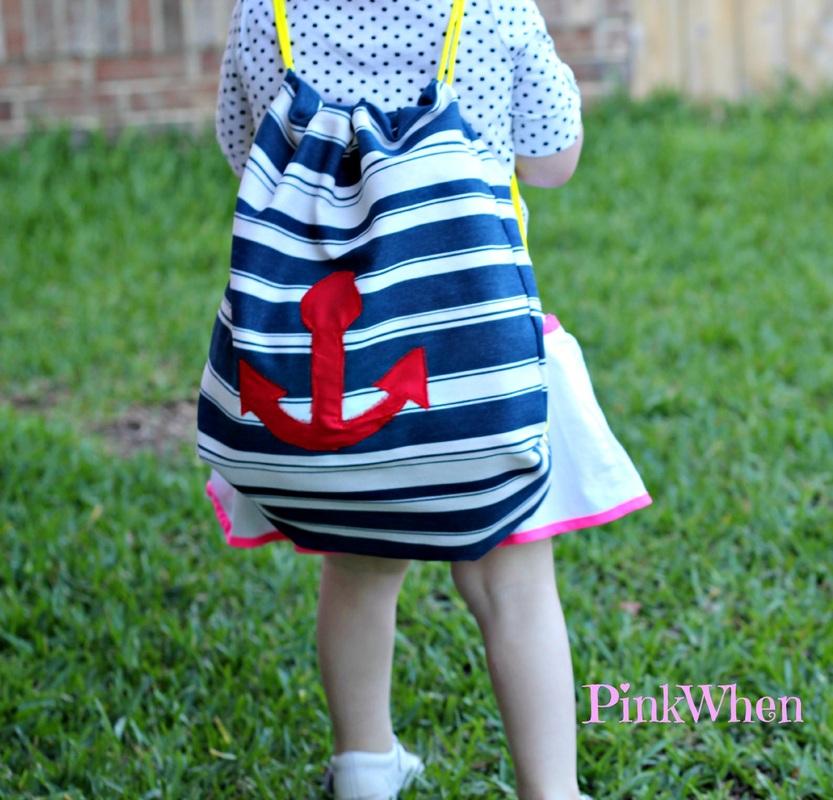
 Easy Drawstring Backpack Tutorial
  I have always loved these little drawstring backpacks the kids have, but I have never made one. With summer approaching along with our vacation to the beach, I thought I would make a fun little drawstring backpack for Addy. The older kiddos carry their beach toys, but Addy is still to small to carry too much. When I saw this awesome Drawstring Backpack tutorial from Jo-Ann Fabric and Crafts summer list of ideas, I had to make it. It's a perfect way for Addy to be able to carry all of her little toys back and forth to the beach, and less for me to carry as well!
 Warning: This post has LOTS of pictures. I wanted to try and make this easy to follow so you are easily able to make this - if it is your first time to make one!
This is a great beginners project, and one the little one will adore! First you need to gather up your supplies:
- 1 yard of fabric for your bag (cut this into 4 pieces of 14" x 16" for your bag)
- wonder under (light)
- 1 fat quarter for your monogram or picture
- 2 yards of cord
- Grommet Kit (Or just grommets if you have the device)
- Usual sewing supplies (scissors, thread, sewing machine, iron, etc.)
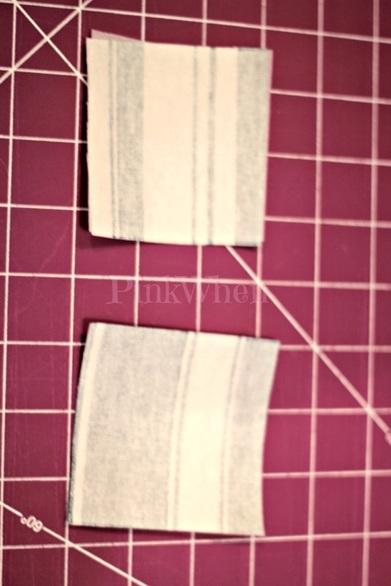 Wonder Under on Fabric WS Next you want to cut your square corner to corner, like in the picture below.
 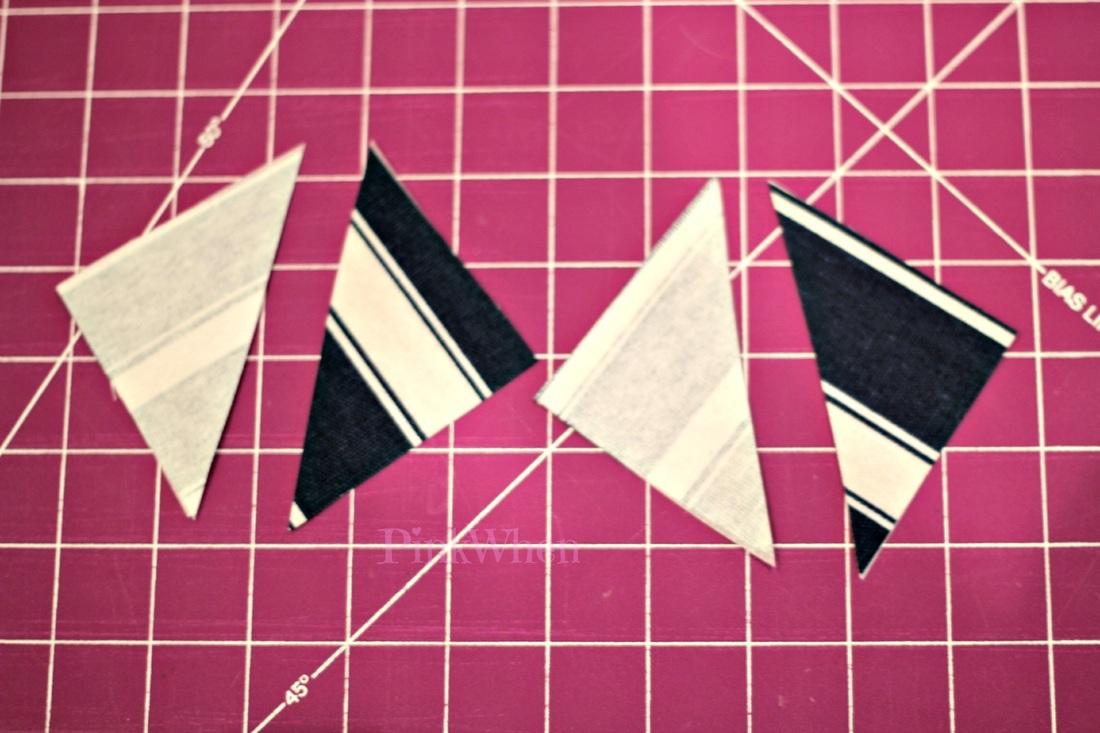 Cut corner to corner Next you want to iron those wrong sides together, and then sew a straight stitch along two sides of the angles pieces.
 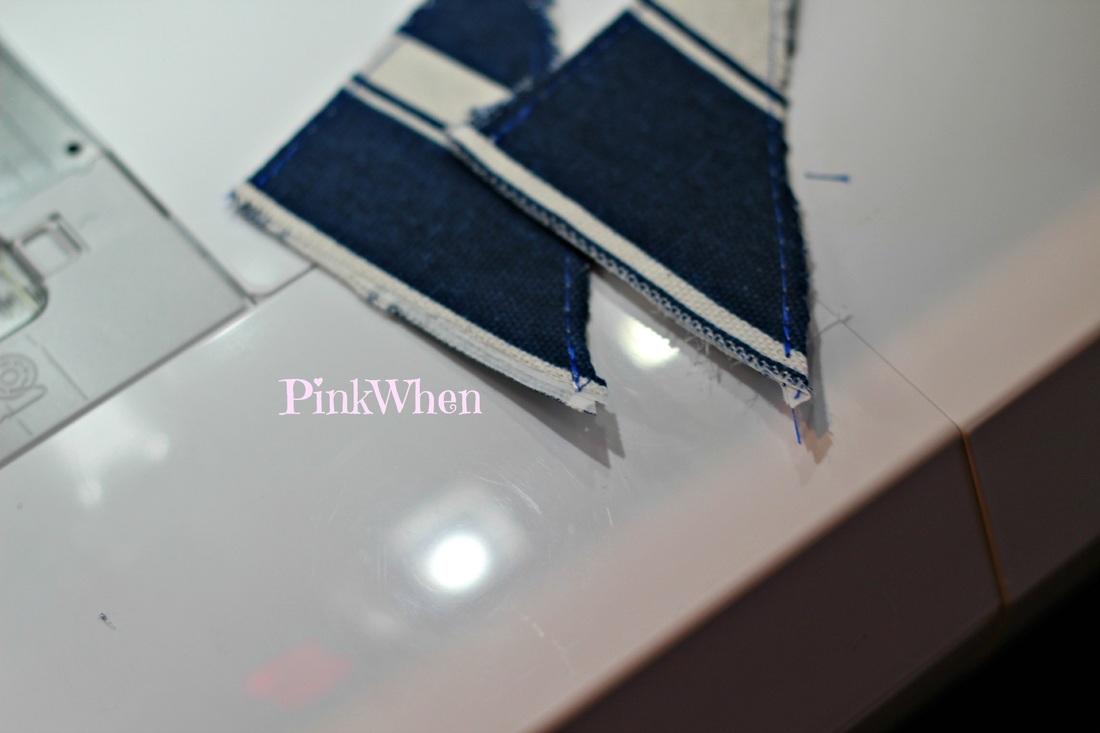 Sew 2 sides, leaving the 3rd side open Next you want to grab your Grommet kit. Follow the easy to use instructions on the on the packaging and insert your Grommets.
 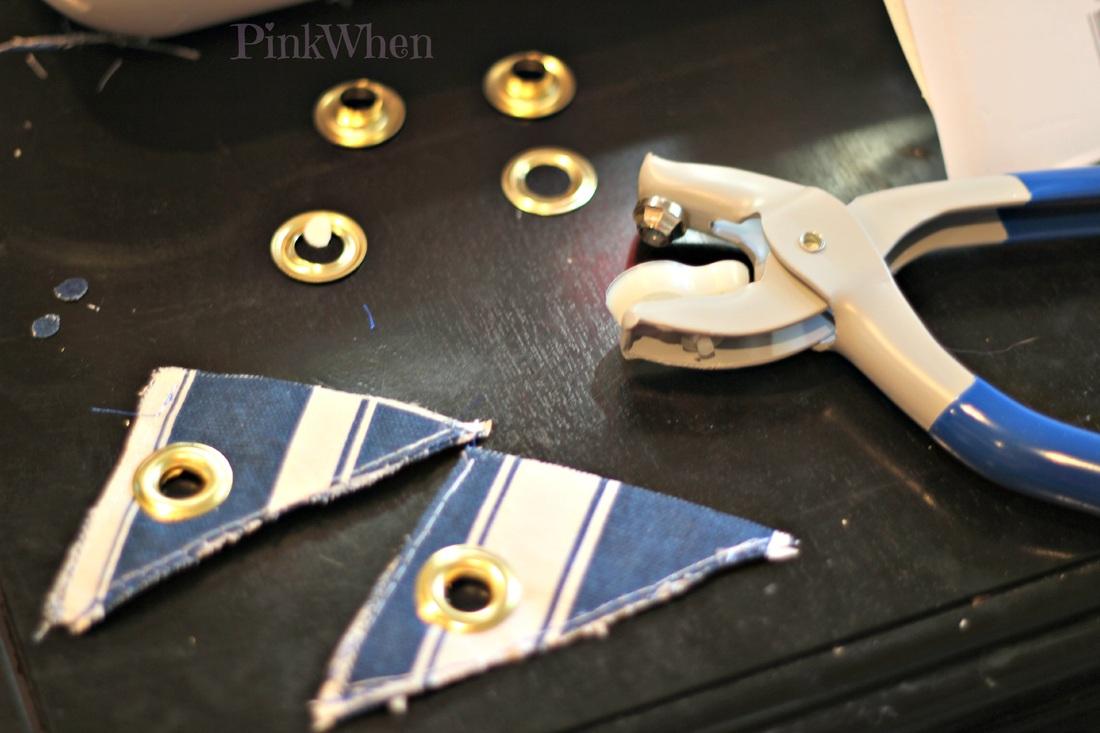 Insert Grommets Take your pieces and place them on your 14" x 16"cut fabric piece, (see picture below). I placed these about an inch up from the bottom of the bag.
 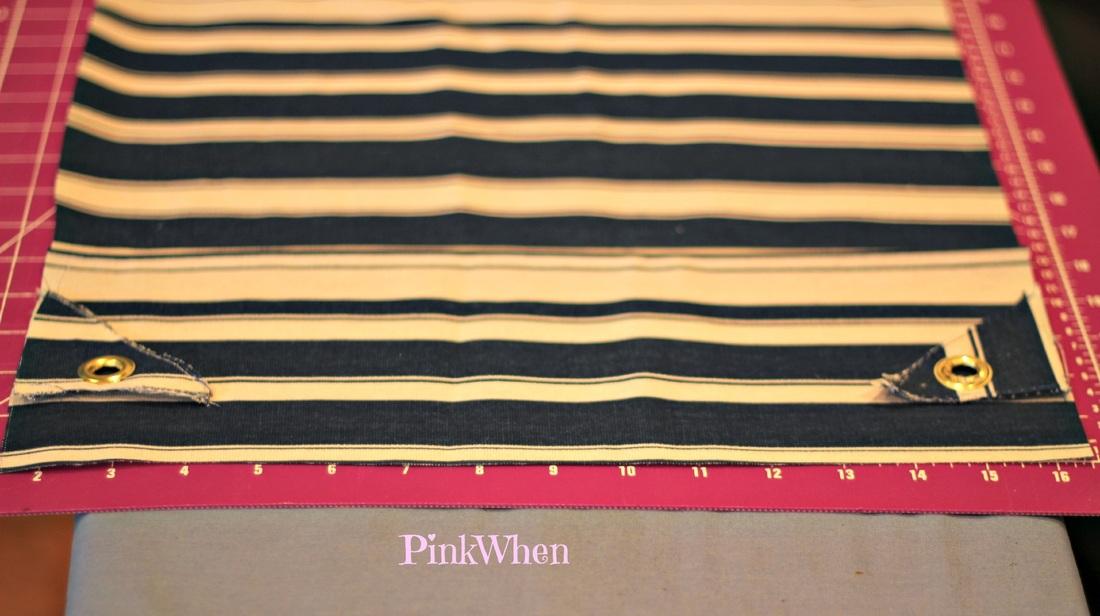 placement of tags Then place your additional 14" x 16" piece over top, and pin all the way around. Make sure you leave a 1" area from the top so you can insert your drawstring later. Sew a straight stitch along the two sides and bottom about 1/2 inch from edge.
 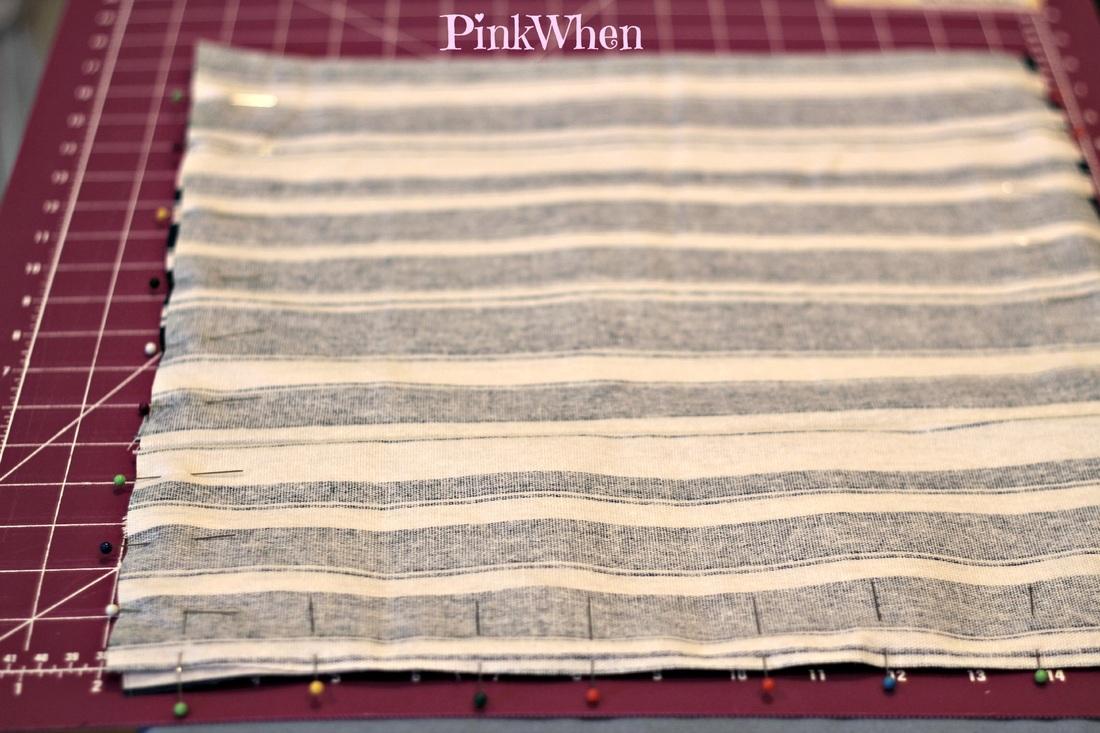 Sew straight stitch along sides and bottom leaving an inch from the top un sewn.
 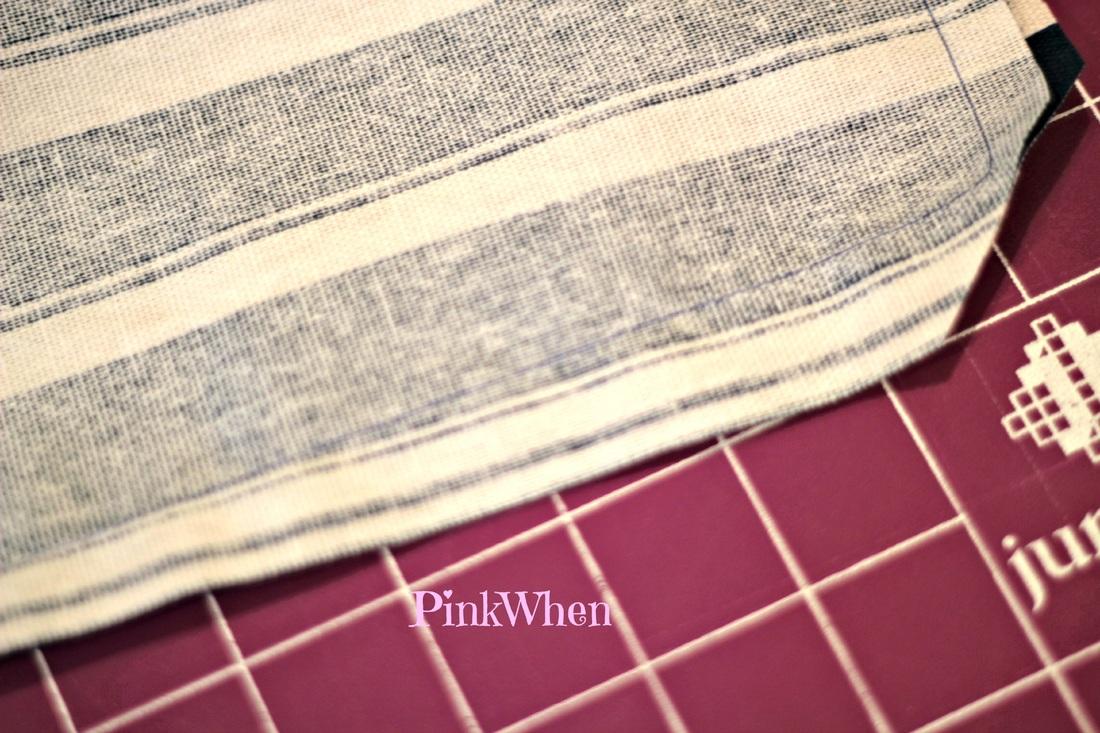 Cut your corners Once you have your stitches sewn and corners cut, turn the bag right side out, and lay off to the side.
 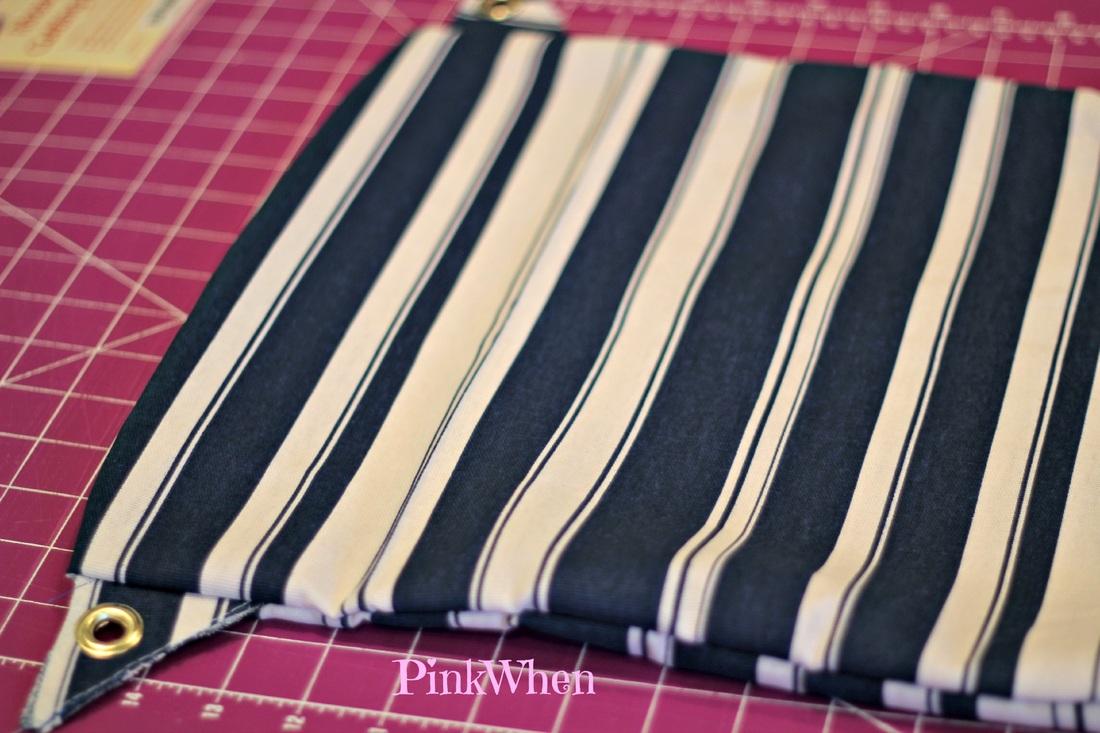 Looking good so far! Now grab the other two 14" x 16" pieces and pin and sew them right sides together, leaving an inch at the top just as you did before.
 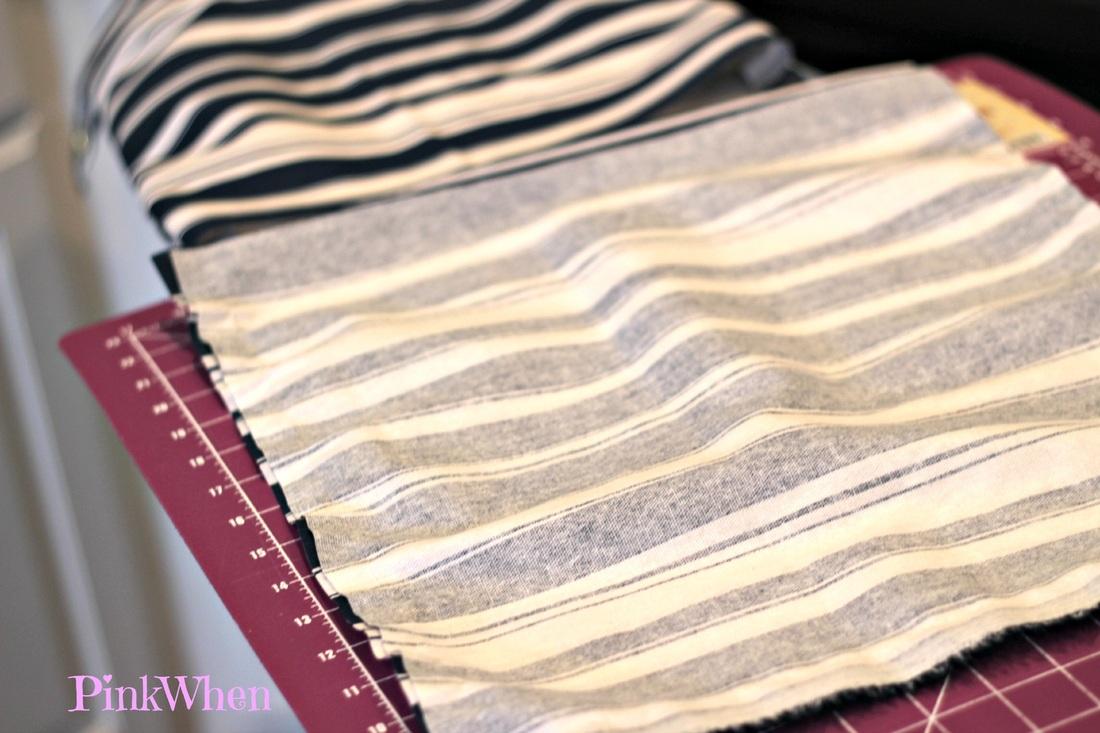 Your outer bag up top and inner lining bag at the bottom of picture. Leaving your outside bag right side out, and leaving the lining bag wrong side out, insert your outside bag into the wring side out inner lining bag. (This reminds me of the Who's on First Joke, seriously, just read that a few times if it confused you.)
 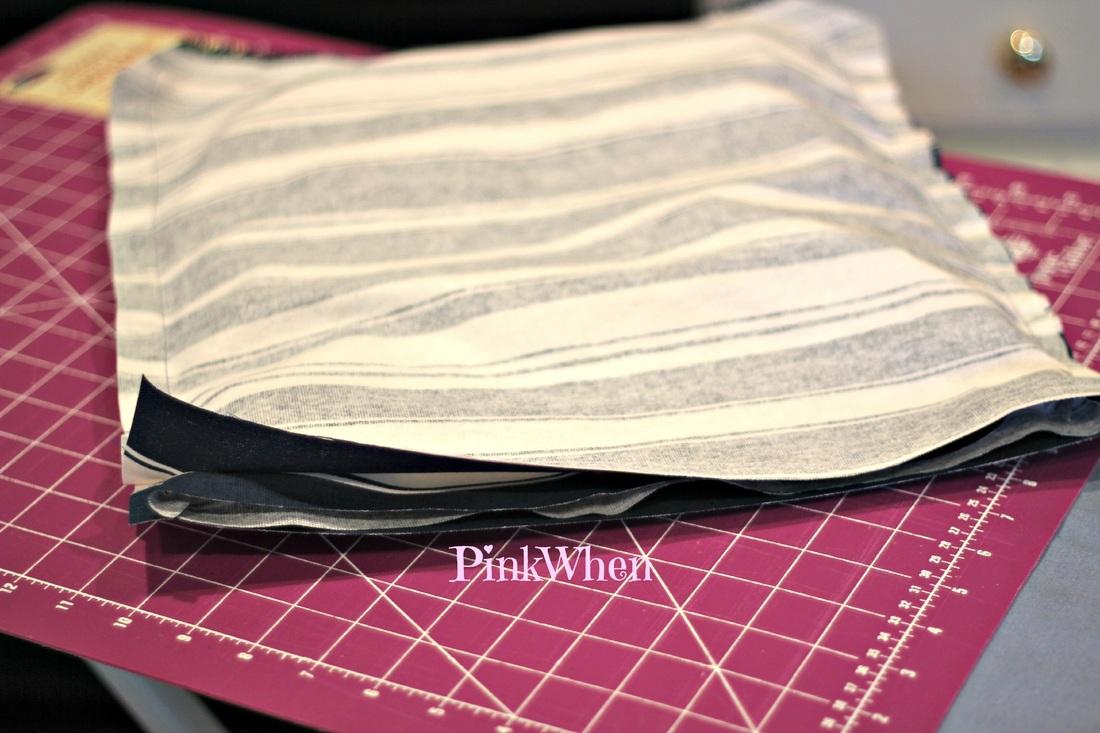 Take the OUTER bag still Right side out, and place it inside the wrong-side out inner lining bag. Now you are going to pin and sew all the way around the top edge, but leaving a 3" gap to pull everything through. Sew ALL of the bottom portion of the bag. (See picture below)
 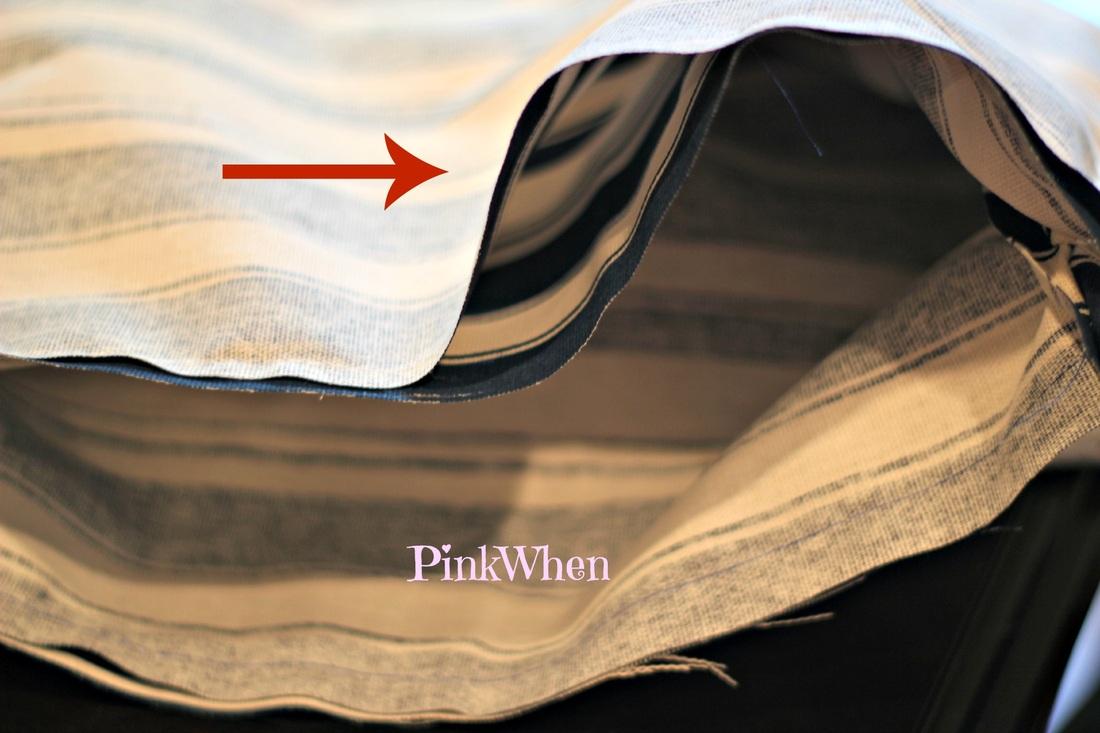 Now you can go ahead and pull the bags thru the gap you left.
 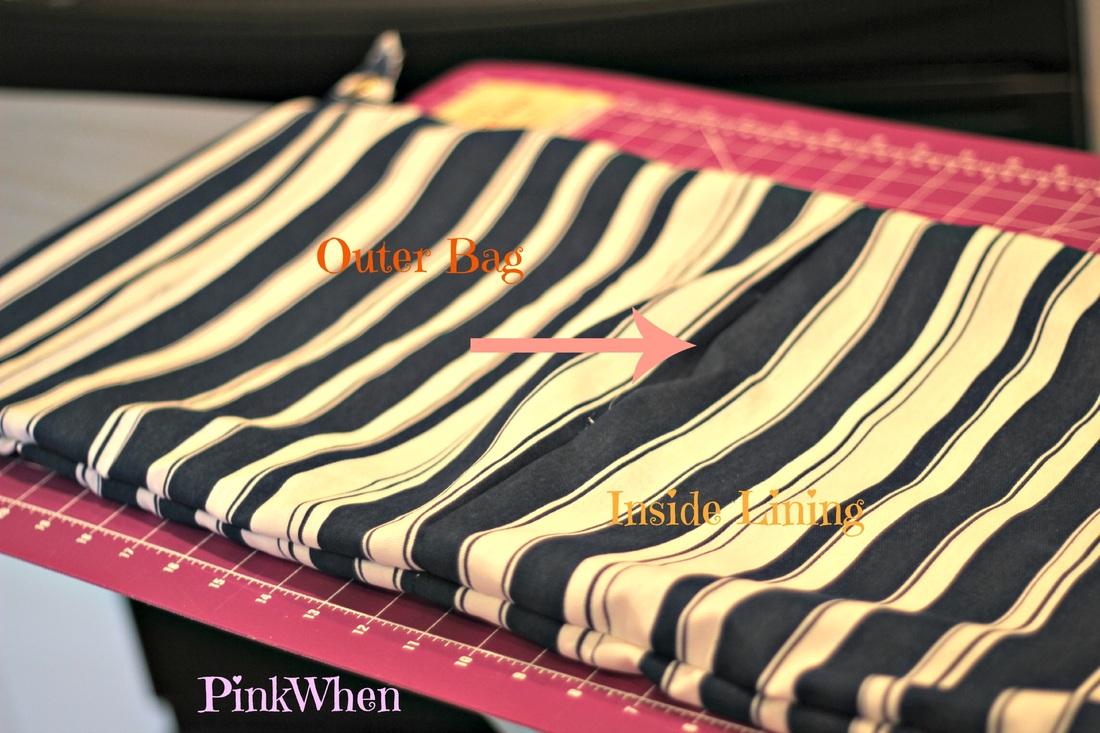 With the arrow pointing to the new seam, go ahead and place the inside lining into the outer bag. Sew up your 3" seam you left open. So after I did this next part, I realized I could have made life a lot easier for myself, but I like the hard road sometimes. I found an anchor from the internet I liked, sized it up, and printer it out.
 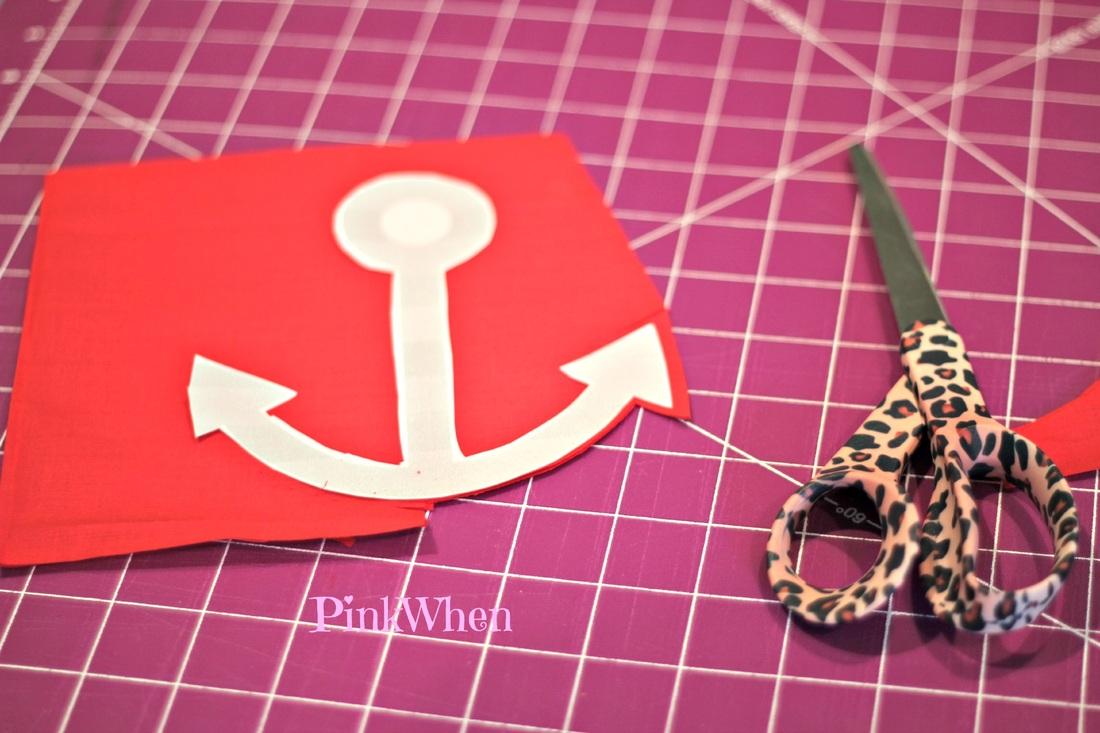 Cut around anchor template on the fat quarter fabric you chose. Without doing an actual embroidery design, I still wanted my anchor to look embroidered on the bag. I chose the zig zag stitch and adjusted the length accordingly.
 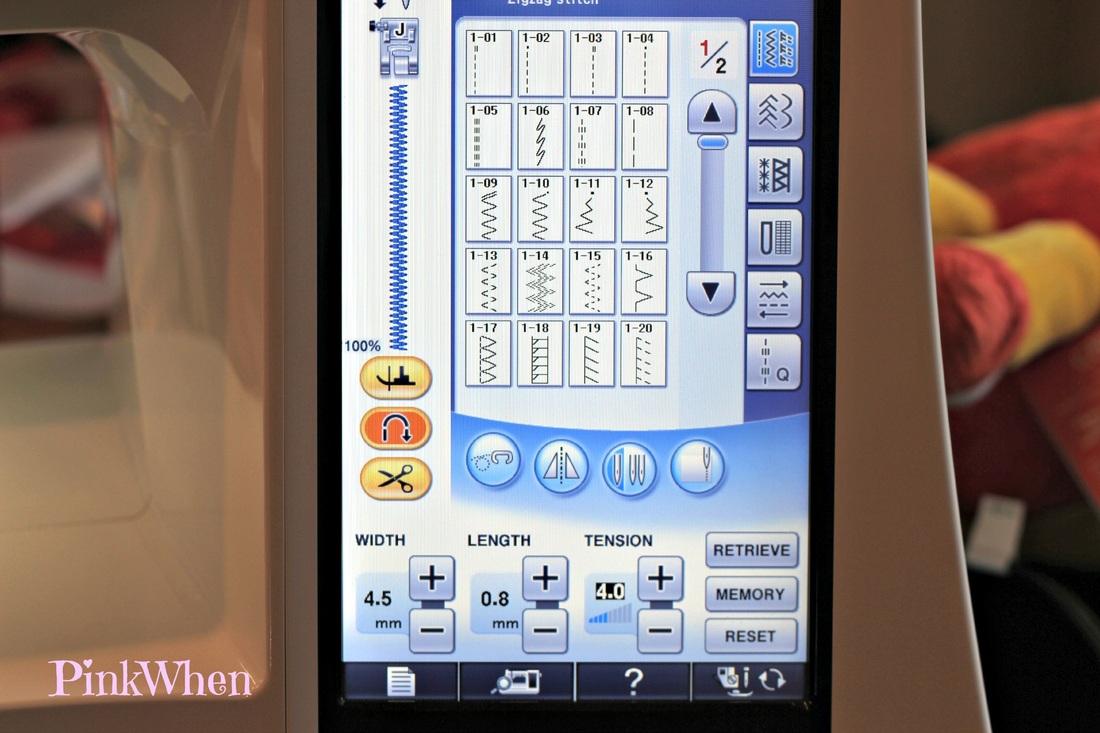 Adjust your machine for the stitch you wish to use for your monogram or picture. Go ahead and start doing your zig zag stitch around the design. (See how hard I made this? It could have been easier with felt, heat and bond, and a straight stitch.)
 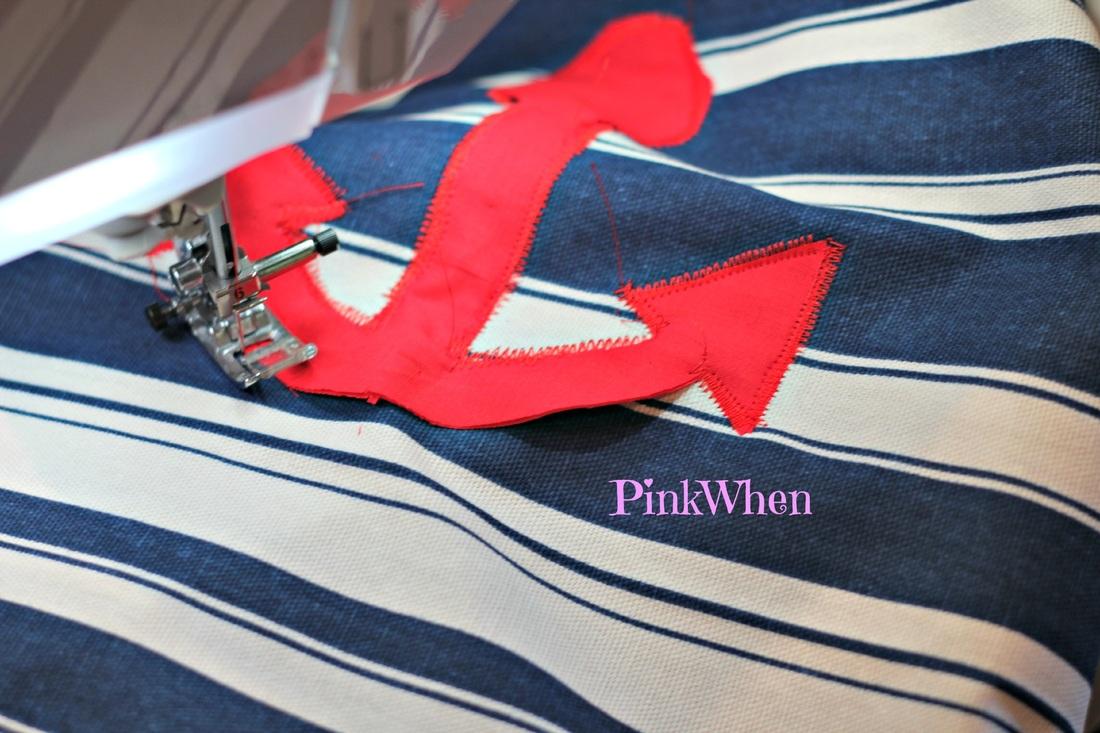 Sew on your design now it's time to insert the drawstring. With that 1" opening you still have left earlier, you are going to take one yard of your string, attach a bobby pin to it, and feed it thru the top right side of the bad. Coming out the end of the left side, feed it thru the bottom left side, and then back out the right - back side of bag. (See pic below) You will then do the same thing with the other one yard of string and start and finish on the left side of the bag.
 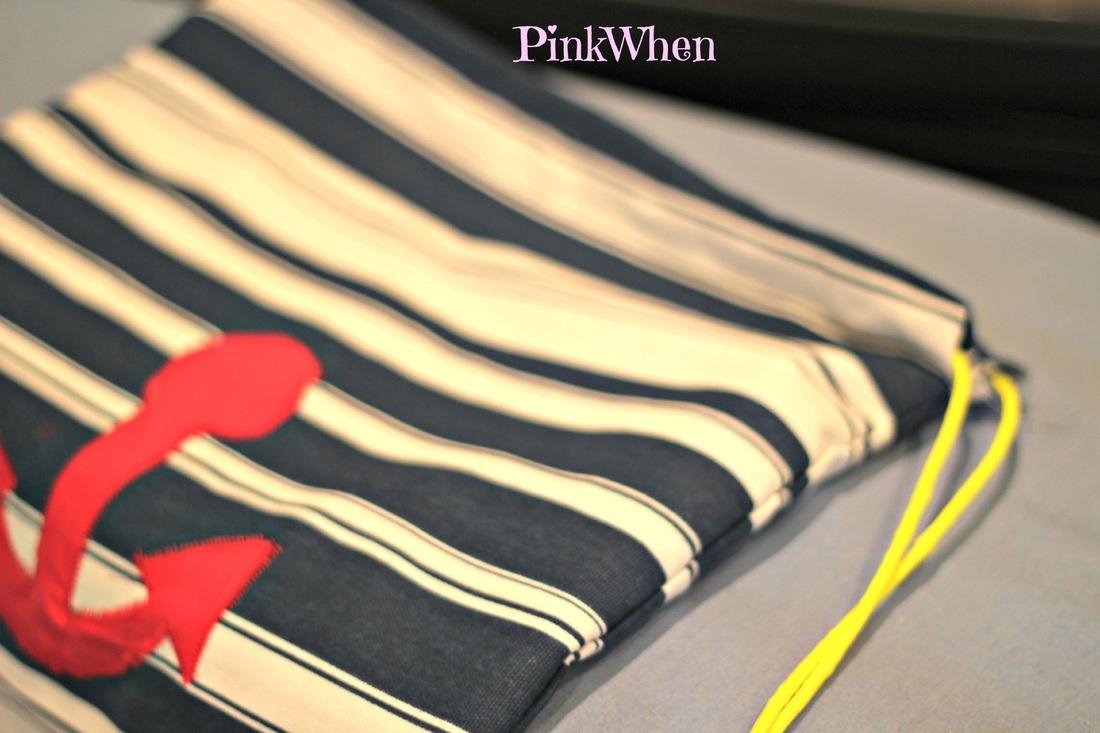 Making your drawstrings Find the desired length, cut an excess string you have left, and then tie in a good knot on the underside of the grommet. When you finish this, you are FINISHED!! YAY!!
 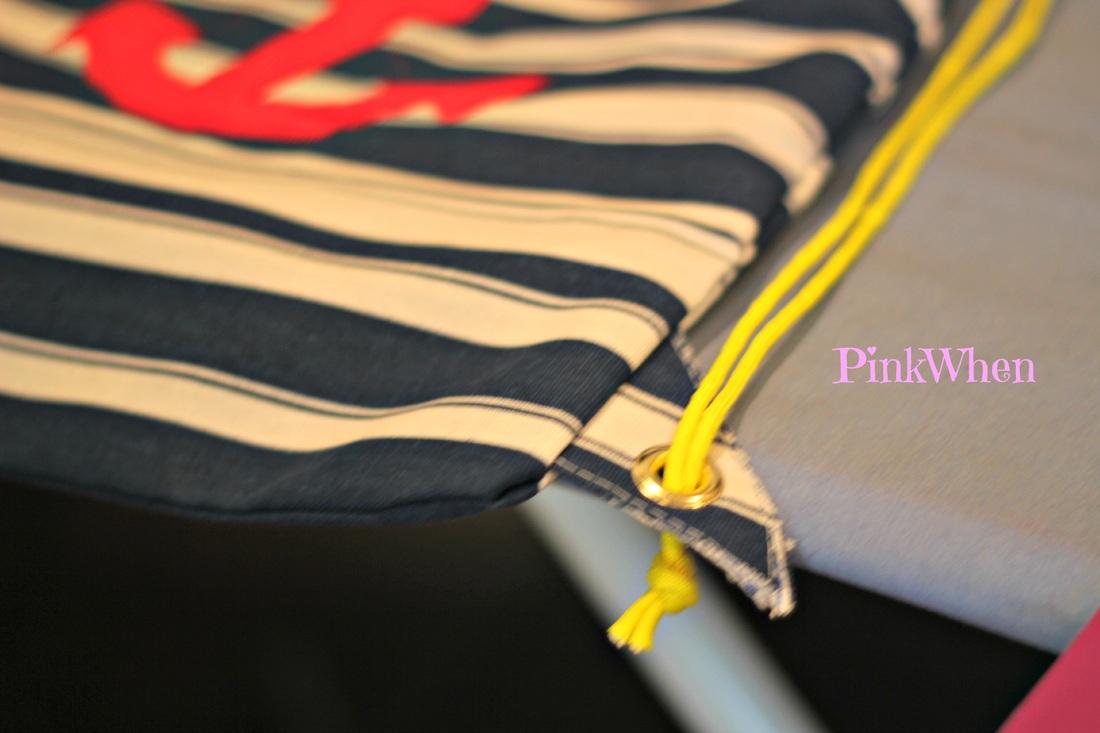 Tie your Knot, and FINISHED! Addy LOVES her new Drawstring Backpack. She was so excited to put it on and walk around with it.
 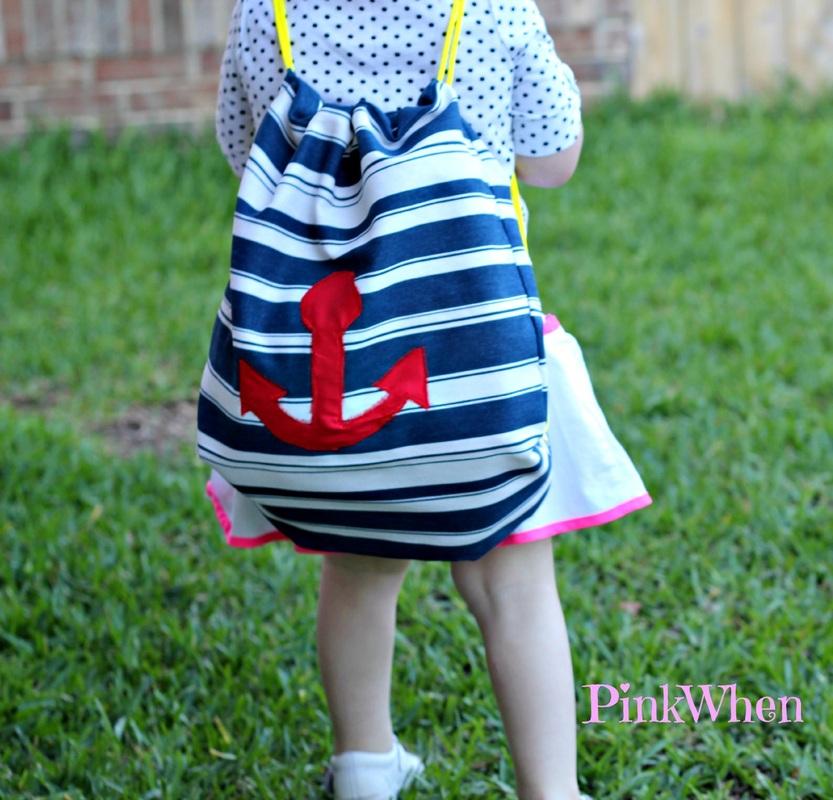 Drawstring BackPack "Mommy, What's This???!!"
 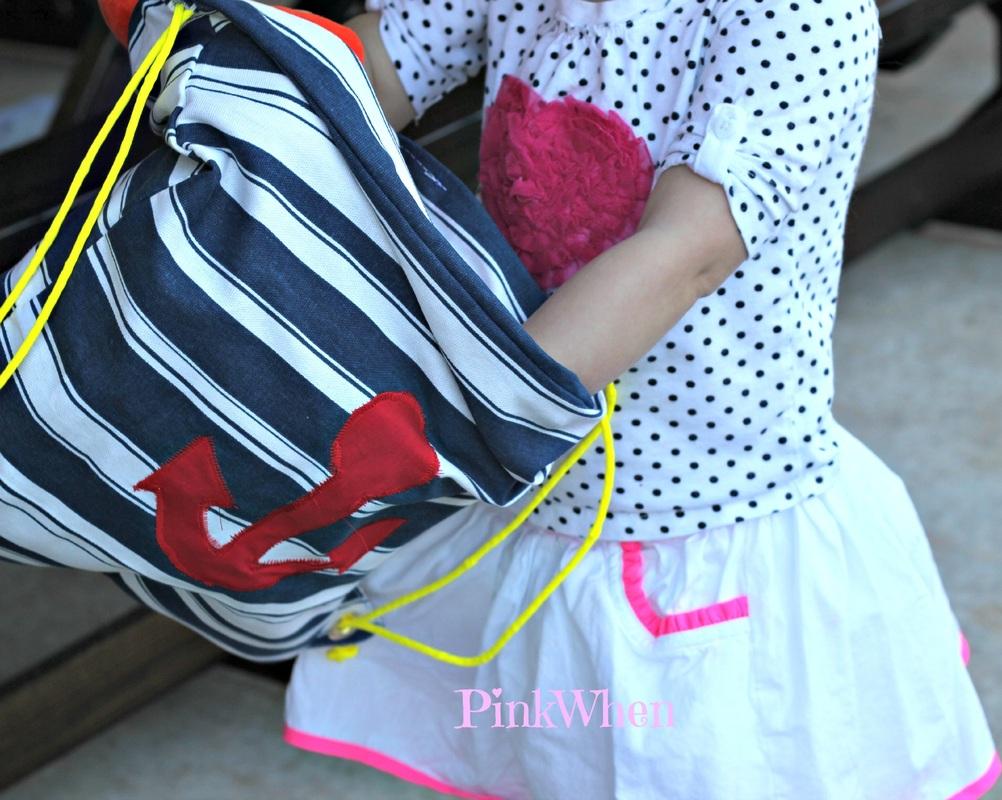 What's in here Mommy? "Oh, My!!! It's a CRAB Mommy!!!!"
 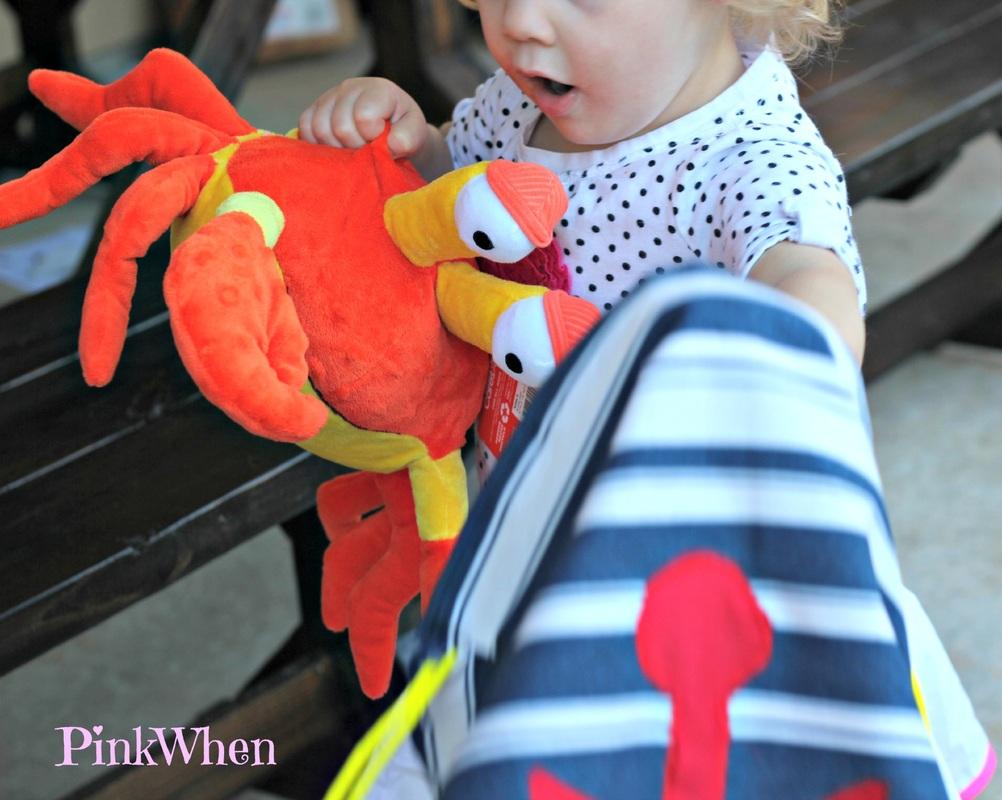 It's a surprise! Now all we need is the sun and the sand….
 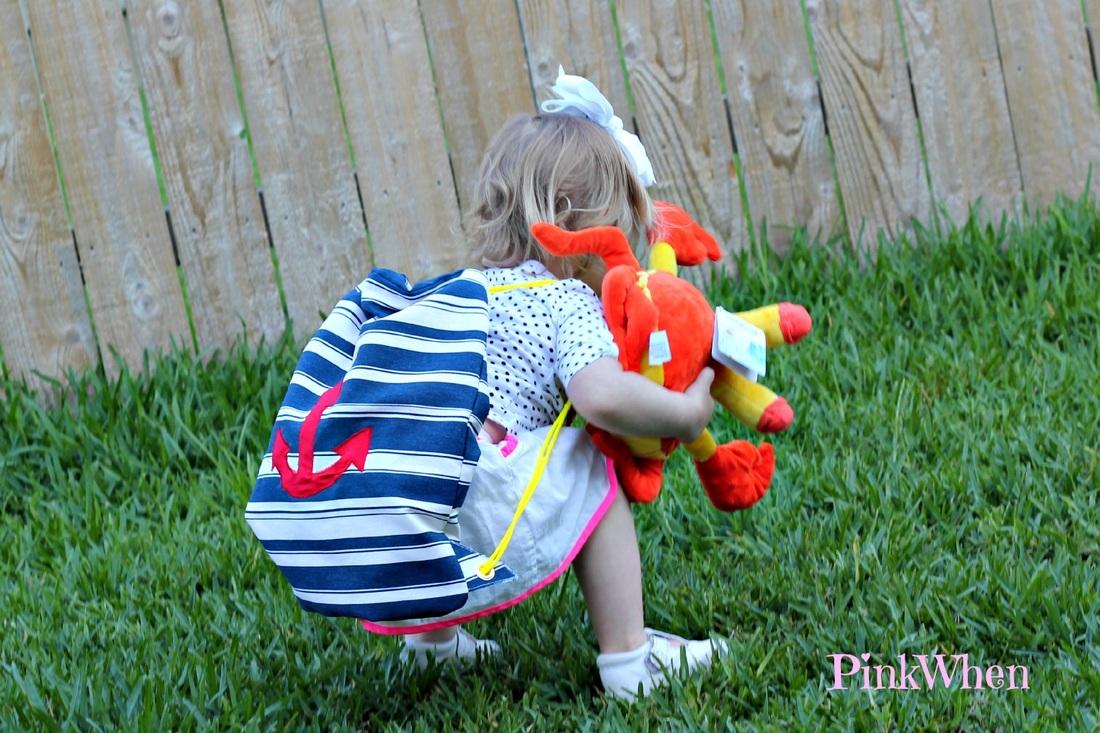 All we need is the sun and sand...
 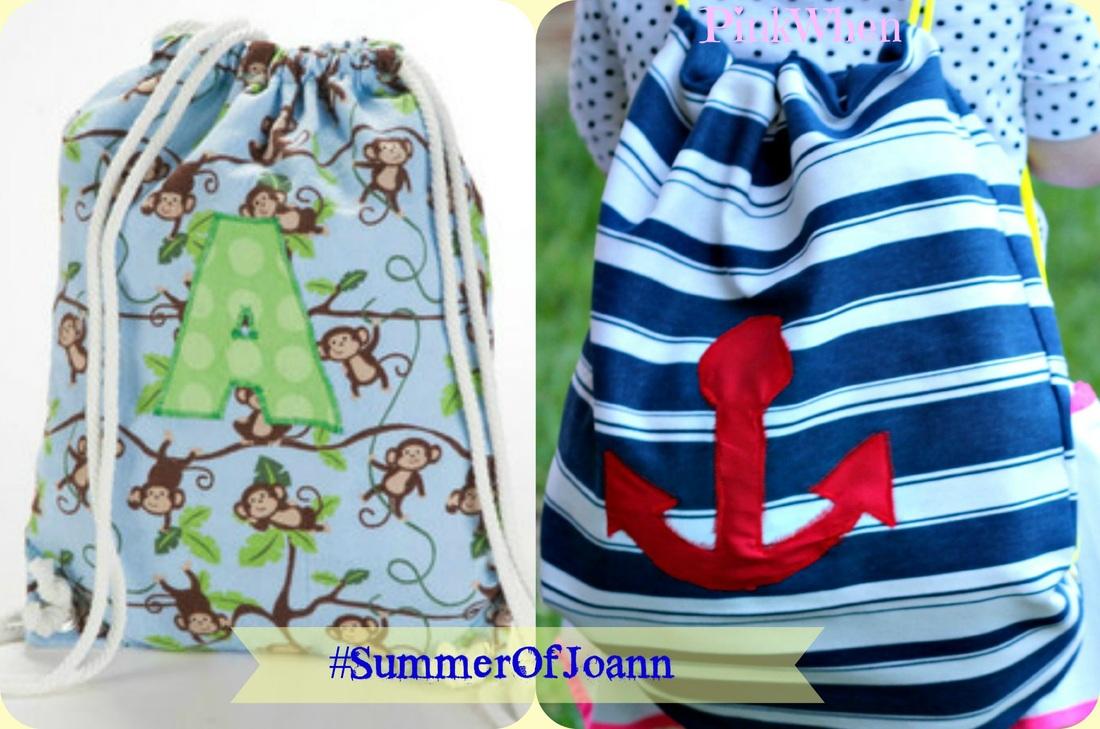 #SummerOfJoann Collage. The Jo-Ann drawstring backpack is on the left, and PinkWhen is on the right.
  This summer Jo-Ann Fabric and Craft Stores has a great list of ideas for you and the kids to do this summer. Seventy-two ideas to be exact. You can find the Spring catalog full of many of these ideas. How would you like to save money at Jo-Ann's when you are shopping for supplies? When you sign up to become a Preferred Customer not only will you receive a 20% off coupon, but you receive advanced notice of great sales, additional money saving coupons, and ideas to spark creativity. Don't wait, make sure to sign up now and start saving by clicking here!
Jo-Ann Fabric and Craft Stores is the largest specialty retailer of fabrics and crafts. They offer 790 stores in 49 states, plus you can visit their website at Joann.com.
Did you like this Drawstring Backpack Tutorial? If so, please feel free to PIN it. If you thought this was REALLY awesome, PIN it with the hashtag #summerofjoann in the description!! Make sure you are also following me on Pinterest! What are you going to make for this summer?
*I received a Jo-Ann gift card to purchase the product needed to create this project. All views and opinions, as well as pictures and instructions are my own.

