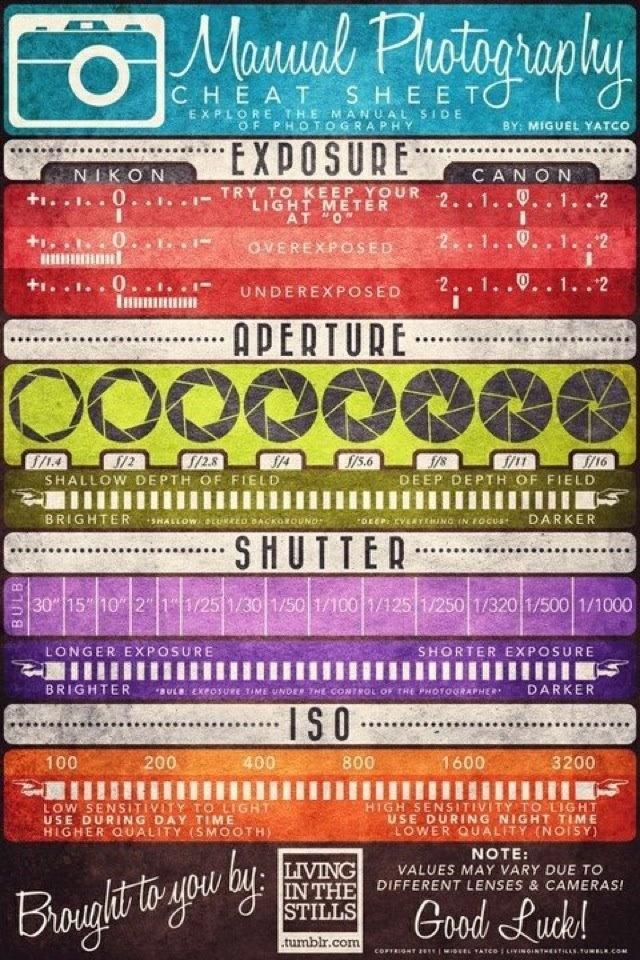
I found this gem on Pinterest, which is probably the best 'cheat sheet' out there:
{via}
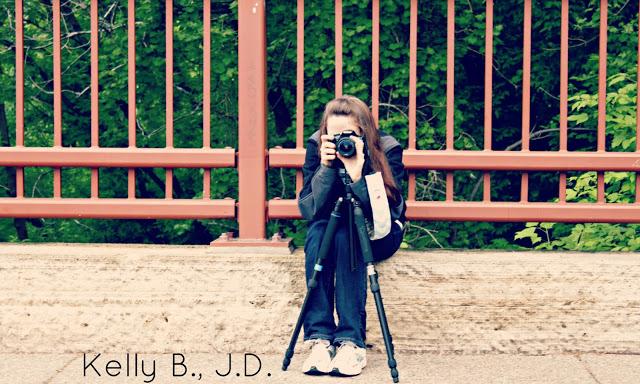
We focused on these key areas: Color Temperature (White Balance), ISO, Aperture + Shutter Speed
{Color Temperature - AWB}Very important... each light source has its own individual color, or ‘color temperature’, which varies from red to blue.When you set your camera’s white balance manually, you can choose from a number of pre-set color temperature options like Tungsten (3200), Daylight (5200), Cloudy (6000) and Shade(7000), or customize your own setting.When the color white has to be white be sure to adjust your color temperature -- otherwise you may get a yellow or gold-ish hue.
{ISO}Begin in the AV or TV mode on a Canon. Lower the number = lower sensitivity to light. Low ISO produces high quality, smooth photos when used in natural and bright light. There are some instances where you might want to increase ISO: - Sporting Events/Concerts: low light, and/or your subject is moving fast- Art Galleries/Museums: where flash photography is prohibited{Aperture}Aperture size is usually calibrated in f-numbers or f-stops. i.e. those little numbers engraved on the lens barrel like f22 (f/22),16 (f/16), f/11, f/8.0, f/5.6, f/4.0, f/2.8, f/2.0, f/1.8 etc. Low aperture lets in more light so you can take photos in low light (like in your kitchen of your delicious food) -- this also allows you to have a shallow depth of field i.e. one object in focus (your sandwich) and the background is blurry. **Most standard lenses don't allow for a low f-stop, you will have to look for a lens like this one or this one to create those up-close, crisp, light, food/people photos**
{Shutter Speed}Shutter speed is, apart from aperture, the other main component required to form a proper exposure. Shutter speed means timing and duration of opening and closing of the shutter in the camera -- or how fast the camera shoots the picture. A fast shutter speed will freeze action while slower speed creates blurring effect.In class, we put these elements to use by shooting in low light situations where we had to adjust the ISO, Aperture, and Shutter Speed. ***One of the first things I purchased was a tripod. When you are messing with aperture and shutter speed, your pictures will be blurry... even if you have the steadiest hand out there. You should use a tripod for the best results. All of the photos that we shot on our field trip to the Stone Arch Bridge were with a tripod... Check 'em out!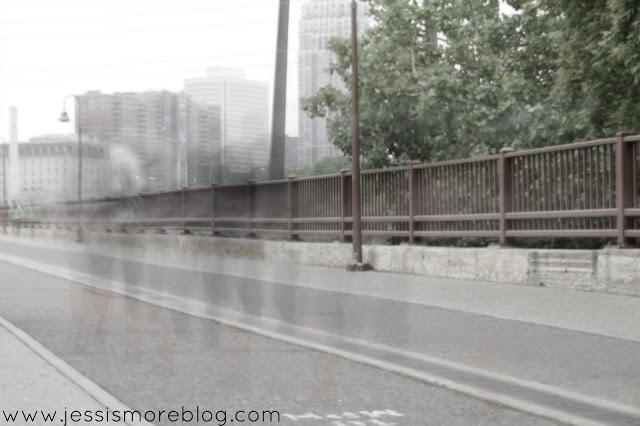
^high aperture and slow shutter speed make people disappear^
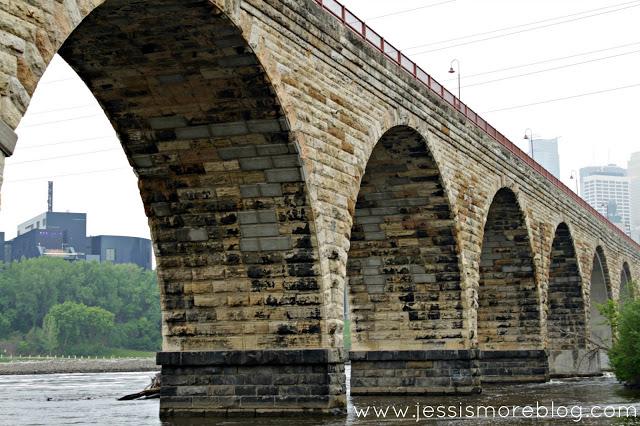
^fast shutter speed, lower ISO... water is crisp and "frozen"^
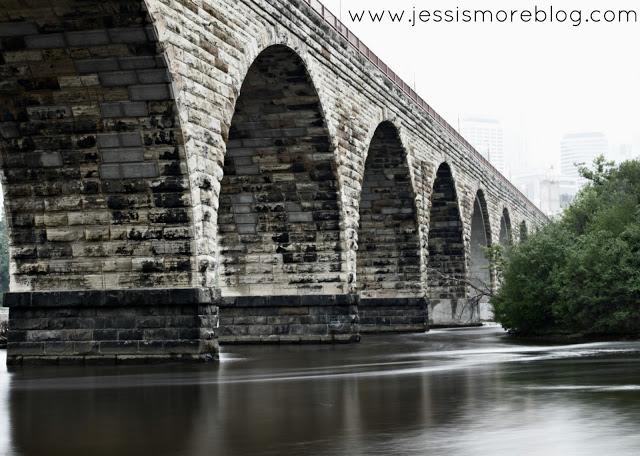
^higher aperture, slow shutter speed = glossy, smooth water^
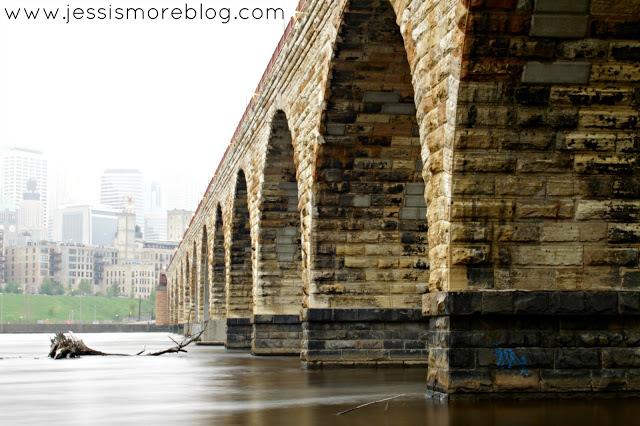
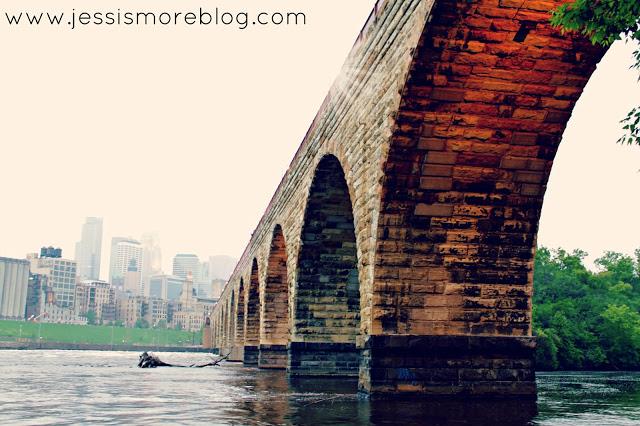
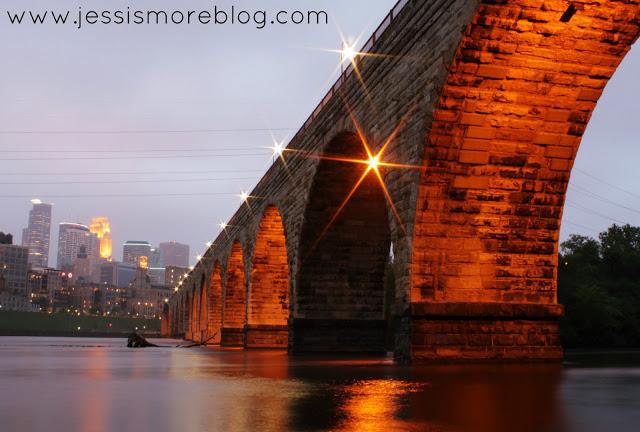
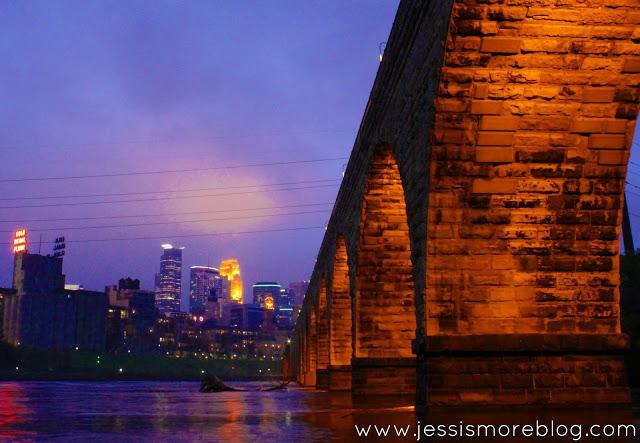 There is so much I have left to learn, but I know I couldn't have achieved a few of these shots without taking the class.
 Practice really does make "perfect" -- get a fresh memory card, and just start playing around with settings in each category to see what works best.
Also, be sure to stop by Kelly's blog, where she is summing up some great tips, too!

