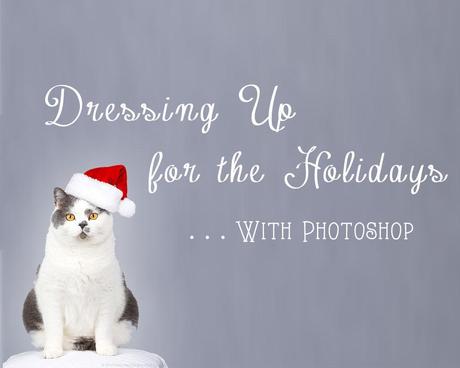
Whether its Kitty Dusty dressed up as Harry Potter or Kitty Ansel in his Santa hat, every time I post a photo of any of our cats dressed up for the holidays I always get asked “How do you do that? How do you get the cats to wear the hats and pose for you?” The secret is – we don’t!
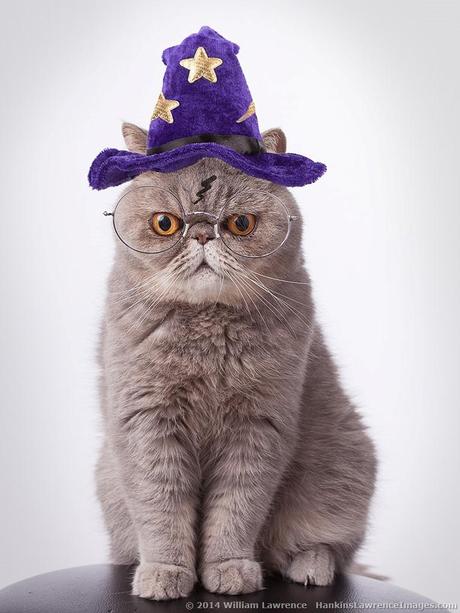
Bill and I did try putting hats on the cats in the past for their photos – we never got any good photos. But we did really annoy the cats (and occasionally have to patch up a bleeding photographer). So we figured out how to do it in Photoshop (you may also be able to do this in Photoshop Elements – we don’t have a current version so couldn’t check to see if it would work.) With a little practice – you too can dress your fur-kids up for the holidays.
The main Photoshop techniques we use are extracting an object using the “quick select” and “refine edges” commands, and resizing an object using the “free transform” command. We’re not going to go into step by step details on how to use them. Great info on both can easily be found on the web (how do you think we learned how to do this?).
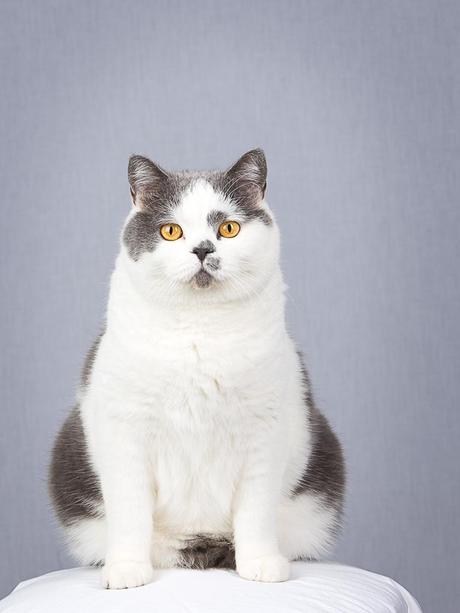
First, we start with a picture of our model, Kitty Ansel. Ansel loves to pose on the posing stool, making this part easy. For those interested, we used a strobe with softbox on camera left, and one with a strip light camera right, set about 1 stop below the main light. Before we had studio lights and such, we put a sheet on the wall for background in a room that had enough window light to photograph the cats.
Next, we use a Teddy bear to photograph the Santa hat in the same light we used for Ansel (this makes the combination look more realistic).
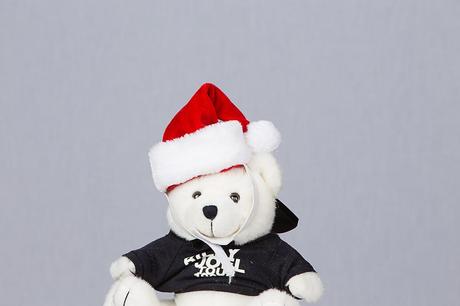
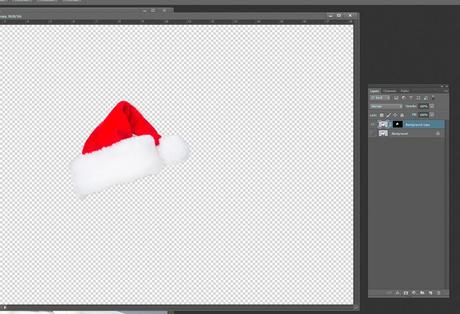
Using the “quick select” tool (located in the same box as the “magic wand” tool, Bill roughly selected the Santa hat, and used the “refine edge” button to refine the selection. He set the refine edge to save the selection as a new layer with layer mask. This gives you a layer showing just the Santa hat.
Now with both the cat photo and the Santa hat photo open, drag the hat layer from the hat file to the cat photo.
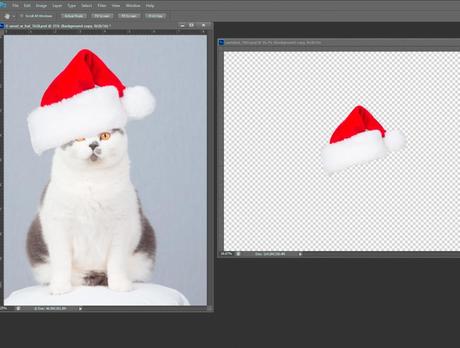
This gives you a hat on top of the cat, although the size and the angle are wrong. The “free transform” tool (Ctrl-T in windows) with the hat layer selected will let you rotate the hat, and change the size so that you can create a hat that fits the cat. To make the combined photo more realistic, Bill used a little darkening curve masked to show under the hat to give the appearance of shadow immediately under the hat.
The final result:
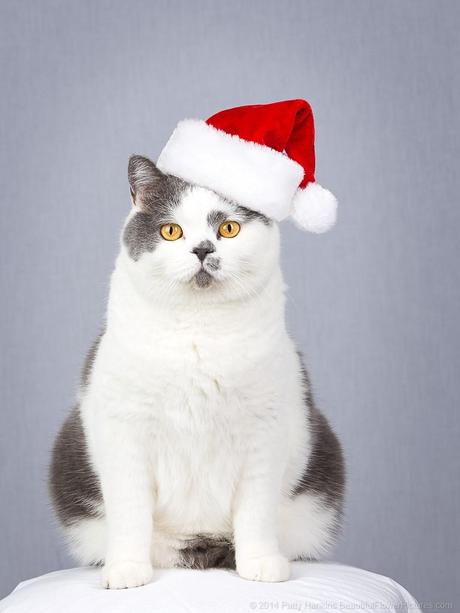
A wonderful photo of Kitty Ansel wearing his Santa hat and no photographers were harmed (or had to visit the ER) in the creation of the photo!
