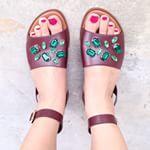
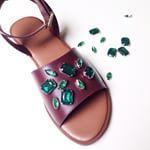
So I've been seeing a lot of asymmetrical designs of rhinestones/gems/stones on dresses, tops and shoes. Normally I'm all about symmetry but the free design of the asymmetrical placing of stones do appeal to me. Hence, the asymmetrical rhinestone sandals DIY! So easy, so quick and so luxurious too. Read on more below:
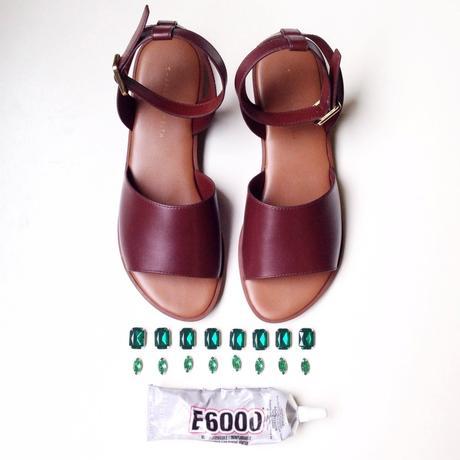 What you need:
 - Plain sandals. Mine are plain burgundy sandals from Charles & Keith.
- Rectangle emerald rhinestones from DIY KL (to be available soon online)
- Marquise light green rhinestones from DIY KL (to be available soon online)
- E6000 glue or any superglue which dries clear
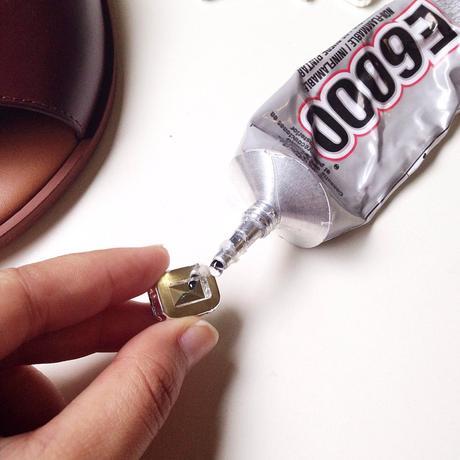
Dab some glue on the backing of the bigger rhinestone, which are the rectangle ones.
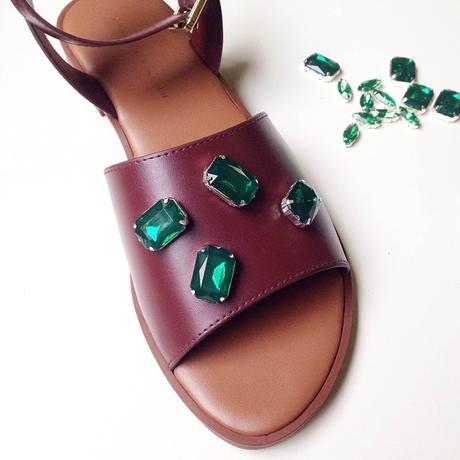
Stick the rhinestones in various directions, because asymmetry is the key!
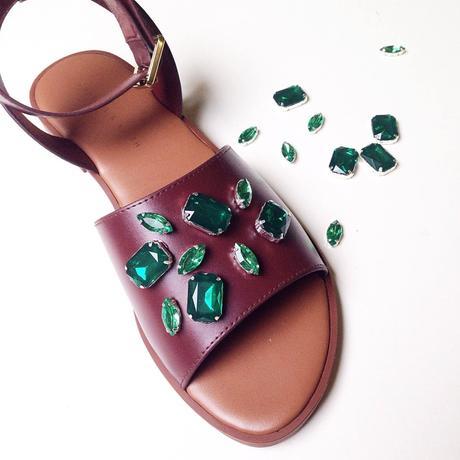
Now dab glue on the backings of the marquise rhinestones and fill the gaps between the rectangle ones!
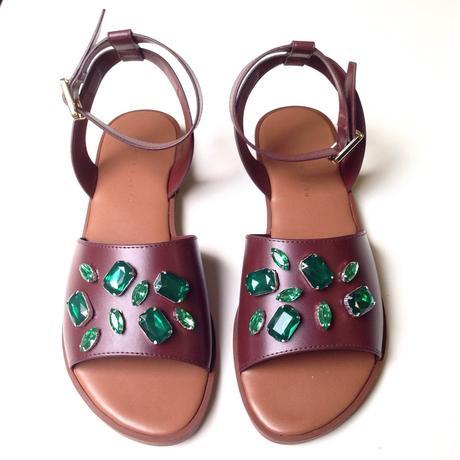
Repeat the same steps with the other pair. Let it dry for at least a few hours to one day before wearing out!
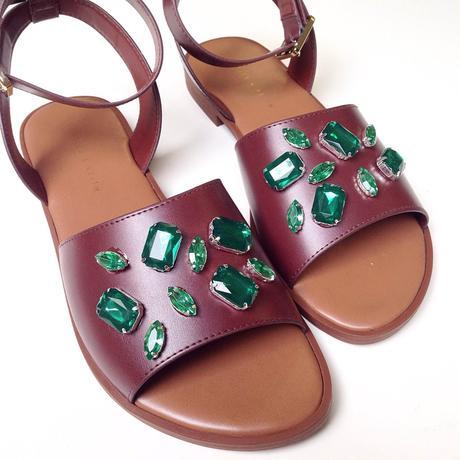
The asymmetrical design is so easy to achieve, simply because you're not bothered by proper lines!
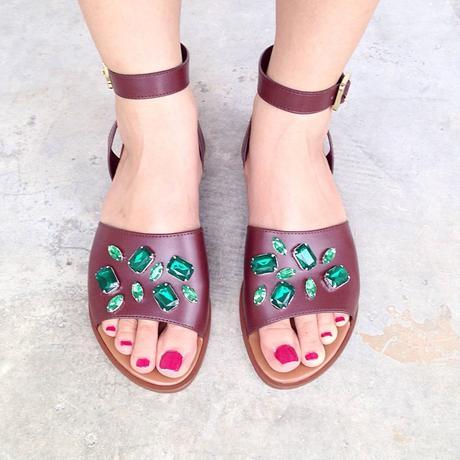
What a luxurious update to any plain pair of sandals. Now, please excuse me while I go and enjoy my asymmetrical rhinestone sandals!
This blog is my creative outlet to create tutorials of my DIY projects. Creating something to call my own is always satisfying and is so much fun! Enjoy your stay here, leave a comment and thank you for dropping by!
Have a desire to ask me something? Do write to me at: [email protected]


