It’s finally the weekend! When you had to go to Court every single day in this particular week, you can’t help but feel relieved at the end of Friday! I have been so busy lately at work that finding my own time to design or even materialise them is an effort…however I don’t stop because this other (non-legal) challenge gives me such satisfaction, provides me another purpose (in life) and DIY-ing is surprisingly therapeutic for me.
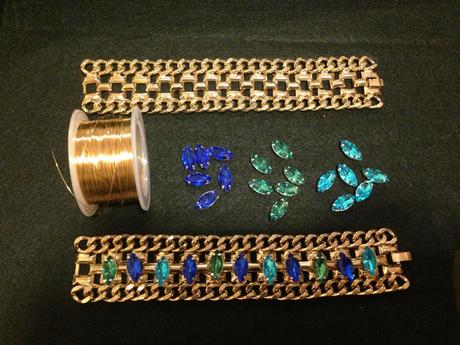
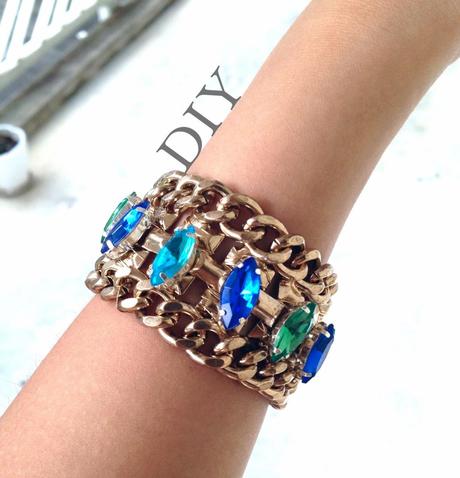
A few days ago I revamped a bare gold chunky bracelet into a bejewelled one. No glueing, all you need is some wire! Try it with anything you wish to revamp using my same method:

- Gold wire (thin enough to fit the holes)
- bare bracelet with openings
- rhinestones/beads
- scissors (to cut the wire)

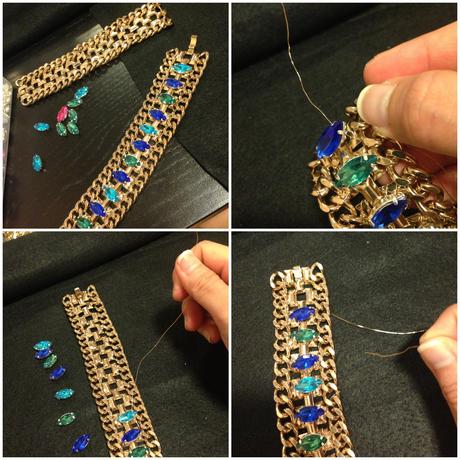
1. First, lay out the rhinestones on the bracelet accordingly as a plan. Then place the rhinestones on the side of the bracelet so you don’t forget the sequence.
2. Cut some wire. Start by looping through one of the holes to get a grip. Then thread the wire through the rhinestone’s right holes and make another loop to secure. Switch the wire to the other side like a zig-zag and thread through the rhinestone’s left holes.
3. Repeat step 2 for the rest of the rhinestones! At the end, make more loops to secure. You’re done!


Posted using Tinydesk: WordPress blog editor

