It’s a bit of a different one from me today, as I attempt a DIY post, something which I have never done before in my year of blogging! I don’t do many crafty things to be honest as I’m not the most creative, but last year I got one of the plain wooden Ikea boxes and decided to have a go decorating it. These photos are a year old, which shows how long it takes me to get round to writing posts!
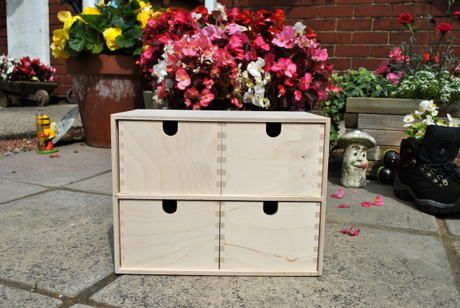
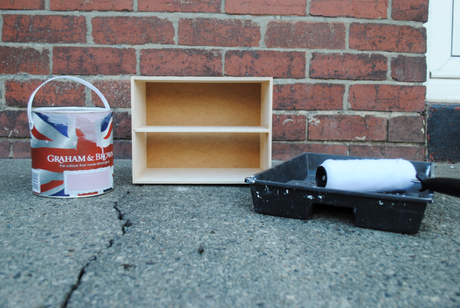
To start with you need one of the plain wooden Ikea boxes with the drawers taken out, some paint and something to paint with. I had leftover paint from when I decorated my bedroom so used that so it would be a perfect match, and I used a roller and tray to make it nice and quick and easy. Before you start painting I definitely recommend sanding the whole thing down, as I done my first coat of paint before realising this and it was a bit of a mess (my dad make have came to the rescue).
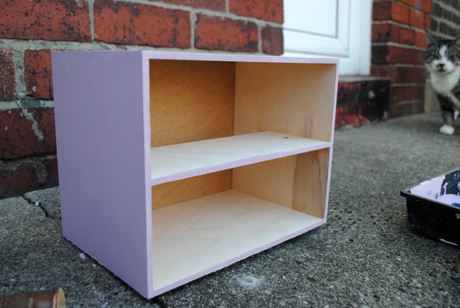
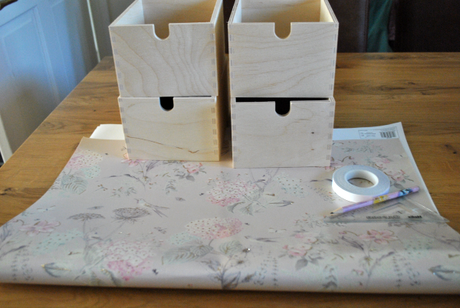
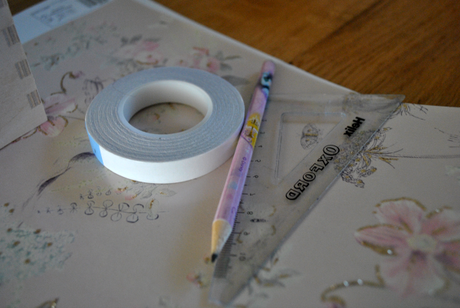
It took me a little while to decide how I wanted to decorate the drawers, but eventually I settled on good old wrapping paper. I got some of the posh stuff from Clintons that is about £3 a sheet as it was nice and thick, and I absolutely love the pattern on the one I chose. I knew as soon as I saw it this was the one I wanted! You could also use wallpaper or fabric if you wanted. For this part you will need something to stick your chosen material on with, I chose that really thin but super sticky craft tape and it worked well. You’ll also need a pencil, and I have no idea why I thought I would need a ruler as I don’t think I did at all.
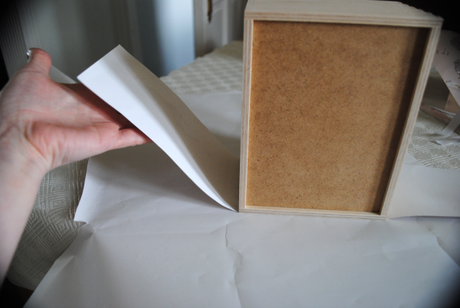
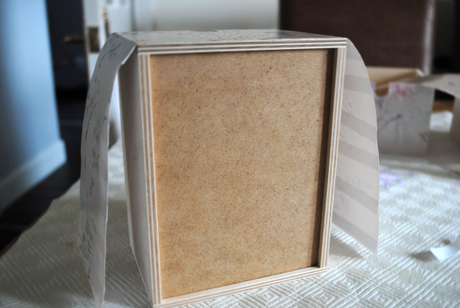
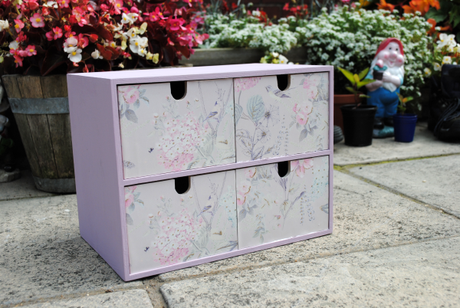
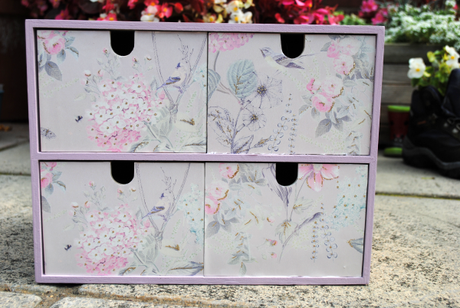
What do you think? Would you have a go at decorating the Ikea drawers? I will admit one thing though, at the minute they are totally empty as I don’t know what to store in them!
