A few months ago, my beautiful cousin asked me if I could make some clutches for her to give as presents to her bridesmaids (me included!). I couldn’t turn down the offer because customizing anything is always so much fun for me even if working as a lawyer in the daytime (and sometimes nights) can prove a little difficult. However, I managed to finish my cousin’s request and it was a lot of fun in the making starting from sourcing, designing (5 different designs) and handcrafting.
Here’s my easy tutorial on how to embellish a plain evening clutch:
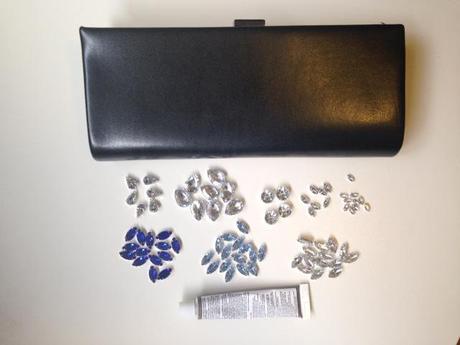
What you need:
- Plain structured clutch
- Various sized and shaped rhinestones
- E6000 glue
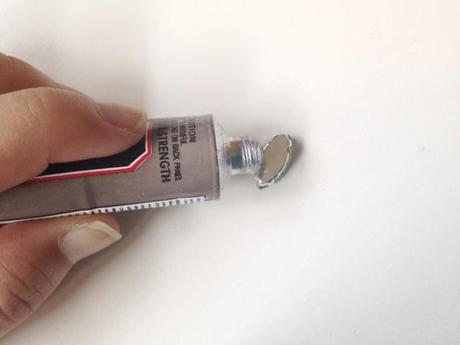
Make sure you are in a well-ventilated area as the fumes and vapor are harmful when breathed in. Take a rhinestone and dab some glue on the back of the setting of the rhinestone.
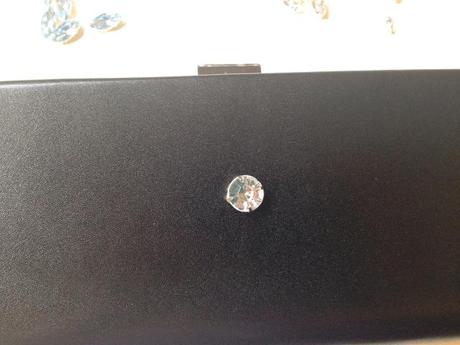
Begin at the middle of the clutch, as you want a symmetrical design. Here I started with a round rhinestone. Take your time, the glue won’t budge too much but be careful when applying the other rhinestones (as it may move one another).
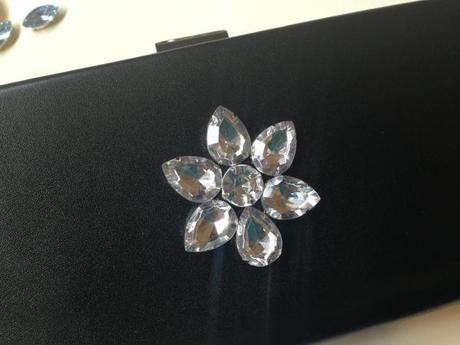
Then I used teardrop shaped rhinestones to circle the middle rhinestone.
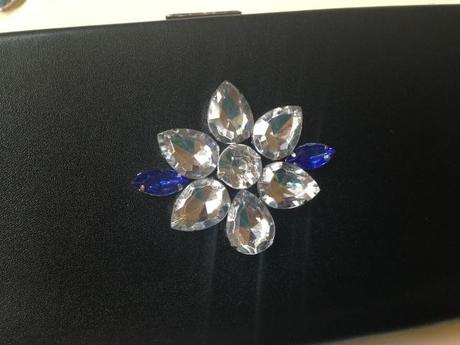
Then I used a dark blue oval rhinestone to fill the spaces.
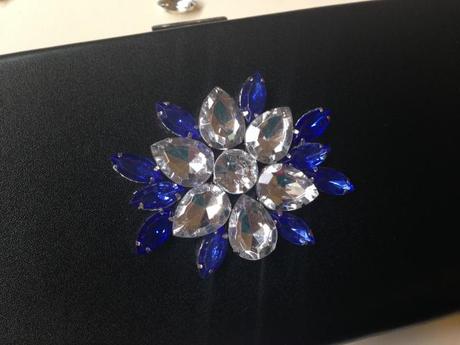
Here’s the fun part. Start spreading out! I used oval rhinestones to spread from the “petals” of the “flower”.
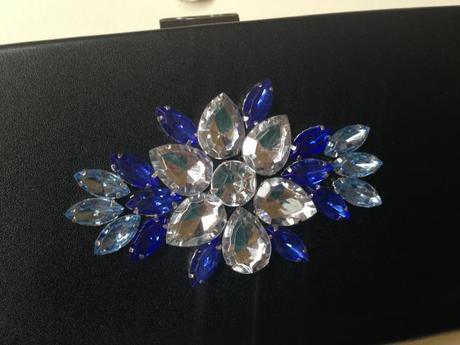
Do the same spreading out with different coloured rhinestones. Let your creativity flow and spread out the rhinestones.
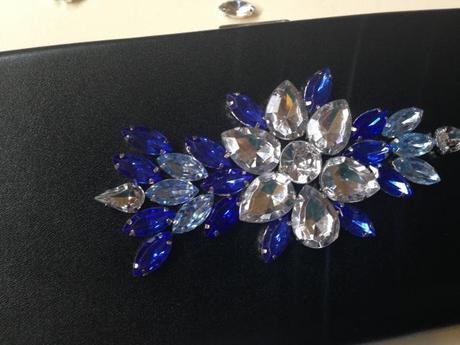
Spread out…
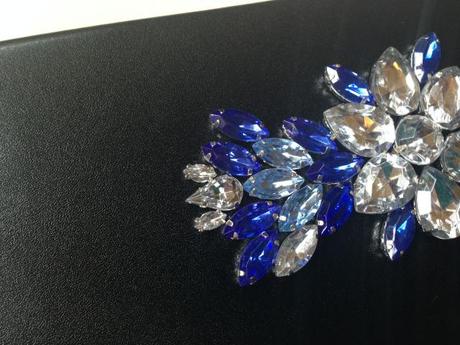
…spread it more!
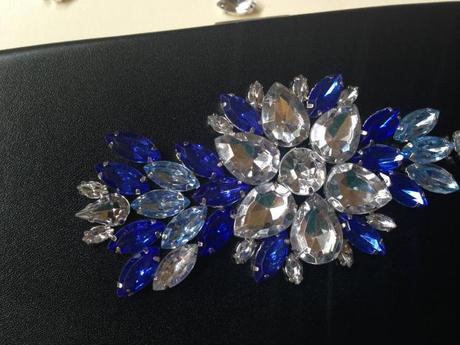
Then I filled in the empty spaces in the middle with small oval rhinestones.
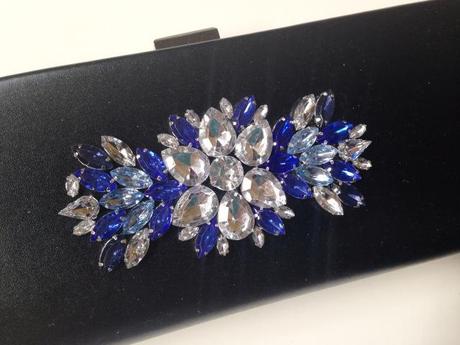
…and you’re done!
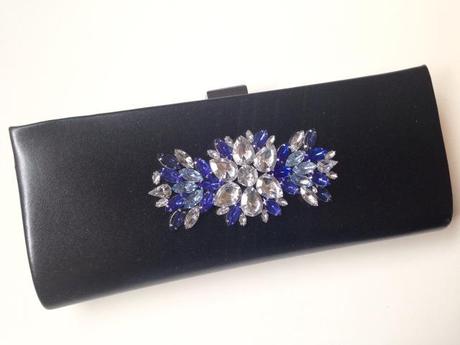
Voila! Enjoy your embellished clutch!
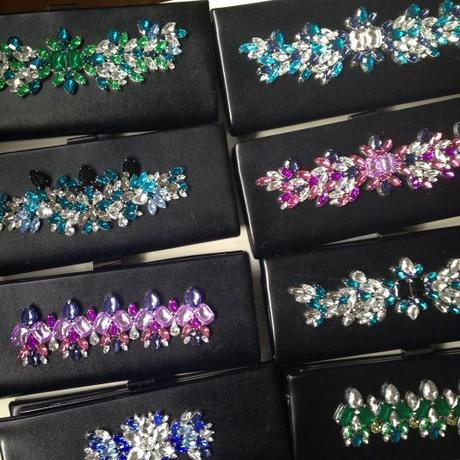
There are so many designs you can come up with when embellishing! Always have a pattern in mind, and do not stick before you are satisfied with the pattern. I definitely had a lot of fun making these, and it was so humbling to see the bridesmaids wearing them, and people complimenting on them. Thanks again to my cousin for the opportunity to create something for your beautiful day! xx

