DIY Tutorial on How to Build a Desk
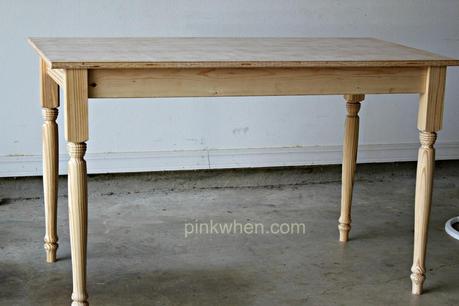 DIY Student Desk Tutorial My oldest daughter has always wanted her very own desk. Nothing too frilly, nothing too big, just something she could sit at and do her school work on, play her computer on, and decorate, of course!
 My husband and I searched for quite some time for the perfect, simple plan. We never could really find what we were looking for. After endless searches we finally came up with our OWN plan, and I am going to share it with you!
Supplies and Cuts:
1" x 4" cut for 2 pieces at 19" for sides and 2 pieces at 40 1/2" for the front and back
Four pre-fabricated legs at local Home Improvement store
One 3/4" 2ft x 4ft birch piece for the top
One 4' length of 2" x 2" cut at 6" each for a total of 8 2" x 2" pieces
2" screws
drill
Kreg jig The first thing we did was make our cuts and piece them together for the desk. I always draw lines and make sure that everything is coming out the way I need it to. It was a must with this tutorial since we were basically making this up!
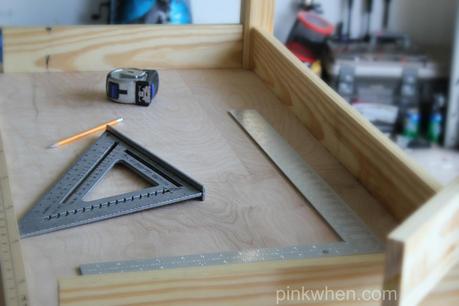 Piece together desk after cutting pieces to make marks for your final placements. When the pieces were on the desk, we measured in 1 1/2 inch in from the sides, and 1/4" in for the front and back of the desk. We approximated these measurement by looking at my desk set I have in our office.
 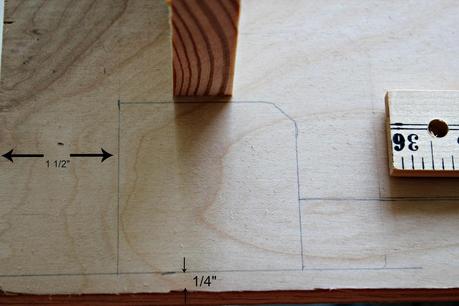 Measurements and lines drawn before complete assembly of desk. Once you have the measurements done, you want to take your Kreg Jig and make your pre set holes for the 2 "screws.
 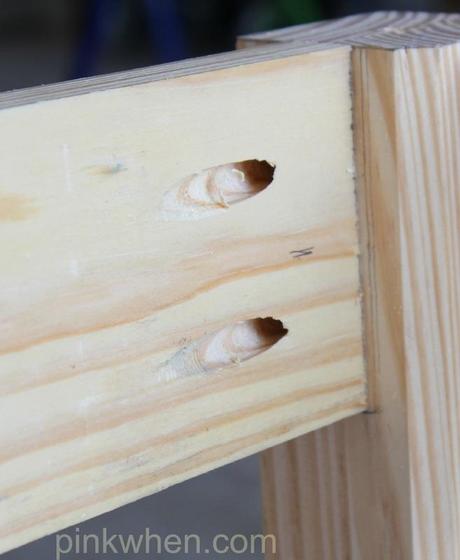 Use the Kreg to make your pre set holes and attach your pieces together. Once you have this complete, you should have the entire bottom frame complete.
 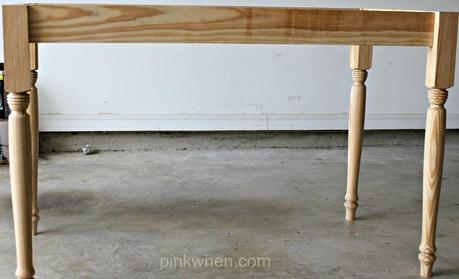 Desk bottom frame Place the frame on top of the birch board and attach the frame to the top. Take those 6" 2 x 2" boards for the braces and pre drill two holes on the top and side. (See below) These will be the holes you place the additional 2" screws in for attachment. (See picture below)
 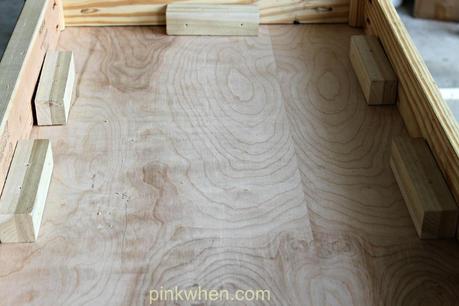 braces to secure the frame to the top of the desk I used 8 of the braces for this desk. One on each side, and 3 on the front and back of the desk.
Once this step is finished, you are now complete with the building portion of the desk!
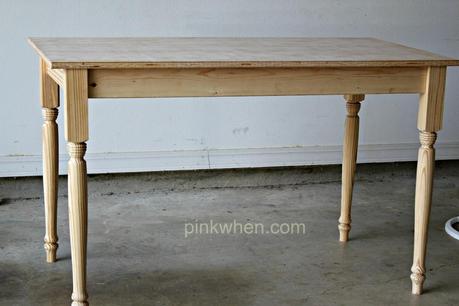 Final unfinished desk I will be sharing the final desk pictures and additions on the blog over the rest of the week! Stay tuned to see how all of this turns out!
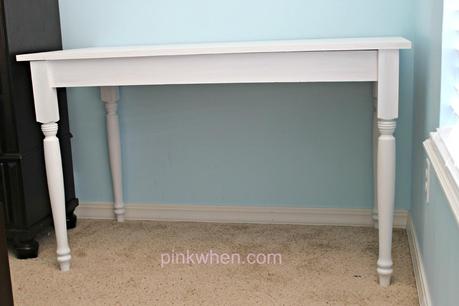
Here is a sneak peak at the desk so far….there will be lots of additions coming this week!
 Are you following me on facebook or instagram yet? You can see sneak peeks of what I have before it's posted on most of the blog posts I do!
