A few months ago, I won the Beauty Heaven Blogstar award in the hair fanatic category. Part of the prize for winning was a one year guest posting opportunity on Beauty Heaven. My very first post went live on Sunday (click here to read). You can continue reading this post or check out my post on Beauty Heaven.
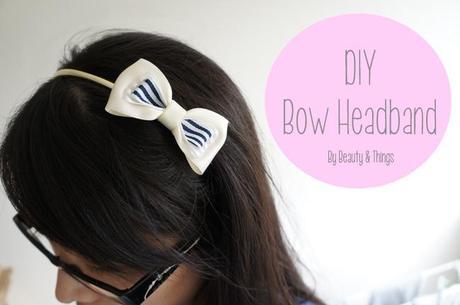
Ever wondered how some girls have the cutest hair accessories? Well look no more, today I am going to show you how to create your very own bow headband. You can wear this out to uni, first dates, pretty much anywhere!
What you need:
- Silk ribbon (length: 18cm)
- Lace ribbon (length: 13.5cm)
- Striped ribbon (length: 13cm)
- Cream grosgrain ribbon (length: 12cm)
- Plain gold headband
- Hot glue gun

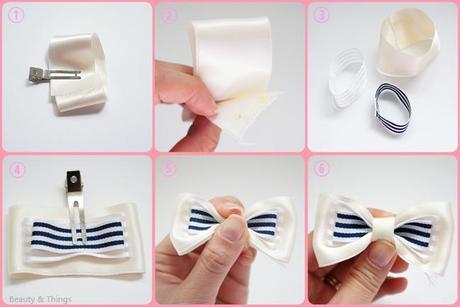
1. Coat the edge of the satin ribbon with clear nailpolish. This will prevent the edges from fraying.
2. Using the hot glue gun, glue the ends of the ribbons together creating a circle
3. Continue with the remaining 2 ribbons (lace & striped)
4. Position the 3 ribbons on top of each other, ensuring that they are in the centre of each other
5. Mold the ribbons into the shape of a bow by squeezing the middle
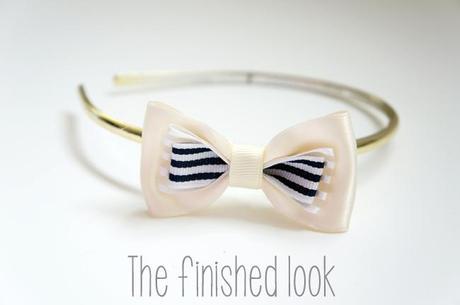
6. Secure the bow by wrapping the cream grosgrain ribbon around the centre of the bow. While you are wrapping the centre, don’t forget to add the headband in and glue it down.

The best part about this DIY is that as long as you know the basics of creating a bow, you can pretty much customise it to whatever way you like. I’ve created lots of other bows where I’ve attached them on clothes, hair clips and even shoes!!
Where to buy supplies:
Ribbons and hot glue gun are purchased from Spotlight and the headband was purchased from Equip.
Let me know how you go!

